- Home/
- Guides/
- Bathroom Tiling/
- How to Tile a Bathroom
How to tile a bathroom, a step-by-step guide
Find a bathroom tilerLast Updated on
If you have ever wanted to re-tile (or tile) your own bathroom but thought it might be too hard as a DIY job – think again! Learning how to tile a bathroom is actually far less daunting than you may realise.
There are many reasons why you may be considering this job. Perhaps you are renovating, building a new home, or your old bathroom just needs a refresh? Whichever it is, learning how to do things yourself gives you complete control over your bathroom’s new look.
The key is preparation and a little bit of practice for your tiling technique. To help, we’ve laid out some handy tips to make sure you stay on the right track with this step-by-step guide. Keep reading to learn how to become a tiling pro!
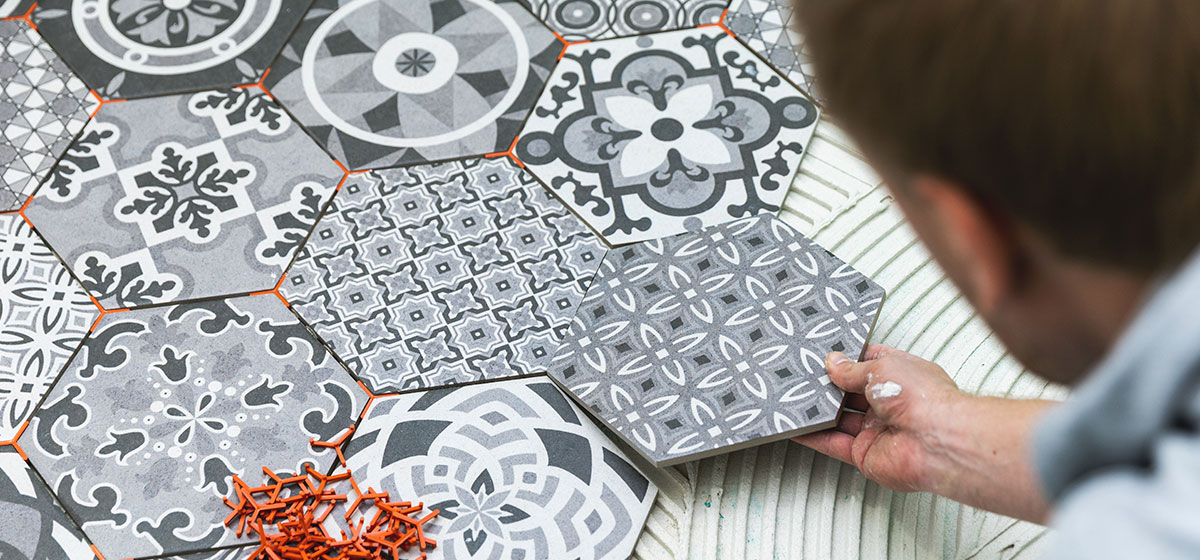
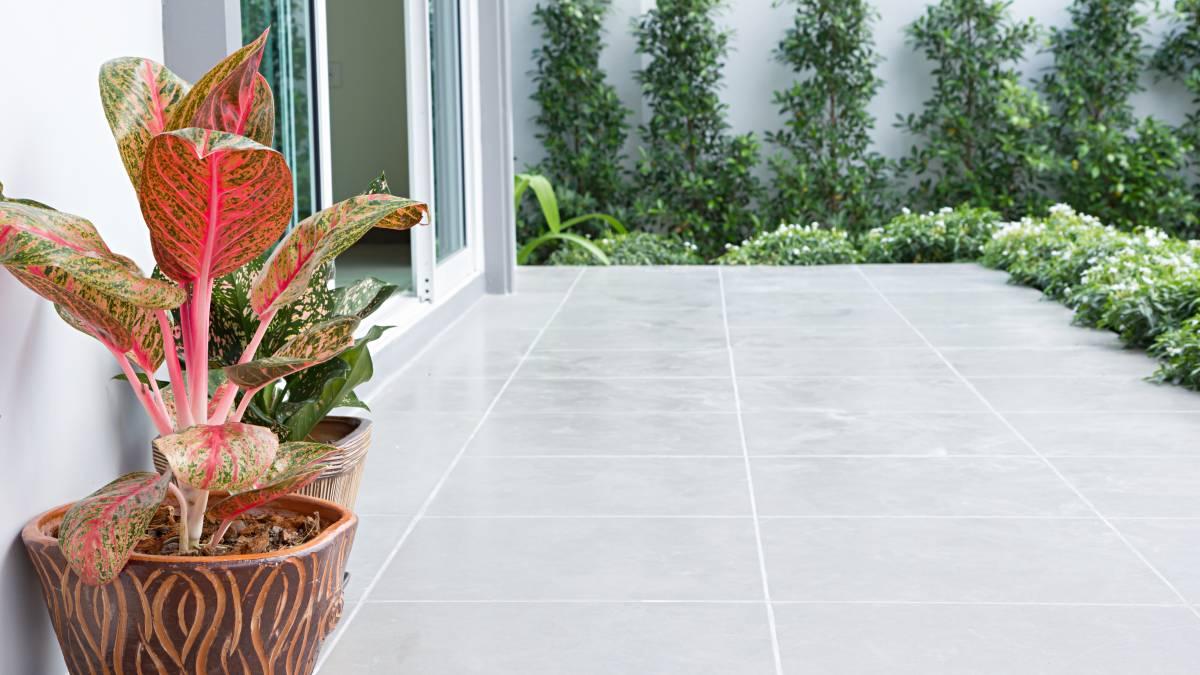
Choosing your bathroom tiles before you begin
Before you work through how to tile a bathroom, you’ll need to consider the room’s size and tile type. If you have small bathrooms, you’ll want to avoid large bathroom tiles, as they will create an even smaller feel. From a cleaning point of view, however, the bigger, the better.
The best options for a bathroom are either porcelain or ceramic (the most affordable tiling choices), with porcelain being more hardwearing than ceramic. For the bathroom wall, you’ll want to find a robust tile that can handle a lot of wear.
If you are after natural stone, you may need to give the DIY installation a miss, especially if you are a first-timer. Natural stone is porous and absorbent and will need sealing a lot more regularly. If you are short on time, pick a tile that requires less upkeep.
Calculating how many tiles you need
To ensure you do not waste money, you’ll want to figure out how many tiles you require for the whole project before purchasing. Opt for an online calculator that can help you to work out your measurements and the number of tiles you will need. Always double-check your measurements and buy at least 10% more tiles than you think you will need to account for wastage and breakage.
Having some spares on hand is always a good idea for down the track, in case your style is no longer available in a few years when you may need to replace a broken tile.
How to tile your bathroom walls: A step-by-step guide
Step 1: Preparation and choosing your tile design and layout
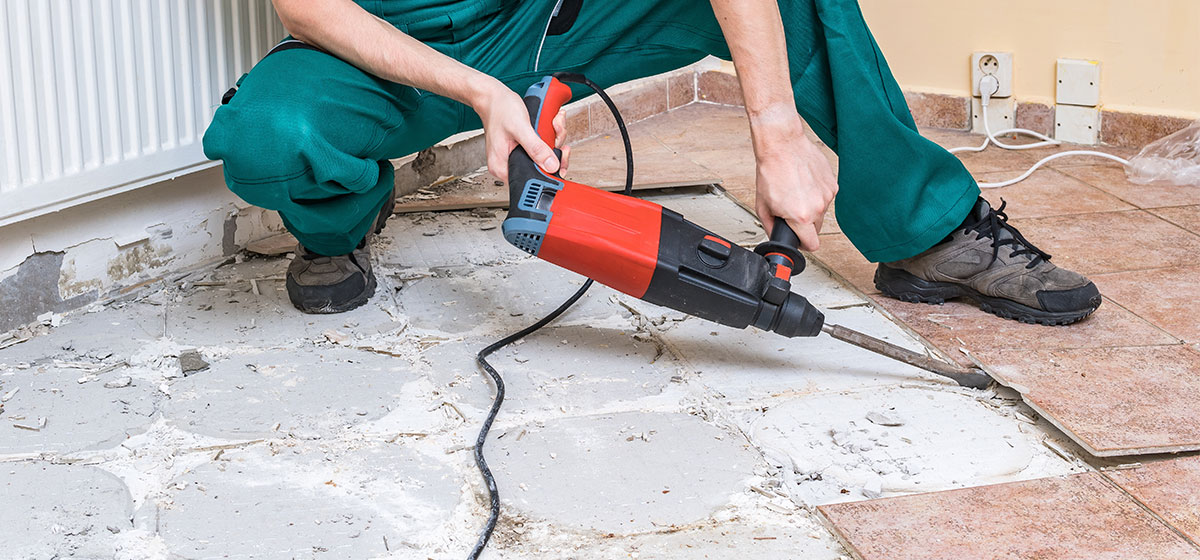
Before you start, you need to prepare your surfaces, ensuring a smooth base. This is the key to a professional-looking result. It’s better to take the time before you begin, as fixing mistakes after tiling a bathroom is expensive.
The goal is your bathroom is waterproof, stable and smooth. Get rid of any old adhesive, paint, or wallpaper then wash the walls with sugar soap to remove the dirt and grease.
Continue with a design plan because you need to know what
- Tile colour – will the shower walls and floor be different
- Tile type – do you want matte or a shiny finish
- Tile pattern – classic square or something more modern like a fish scale tile pattern
When you have chosen this, you’ll need to calculate how many tiles you will need. Calculate this by multiplying the width by each wall’s height, then add 10% to allow for breakage and or future repairs.
Pro tip: If opting for a ceramic tile, find boxes with the same dye lot number. When that is not possible, mix tiles from different boxes to minimise how noticeable colour variations will be.
Step 2: Map out your tile plan with a gauge stick
Create your own gauge stick by taking a length of wood that has the size of your tiles marked along with it. This will help to space your tiles correctly. Simply take a tile, align it horizontally against the stick and mark the end of the tile on the stick all way along until you run out of space. It is essential that you include room for a tile spacer in your measurements. Turn the tile vertically, and repeat on a new stick.
Once that is ready, use a spirit level to find the centre point of your wall, and mark a line vertically across it. This will be the guide point. Take your gauge stick, place it at one end of the wall along the line, and mark each tile’s guidelines on the stick.
This should now give you an idea of where the tiles will sit on the wall.
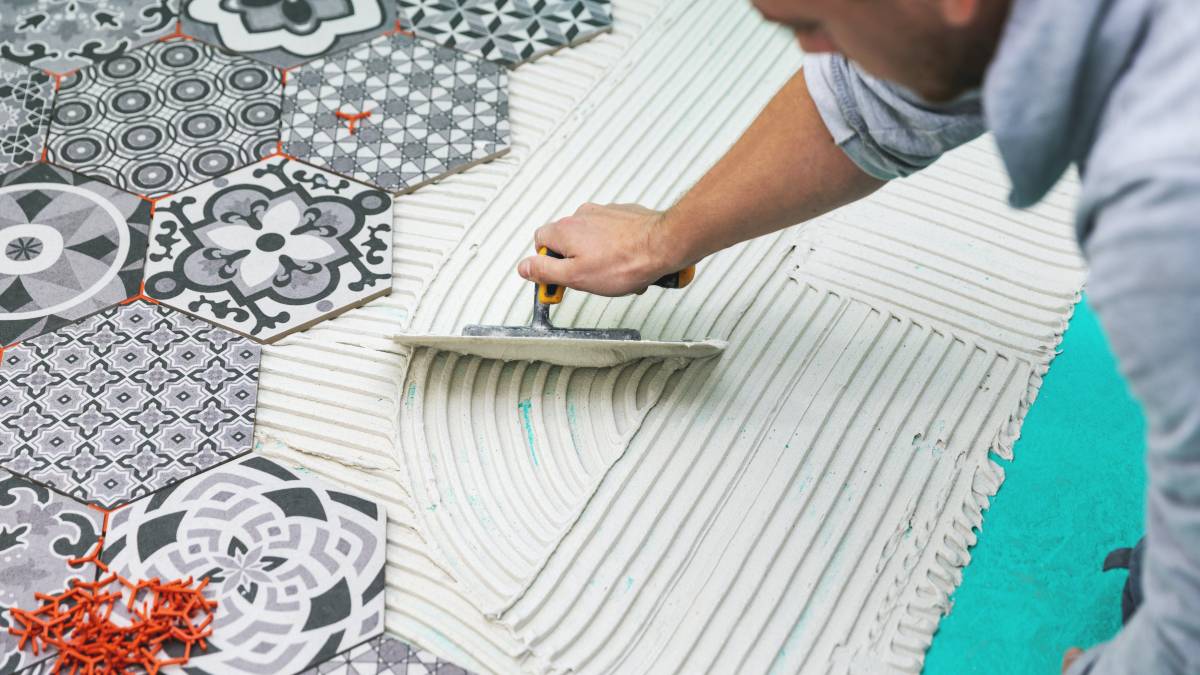
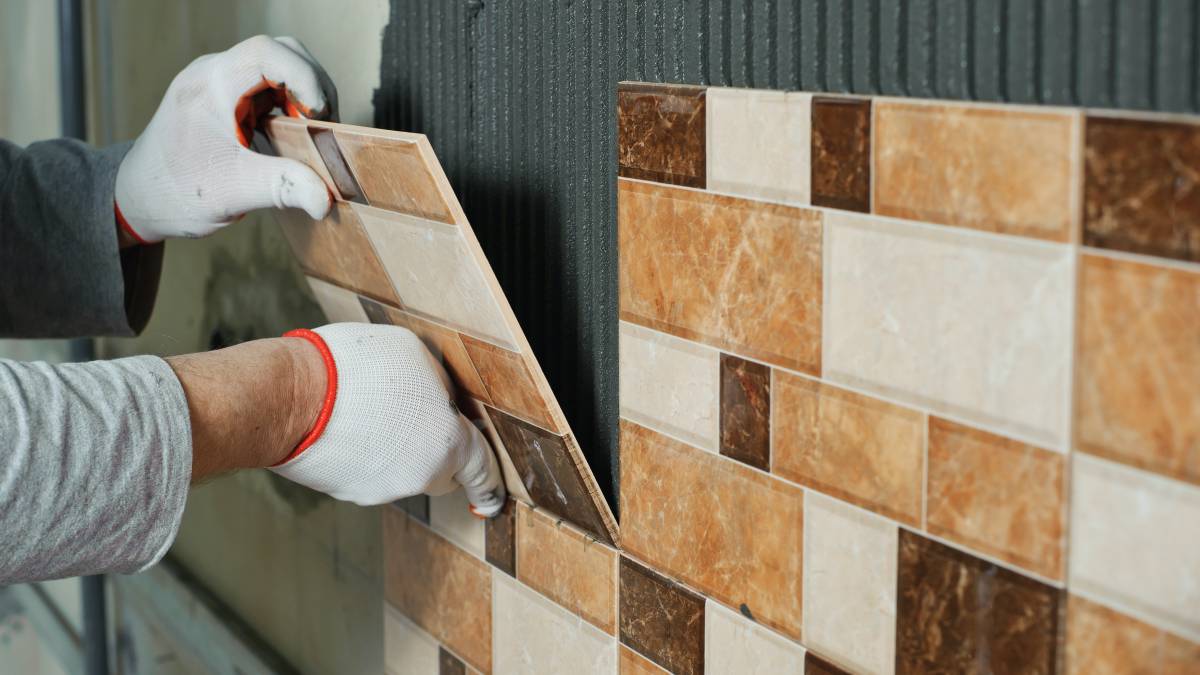
Step 3: Laying the tiles
Applying the mortar
Mix your chosen mortar based on the instructions on the pack to reach a peanut butter-like consistency. Spread the paste over one small section at a time with the notched side of a trowel so that you create a texture. Your tile manufacturer likely lists a recommended trowel notch size to help you decide which trowel will be best to use.
It is important not to spread too much mortar over a large area as you want to avoid it drying before you get to it. Work is small, manageable batches so that the drying time for each tile is sufficient.
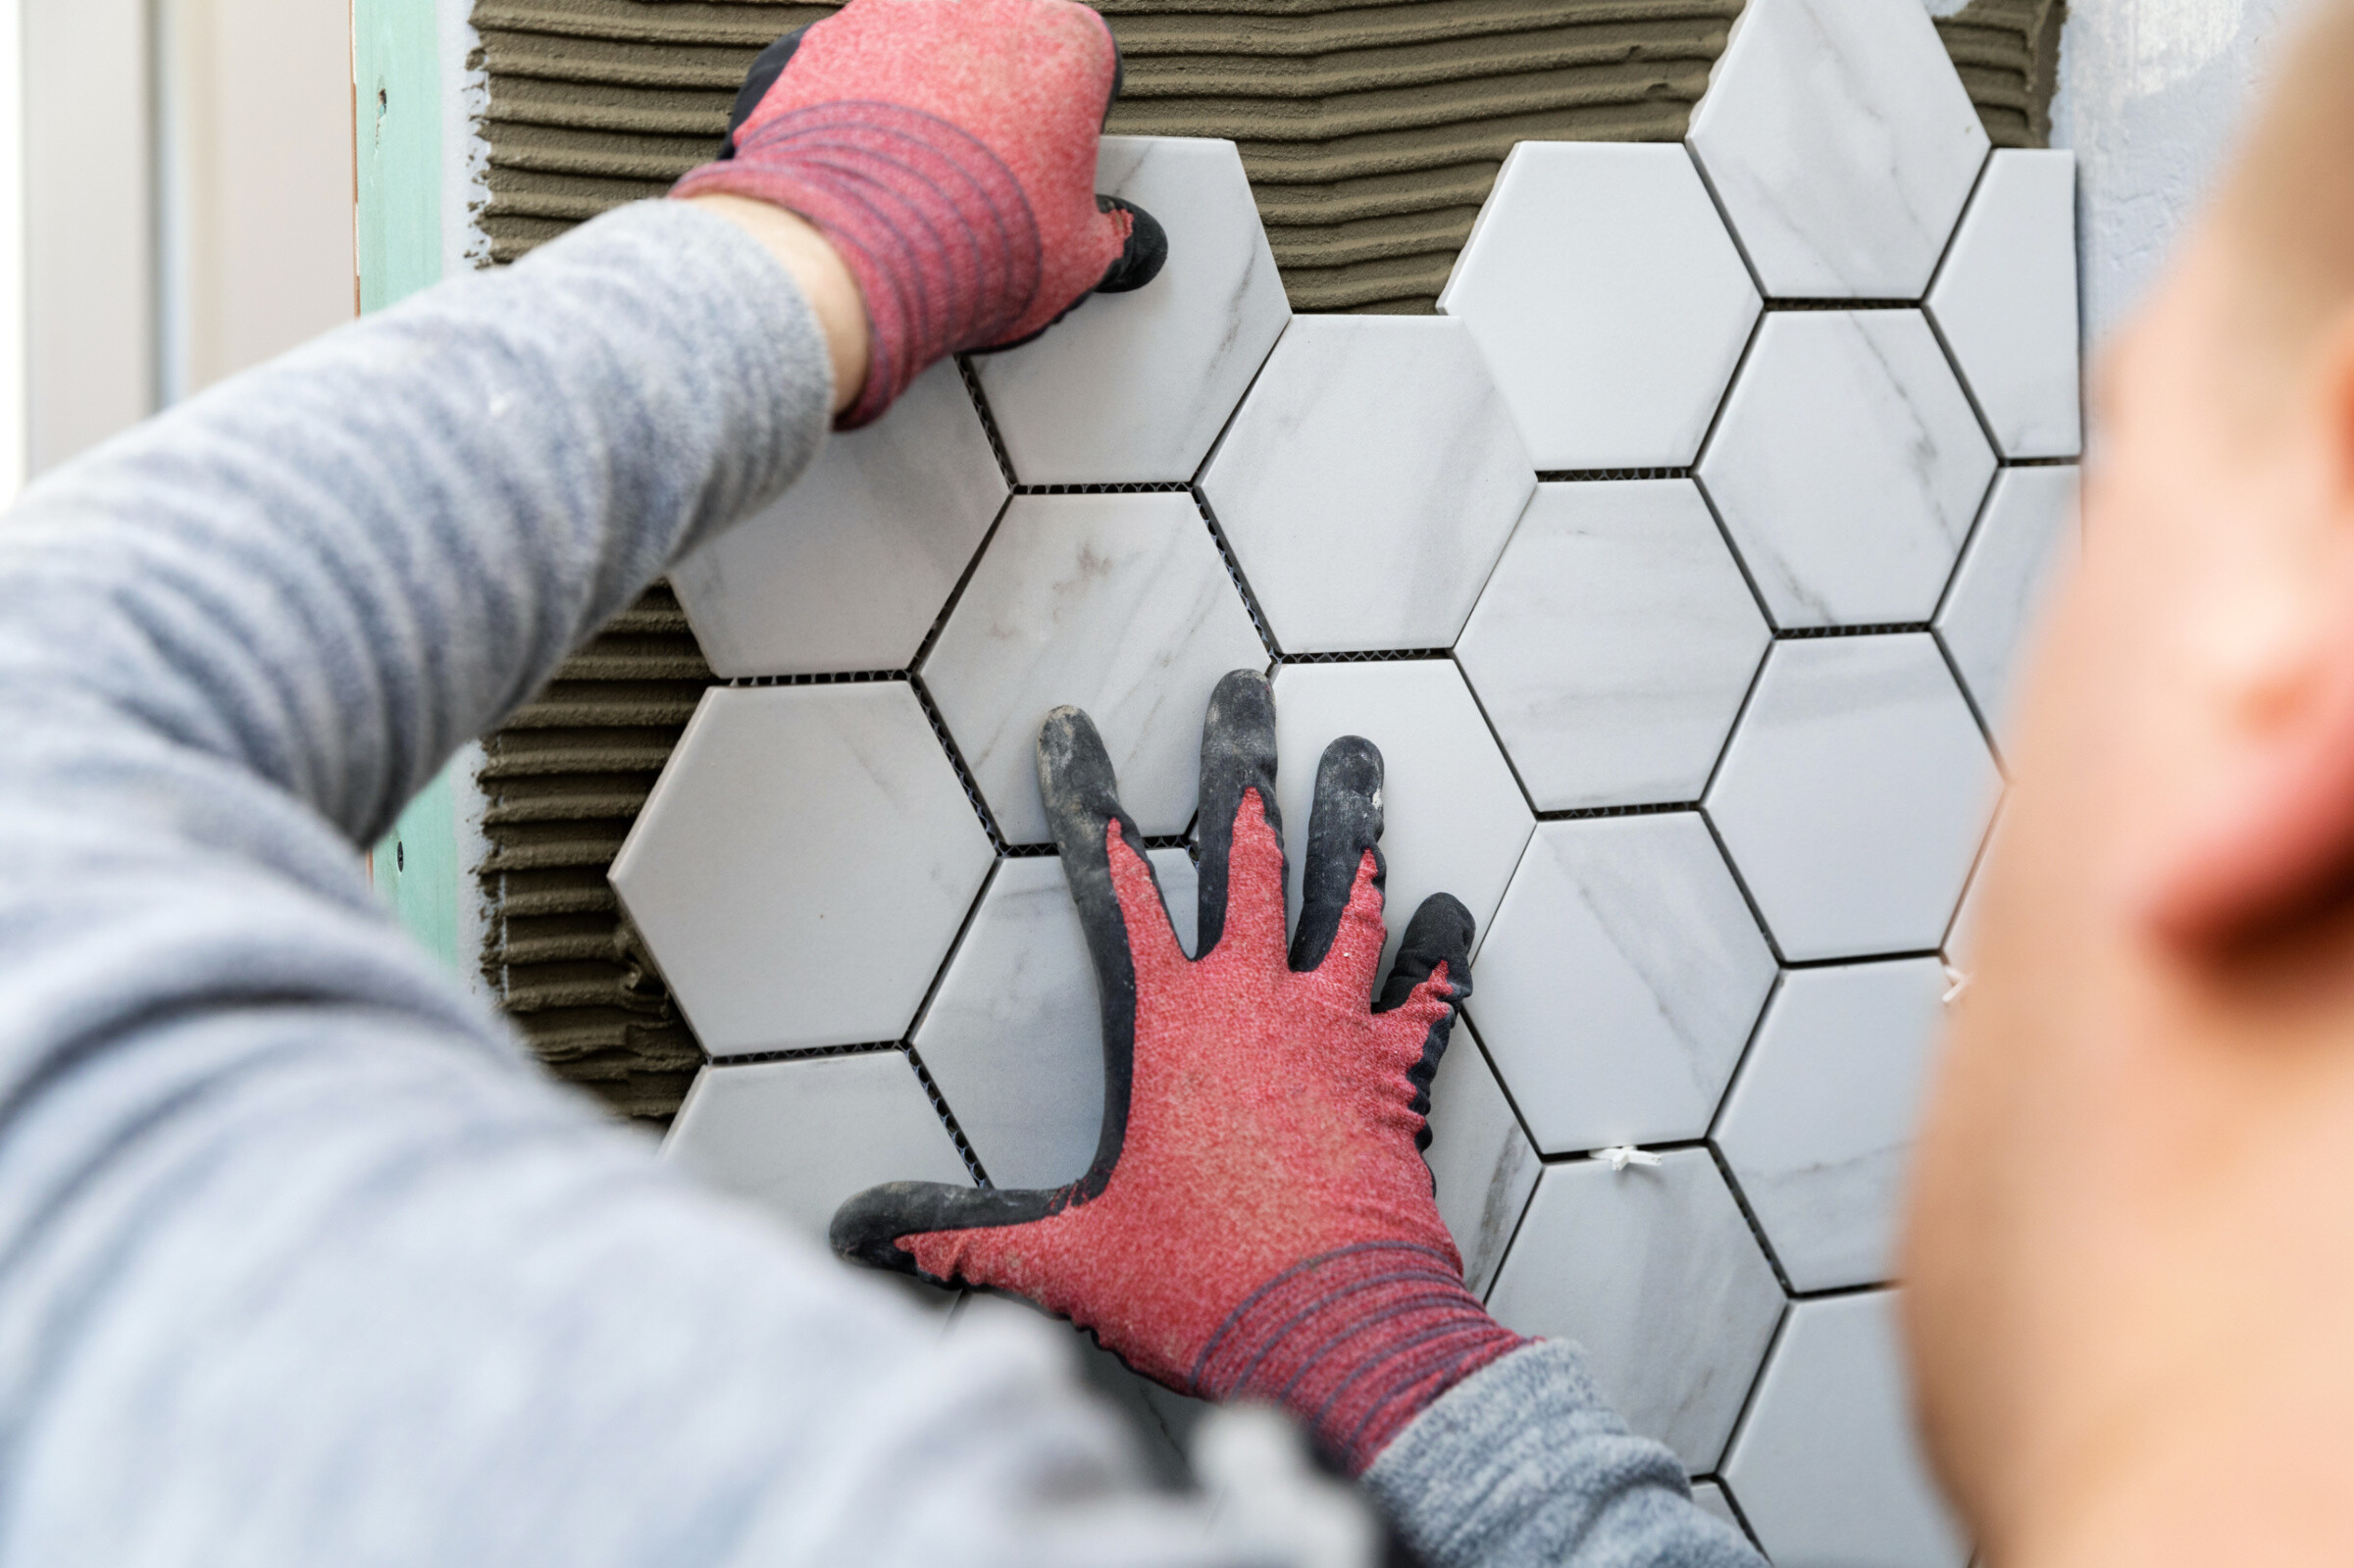
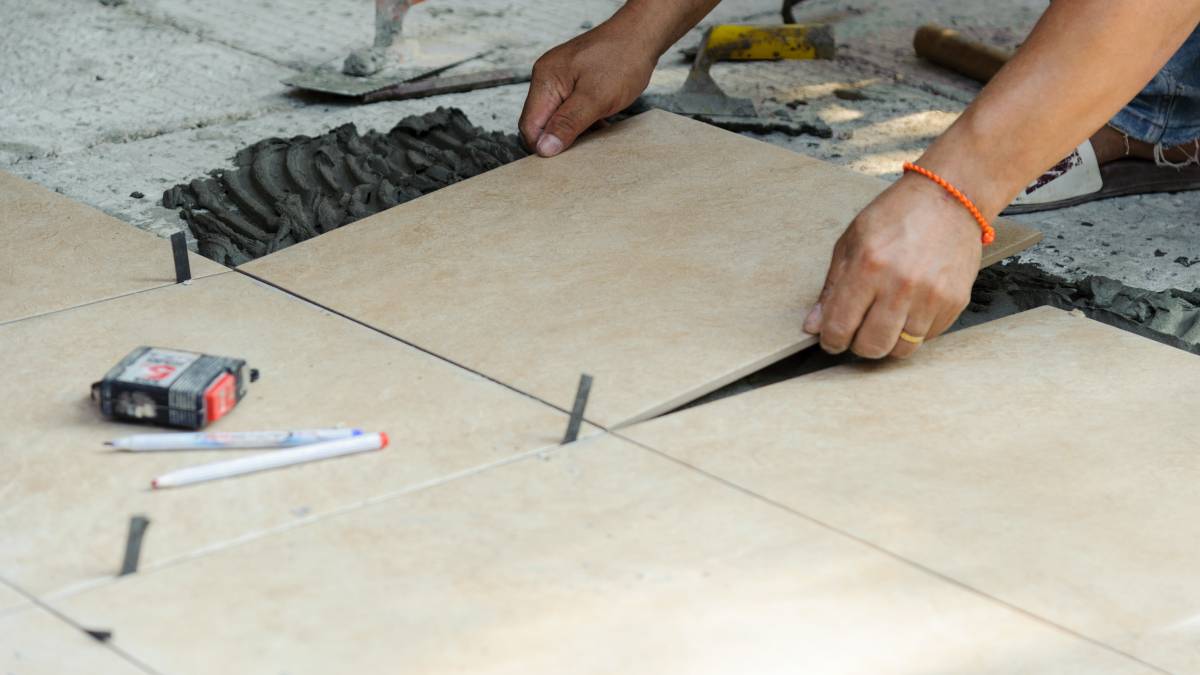
Start laying the tiles
Place a tile against the wall in your starting spot. Some prefer to work from the bottom up; others like to start with the centre of the space and work outwards. Whichever you choose remember to add a tile spacer on the connecting side of the tile.
When you reach the ends, you will likely need to cut the tiles to size for which you’ll need a tile cutter. Mark where the cut needs to be in pencil on the back of the tile, align the mark with the tile cutter and carefully resize the tile.
It helps to tile in rows and apply the adhesive one row at a time before moving on to the next.
Optional: Use a tile cutter to shape
When you reach the ends, use a tile cutter to shape as needed, and a tile hole saw to cut any required curves. If you have exposed edges, a bullnose can be used for their cuts.
Ensure tile spacers are placed in between the tiles with consistent gaps and continually check that everything is level throughout the process. Run a small test to ensure the mortar is sticking by pulling a tile off the wall and ensuring every part of the mixture is sticking. If it is not, you’ll need to move to a larger size trowel.
Pro tip: If you are using a bullnose, fill a plastic sandwich bag with the mortar and cut 1/2-inch off the corner. This will make it easier to apply the mortar with a technique similar to a piping cake icing bag.
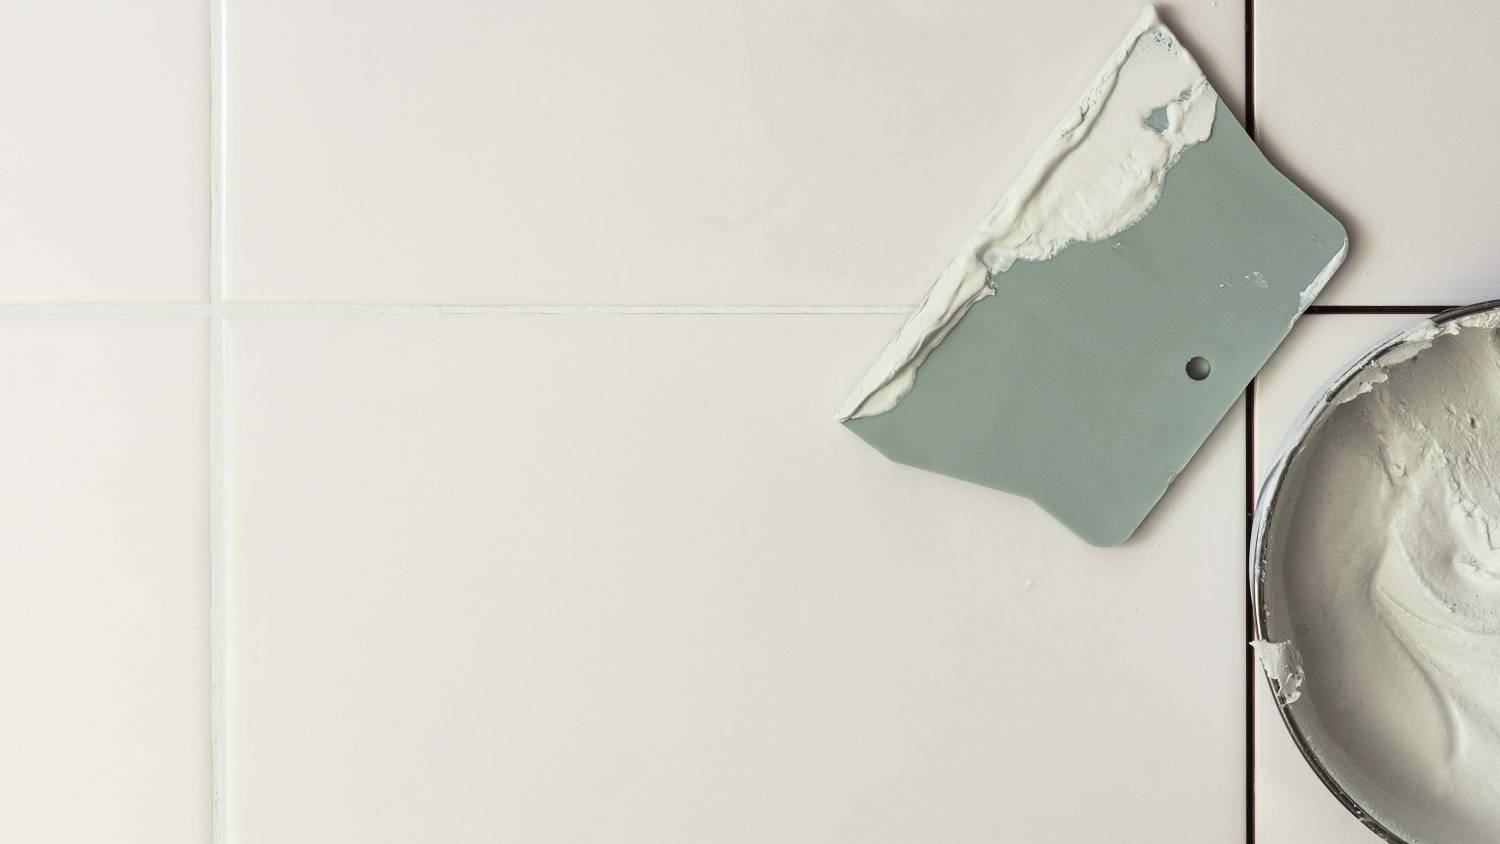
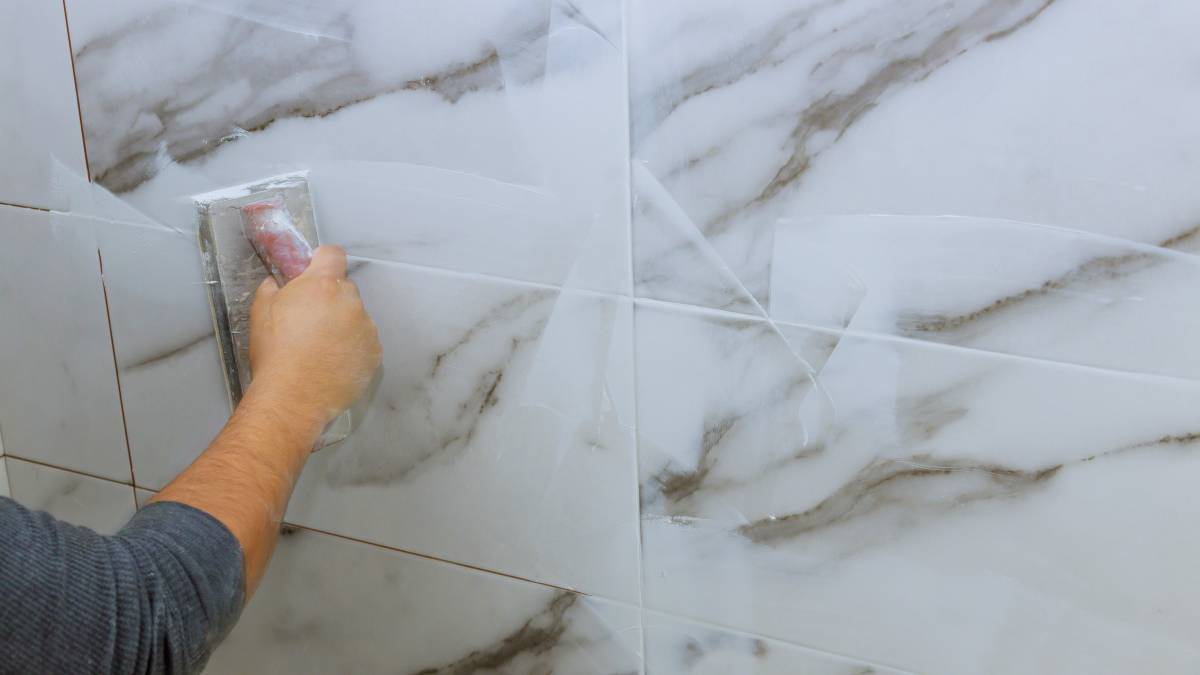
Step 4: Mixing and applying the grout
When the adhesive is dry, you can begin to grout your tiles. Place the grout in a clean bucket and add some water. Mix until the grout becomes thick and creamy, let it sit for a few minutes, then apply it to the wall.
Use a trowel to place grout onto the sponge, then work it into the wall via the exposed gaps between each tile. Work on a small section at a time and use a different, clean sponge to wipe excess grout if necessary. Wait for the grout to sink into the surface properly before moving onto the next section, which can take around fifteen minutes.
When you have finished, sponge down the entire surface and add more grout to any area that that needs it. This should be all you need to do to tile your bathroom! Make sure you leave the area to dry completely before you begin to use it.
Optional: Grout Sealant
Pro tip: Wait a few days of drying then apply a grout sealant and silicone sealant to the corners and edges to ensure your area is waterproofed.
Always use a waterproof adhesive in the bathroom to avoid mould issues down the track. Most adhesives come pre-mixed, ready for easy application with a notched trowel. Spread the adhesive evenly across the whole area.
When it comes to tiling around a bath or shower, place the adhesive directly onto the tile, but in cases of tiling a wide space like a wall, apply the adhesive directly onto the wall.
How to tile a shower floor slope
When looking at bathroom tiling yourself, a small slope towards the drain is vital to ensure water:
- Measure the length from the drain opening to the furthest wall
- Multiply the measurement by 1/4 inch to calculate the slope and place a bubble level from the drain opening to the wall
- Ensure the wall’s side of the bubble level matches the calculation of your calculated slope
- Place a mark at the appropriate height
- Score a line around the floor’s perimeter to show the floor’s slope
When tiling, use the bubble level as a guide. It is also important to verify that the slope does sit above the curb; you will need to lower the drain opening if it does.
 Source: DAVIDCOHEN
How to install a shower drain for tile
If you are installing a compression-style shower drain fitting, which is often the most popular, you’ll need to trim the drainpipe first. The drainpipe should sit about 3/4 to 1 inch below the shower drain lip. Trim the drainpipe with a hacksaw so that the cut is flat and level.
Apply a bead of silicone caulk to the top of the shower drain opening, then place the drain into the opening with the rubber sealing washer over the drain assembly tailpiece that sits under the shower base. There will likely be a mounting nut that you can thread onto the tailpiece then tighten with channel-lock pliers.
Wipe away any excess caulk then position the shower base with the drainpipe extending up. Place the rubber compression gasket into the drain opening, thread the compression nut and tighten. Most compression-style drain fittings come with the tool you will need to tighten the nut. When tightened, the rubber gasket compresses against the drainpipe, creating a watertight seal. Seal the edges with silicone and allow it to cure for a full 24 hours before it gets wet from the shower.
Are you ready to DIY your new bathroom?
Once you get started, we’re confident you’ll see just how easy it is to tile a bathroom yourself. Hopefully, the instructions above make it a bit easier, and you’ll soon master a handy new skill!
If you’ve had a read and decided it might be a little out of your skill range, or you simply do not have the time to commit to it, you can still get a newly tiled bathroom! Simply find a tiling expert at a range of bathroom tiling, floor tiling, regrouting and screeding jobs. You’ll be able to get a new, beautifully tiled bathroom without having to lift a finger (besides a few clicks).
If you are committed to the DIY route, we have some other helpful articles that can provide the inspiration you need to plan your new bathroom. Check out our blogs for bathroom tile ideas that include bathroom colour options, the modern bathroom look and how to achieve the popular Hamptons bathroom style.
Fingers crossed you find the look you love and follow the steps above to make it a reality on your own. If you do, you’ll end up with a stunning new bathroom that increases your enjoyment of the home and its value. Now get to the fun part of picking your new bathroom look. Happy tiling!
Find bathroom tilers, fast
Find a bathroom tiler
Bathroom Tiling FAQs
There are two options for where to begin when you are tiling a bathroom. Some people opt to work from the bottom of the wall up; others like to start with the centre of the space and work outwards. In some cases, this will be dictated by the section of the bathroom you are tiling. You have options for walls, but when tiling around corners or small sections of showers and baths it can be best to work with the space. Whichever way you choose remember to add a tile spacer on the connecting side of the tile.
Yes! Tiling a bathroom yourself is much easier than many people think. The key is preparation and a little bit of practice. Spend some time choosing the right tiles, measuring the space to understand how many you need and preparing the area. Take time before you begin to start with a clean smooth surface before tiling as fixing mistakes after you have finished can be expensive. As long as you do not rush or cut any corners, you should be able to create a professional look for your new bathroom all by yourself.
It is a good idea to use a waterproof adhesive under the tiles in the bathroom to avoid mould issues down the track. Most adhesives come pre-mixed, ready for easy application with a notched trowel. In cases where you are worried that the weight of the tiles will be too much for the wall, you can use an underlayment of cement board to reinforce the wall and create a better grip for the tiles.
A good base is important when tiling a wall as it will dictate the quality of your tiling result. To ensure the wall is ready: Find any rough patches or divets. Fill them or sand as necessary to reach a smooth straight surface. When complete, wash the wall with sugar soap to remove any excess grit. Leave to dry completely before you begin tiling.
Yes! Tiling is a DIY task anyone can do if the right amount of preparation and time is given to the project. The key is making sure you have a quality base to tile, be it walls or floors, and you double-check your measurements and placement positions for your tiles before placing them in their spots. If you take your time and ensure each step is done properly, you should end up with a professional-looking result!
When tiling a shower floor, it’s a good idea to start in the middle and work outward. Avoid starting on the edge and use a level board which has been screwed in place along the edge. This will create a line that keeps your tiles in place until you reach the edges. It is also vital that you use the proper spacing between your tiles to allow for the grout.
Related articles
How to properly remove floor tiles
Read more

Related price guides
How much does tile flooring cost?
Read more
How much does porcelain tiling cost?
Read more
How much do regrouting tiles cost?
Read more
Let's do this!
It's free and takes only a minute.