- Home/
- Guides/
- Patio Paving/
- How to Lay Slabs
How to lay slabs for the perfect patio and paving
Last Updated on
Patios can enhance your lifestyle and add value to your home. After you’ve allocated patio space in your backyard, you can add more relaxation options like lounge furniture, a fire pit, barbecue or combining it with some decking. Adding a patio or pathway may seem complex, but it’s mostly about knowing how to lay slabs and doing their related tasks.
A renovation like this can also save you money on maintenance costs too, as adding a patio and paving stones cuts down on your landscaping - less work for you or your gardener, more space for meals or a lovely cup of afternoon tea!
Why not make use of a clever way to raise your home’s aesthetic appeal and reduce the cost of your lawn upkeep? Read on to see how you can lay down some slabs.
Planning the slab layout
As simple as it looks, building a patio isn’t as easy as knowing how to lay a concrete slab and repeating the process until you cover the desired area. Here’s how you can plan the layout.
- Find the best spot. Note that if you want to place the patio right next to your home, pick an area that’s already 150 millimetres below your home’s damp proof course if you can. If you want to lay the patio slabs on your lawn, pick a spot away from trees.
- Measure the area and shape for the foundations, then temporarily mark the area with pegs and string. Don’t forget to lay the string at a slight angle facing away from your property to allow water drainage.
After planning the layout, you can also determine the needed amount, size, shape of the slabs and how much it’ll cost to lay the cement slabs.
Preparing materials & equipment
After planning how to lay a slab foundation, have the suitable materials and safety equipment ready. Prepare the following:
Supplies
- Work boots or safety shoes
- Safety gloves
- Safety goggles
- Earmuffs or earplugs
- Dust mask
- Knee pads
- Coveralls
Tools
- Tape measure
- Rake
- Rubber mallet
- Spirit level
- Edging or pointing iron
- Wheelbarrow
- Shovel
- Cement or concrete slabs
- Spacers
- Trowel
- Diamond disc cutter
- Vibrating Plate compactor
- Cement mixer
Materials
- Cement
- Building sand
- Sub-base material
- Jointing compound
Note that you can rent the diamond disc cutter, vibrating plate compactor or cement mixer from local construction equipment suppliers. Rent them only if the patio site is large enough to justify the need and cost. You may only need the diamond disc cutter if you have to cut the slabs.
Removing grass
Skip this step if the spot is on bare soil, although you’ll still have to do a bit of digging. Here’s how to do it:
- Cut the sod with your shovel, digging to a depth of at most 150 millimetres. Cut the sod into squares that fit on your shovel, then transfer them onto a wheelbarrow.
- Don’t throw the sod away! You can recycle the sod and use it in another area. Store your freshly-dug sod in the shade and keep it moist. Use the sod within 36 hours.
- Measure your newly dug site with a tape measure. Make sure that the entire plot is consistently 150 millimetres in depth. Add or remove soil to fix uneven areas.
- Using the vibrating plate compactor, compact the soil until there are no weak spots.
Step 1: Laying the foundation
As your concrete slabs need underlying material to hold onto and stay level, note that placing a foundation is the most common and best way to lay slabs on the soil.
- Apply a sub-base material, such as MOT Type 1. You can buy this at most hardware stores. Consult your builder’s merchant as to how many bags you need for complete coverage.
- Pour the sub-base material liberally. Use a rake to spread the material over the site and make it as level as possible.
- Compact the material. If you rented a vibrating plate compactor, follow the instructions - the vibration it generates could be overwhelming. Wear gloves, goggles and hearing protection.
- Remember to compact the material and give it a slight angle. Use your spirit level and pegs for reference. Note that the site’s depth should have a 25-millimetre drop for every 1.5 metres of your patio area. Aim to have a layer of sub-base material 75 to 100 millimetres thick.
- Compact the material twice, then check for any weak spots. To reinforce any weak areas, apply more sub-base material, compact again and repeat until all areas are smooth and level. Check that the material retains that slight angle with your spirit level.
Pro-tip: If your site is too small to rent this machine, get your mates to come over and slowly walk all over the site to compact the material. Ignore the puzzled looks of your neighbours.
If compacting the sub-base or getting the cement mix right feels overwhelming, hiring a concrete expert can make the process easier and ensure long-lasting results. You can find trusted concrete workers on Airtasker near you, including in Newcastle, Melbourne, Hobart, Brisbane, and Perth.
Step 2: Preparing the slabs
Ensure that the stone, concrete or cement slabs for your patio are cut to the right shape and size. Use a diamond disc cutter to cut the right amount of slabs in the appropriate shapes or sizes to fit your layout.
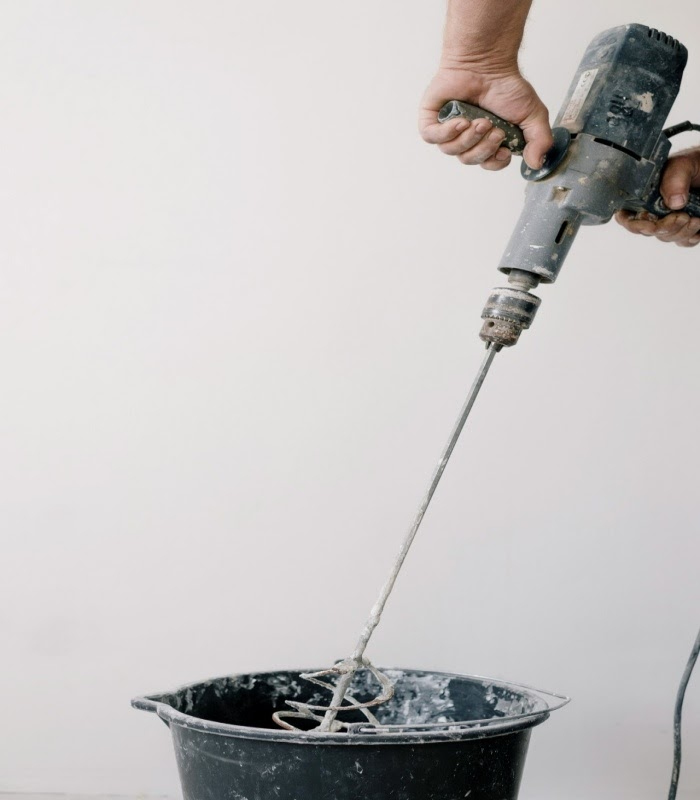
Step 3: Mixing the cement
With a cement mixer or a wheelbarrow and shovel, mix three parts of building sand with one part of cement and one part of aggregates. Add just enough water to achieve the right consistency. Test the consistency of your cement by taking a handful of it and squeezing it into a ball. The ball should keep its shape without crumbling or leaking water.
 Source: Ksenia Chernaya via Pexels
Step 4: Laying and finishing the slabs for a patio
Now that your cement and slabs are ready, here’s how to lay the stone or concrete slabs.
- Apply a generous amount of cement on one of the corners of your site. The cement should be enough for a slightly larger patch than the slab, with a thickness of about 35 to 40 millimetres.
- Level the cement but avoid compacting it; the weight of each slab should cause it to sink by 10 to 15 millimetres.
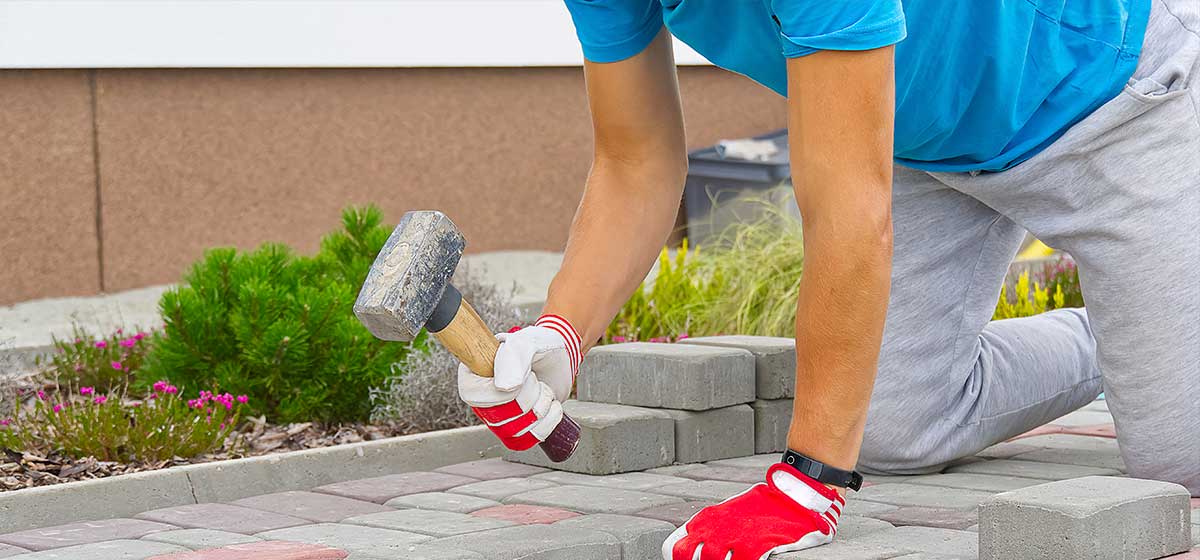
- Lay a slab on the cement, then tap on it gently with a rubber mallet. Use a spirit level to check that it’s flat but has a slight angle.
- Apply spacers on each slab as necessary after you’ve checked that they’re level and have the correct angle. Continue applying cement, laying down a slab and putting spacers until the site is covered.
- Let the cement dry for at least a day.
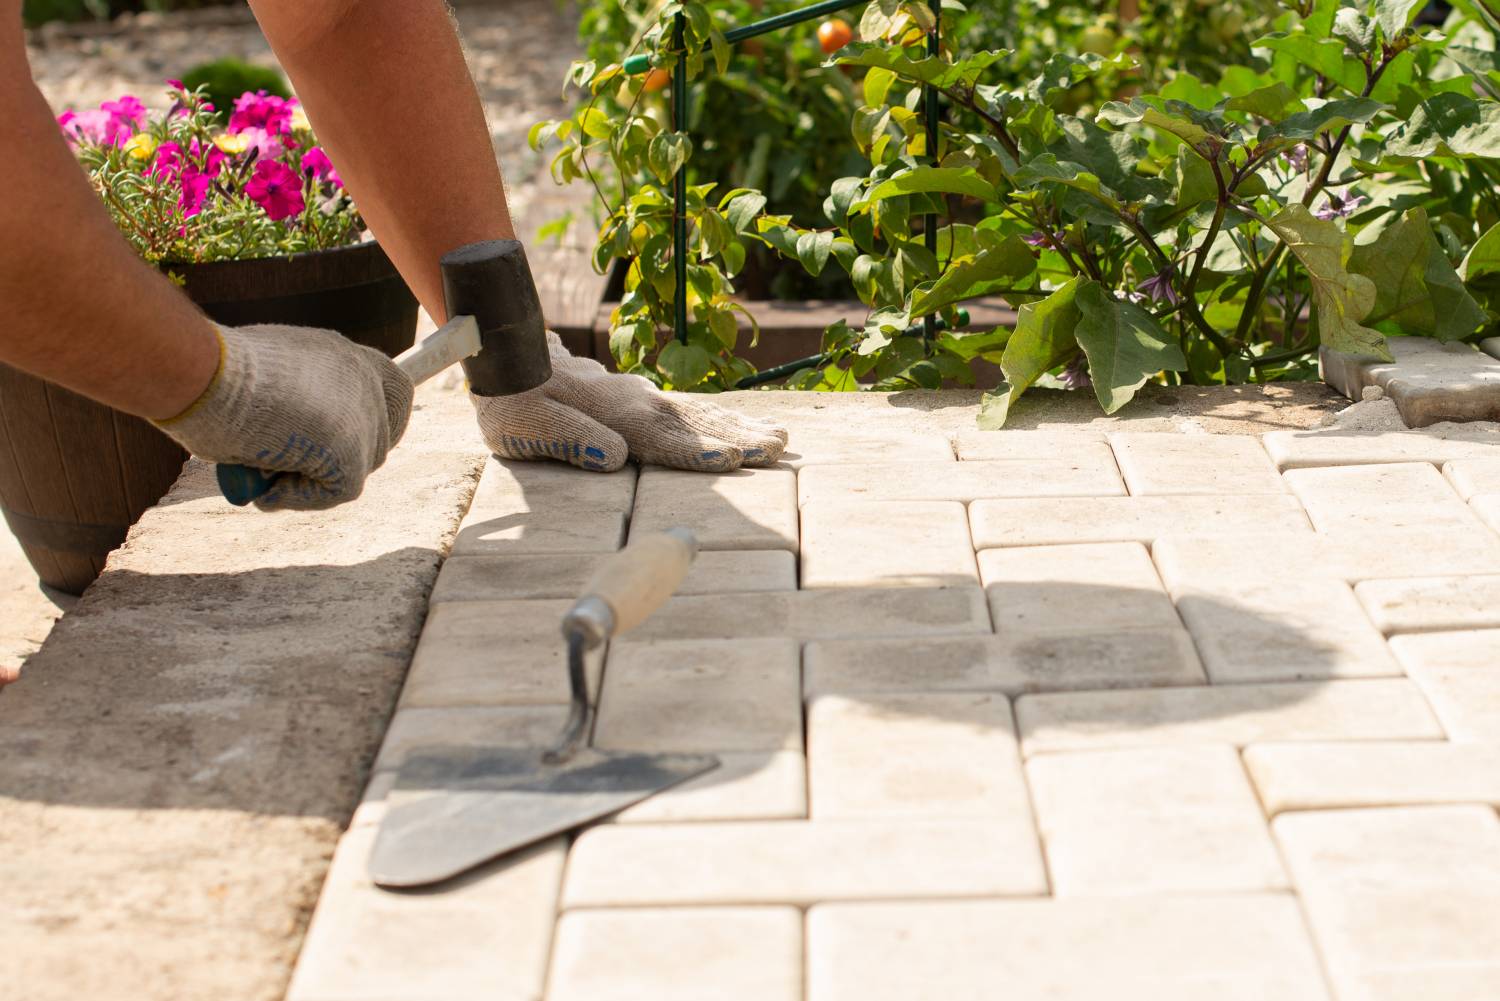
- In the gaps between slabs, apply the jointing compound with a trowel.
- Finish by compacting the jointing compound and creating drainage channels onto the semi-dry compound with the pointing iron. Brush off excess material and let dry.
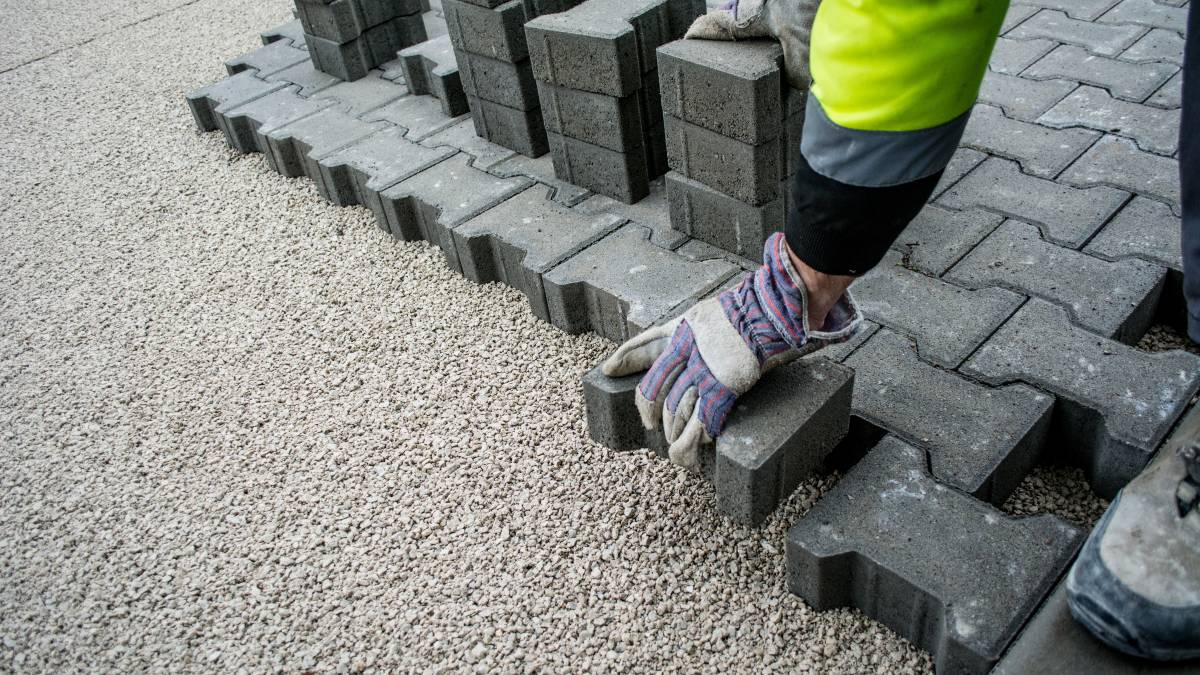
Step 5: Laying paving slabs
If you already have a patio but don’t have a walkway, you can follow these steps. Here’s how to lay paving slabs on grass:
- Plan the layout of your paving slabs. Measure and cut them as necessary with a diamond disc cutter.
- Following your desired layout, place your paving slabs on the ground. Space them evenly, about five centimetres apart.
- Using your shovel, trace each slab and cut it into the underlying sod or soil. Remove the slabs, then dig out the underlying earth at a depth of five centimetres.
- Now that you have a “bed” for the slab, lay down the sub-base material. Spread this over with a trowel until you have enough to make a layer three centimetres thick and level.
- Gently lay the slab over the sub-base material. Tap the slab with a rubber mallet to level it out and ensure a good bond with the foundation.
- Use a spirit level to ensure that the slab is perfectly flat. Repeat this process until you complete the paving.
Maximise your outdoor spaces today!
A simple project like setting up paving slabs can be a great source of pride and satisfaction. You’ll be surprised at how a simple yet lasting home improvement like this can enhance the quality of life for yourself and your family.
Need more help? You can always learn more about paving if you’re keen to do it yourself. However, you can also save time and just book your nearest paver on Airtasker!
Frequently Asked Questions
Yes, however, you can’t simply place slabs on soil without a foundation. You have to dig out the underlying areas to a depth of about 150 millimetres. For safety compliance, your state’s building codes and village council may also require that your slabs have a layer of sub-base material and a layer of cement to lay the slabs on.
The best mix for laying slabs is one part of cement with three parts of aggregate and three parts of sand. This can create a robust foundation that can handle pressures of up to 3000 psi.
No, as this is unsafe, impractical and can prove costly. The weight alone of paving slabs isn’t enough to ensure that it stays put. Slabs need a concrete foundation to bond and get a grip on the ground. Without a foundation, paving slabs can come flying off in bad weather.
Find patio paving contractors, fast
Find a patio paving contractor
Related price guides
How much does outdoor paving cost?
Read more

Related articles