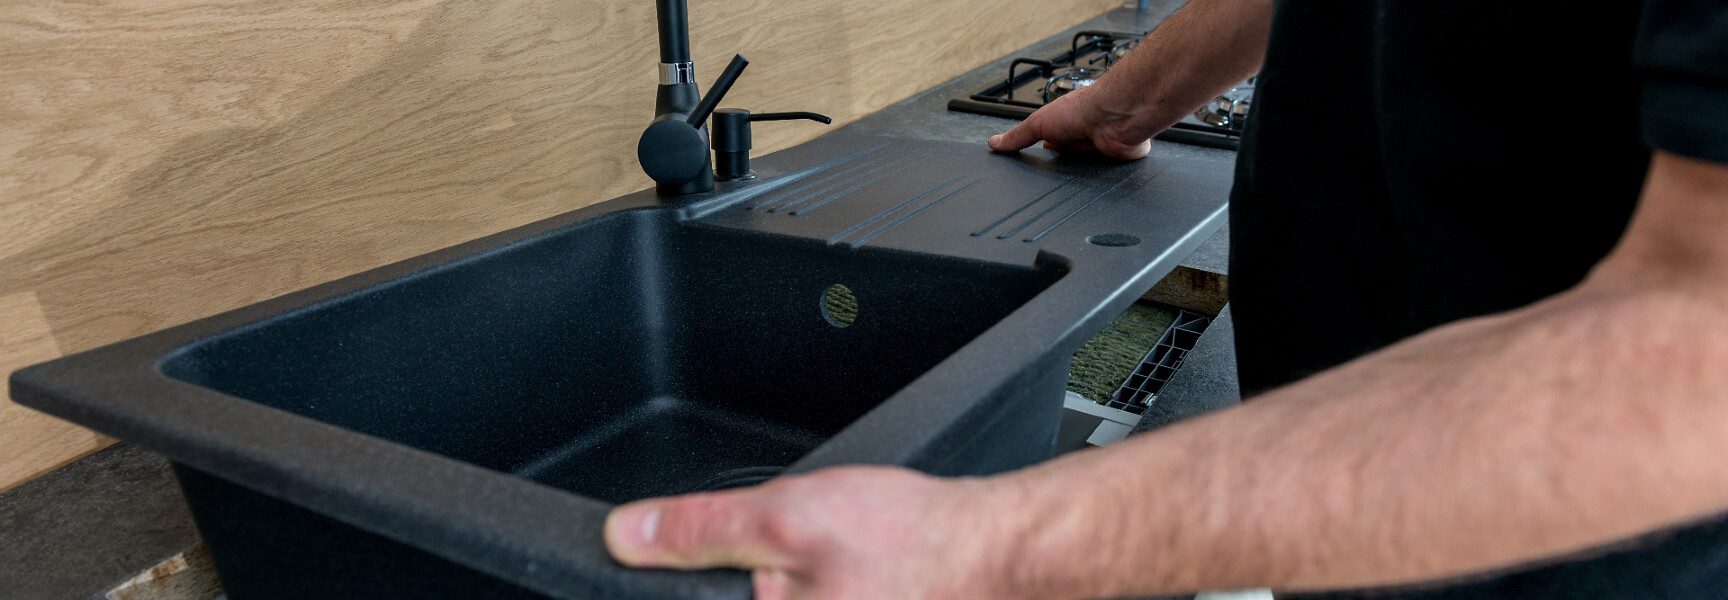
Find trusted kitchen sink installers in Dublin
Fill in a short form and get free quotes from experienced kitchen sink installers in Dublin
Get help from kitchen sink installers
- Sink measuring & fit
- Pipe & waste connection
- Tap fitting & align
- Sink sealing & grout
- Water flow test
- … or anything else
Recent Kitchen Sink Installation tasks in Dublin
Kitchen sink installed
€100
Ringsend, Dublin
25th Feb 2023
Take out current sink and replace with new sink - Due date: Needs to be done on 01 March 2023
What is Airtasker?

Post your task
Tell us what you need, it's FREE to post.

Review offers
Get offers from trusted Taskers and view profiles.

Get it done
Choose the right person for your task and get it done.
Top Kitchen Sink Installation related questions
The cost of hiring a kitchen sink installer in Dublin will depend on the size and complexity of the job, materials needed, and the Tasker's experience level. Prices can vary quite a bit from one job to the next, so it's worth getting a few quotes before committing.
Post your task for free to receive quotes from local Taskers and find the best fit for your budget.
Yes. For safety reasons, electrical regulations require a minimum distance between sinks and any power sockets.
A kitchen sink replacement can take as little as 2 hours. If you have additional features or need repairs to your plumbing, the installation may take longer.
Handyman Services
Door Installation
Garden Shed Installation & Repair
Fitness Equipment Installation
Trampoline Repair Service
Roman Blinds Installation
Curtain Rod Installation
Shower Screen Installation
Jack of all Trades
Pet Door Installation
Internal Door Installation
Clothesline Installation
Blind Repairs
Window Repair
Ring Doorbell Installation
General Maintenance
Related Services near me
Suggested reads about Kitchen Sink Installation
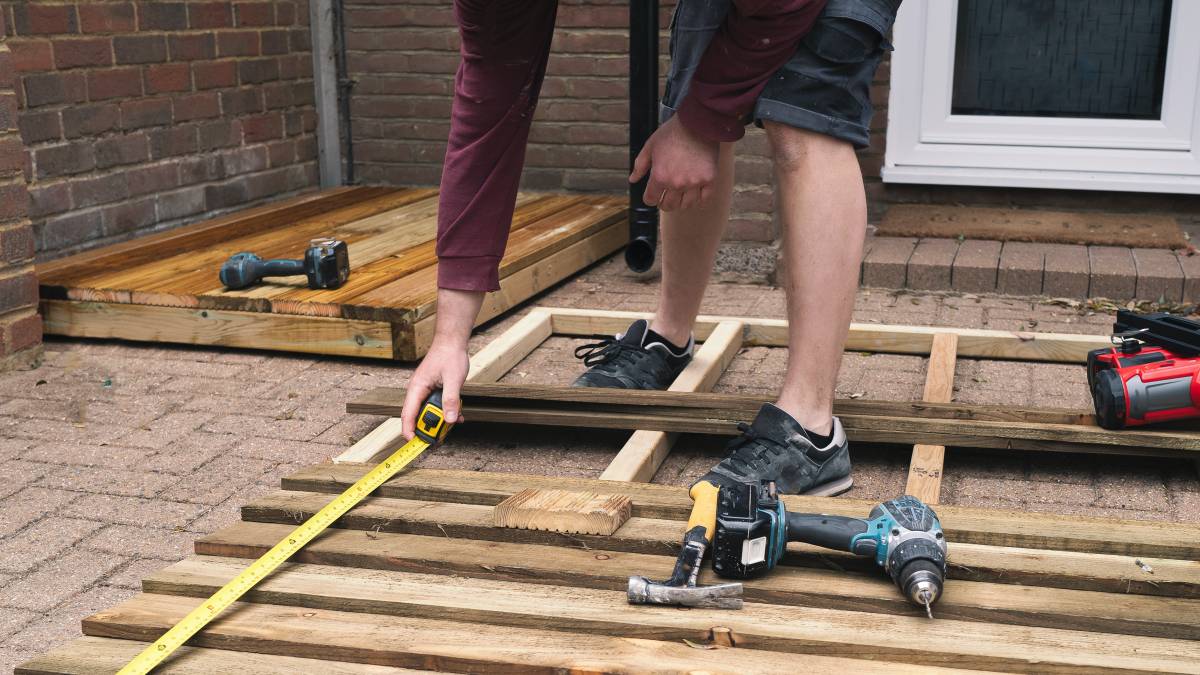
What does a kitchen sink installation service include?
Your kitchen sink installer will take care of everything, from helping you choose your kitchen sink and prepping the area, to installing the sink, fitting the taps and pipes, and sealing the area. Plus, they’ll take care of kitchen sink removal (if needed) and handle any repairs. Here’s what you can expect from your service:
Step 1: Kitchen sink removal
If you’re upgrading and replacing your old kitchen sink, your installer will first remove it. They’ll switch off the water supply valves under the sink or the main supply. Next, they’ll switch on the tap to let out any water that’s already there. They’ll put buckets underneath the pipes, ready to catch any lingering water as they’re removed. The next step is to remove the water supply lines, along with the drainpipe, fittings, and dishwasher connection (if there is one). They’ll find the sink clips located underneath the outside edge of the sink and loosen them. Next, they’ll use a knife to cut away the caulk that attaches your sink to the worktop, before lifting your sink out.
Step 2: Prep
With the sink removed, your contractor will clean the area, removing any extra caulk from the worktop and washing with soapy water. They’ll wash and prepare any old parts you are reusing (like the drain or tap). Before proceeding with your kitchen sink installation, they’ll check your new sink and ensure it fits in the existing hole. If not, they’ll either recommend choosing a different sink or increase the hole size by cutting with a jigsaw until it fits.
Step 3: Kitchen sink installation
Installing your kitchen sink involves applying a silicone caulk to the sink’s underside before placing into the hole. Next, they’ll wipe away any caulk that seeps out from under the edges before attaching the clips to the underneath of the sink, twisting them to secure the sink into place. Of course, this installation process only applies if your sink is top-mounted, so it will vary slightly for under-mounted sinks.
Step 4: Kitchen tap installation and reconnect pipes
To finish off, your kitchen tap is installed and pipes reconnected. Your installer will place your tap through the hole in your sink, using a washer and nut to hold the water lines in place before tightening. They’ll place the drain strainer and seal it in, removing excess putty, before covering with the rubber gasket and flange. Your contractor will connect each water supply line and re-connect the dishwasher, connecting all the pipes together again. Finally, they’ll switch the water supply back on, turn on the sink, and test to make sure there are no leaks.