- Home/
- Guides/
- Tool Sharpening/
- How to Sharpen Secateurs
How to sharpen secateurs safely and properly
Last Updated on
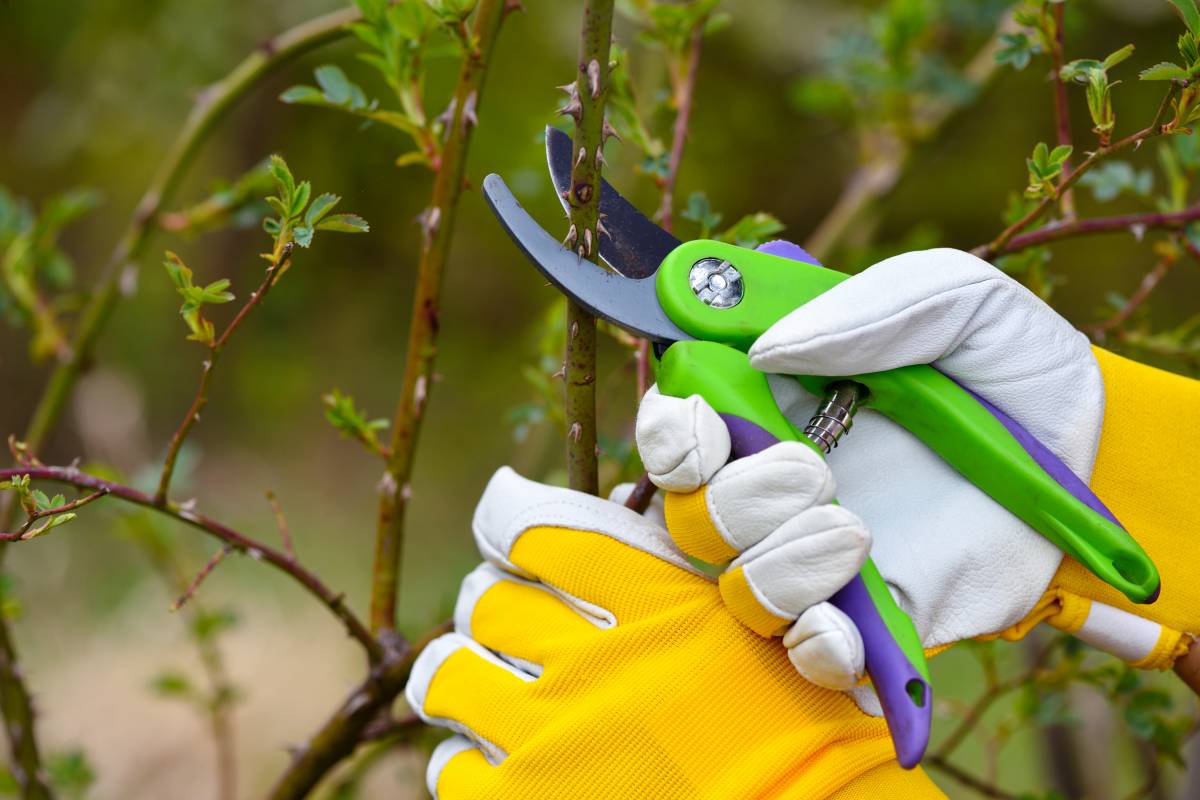
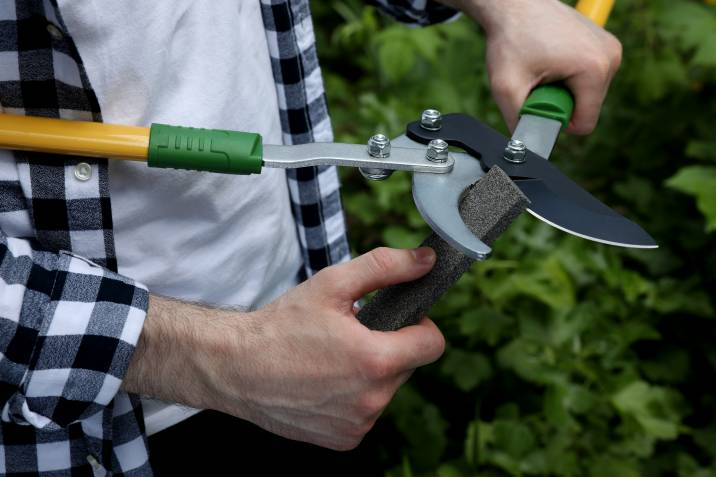
Any seasoned gardener will emphasise garden tool maintenance—particularly your secateurs. When kept sharp, secateurs can make clean cuts without bruising or fraying stems or branches.
Sharp secateurs can help keep your plants free of disease and boost their resistance. Use this guide to know all you need to sharpen your secateurs, like how to clean and sharpen secateurs, tools for sharpening secateurs, how to sharpen secateurs the right way, and how to sharpen secateurs with a whetstone.
What you’ll need
Here are the tools you’ll need for sharpening secateurs and the necessary cleaning and rust removal before blade sharpening.
Safety equipment:
Safety glasses or goggles
Safety gloves
Disassembly tools:
Spanner, hex wrench, or screwdriver
For cleaning/rust removal:
Rust and sap eraser or wire wool
Coarse and fine-grit sandpaper
Bucket or basin
Clean water
Dish soap
Wire brush
Tap or garden hose
White vinegar
Old rag or towel
For sharpening:
Worktable
Old rag or towel
Secateur sharpener or sharpening stone for secateurs/whetstone
Diamond or steel file
Machine oil
Twigs of varying thicknesses
Time of completion
It can take about 20 minutes to sharpen your secateurs. If your secateurs were heavily used and not maintained, this can take more time.
If rusty, you may need another 12 to 24 hours of soaking them in a water-vinegar solution to get rid of a heavy layer of rust.
How to sharpen secateurs
Step 1: Clean the secateurs
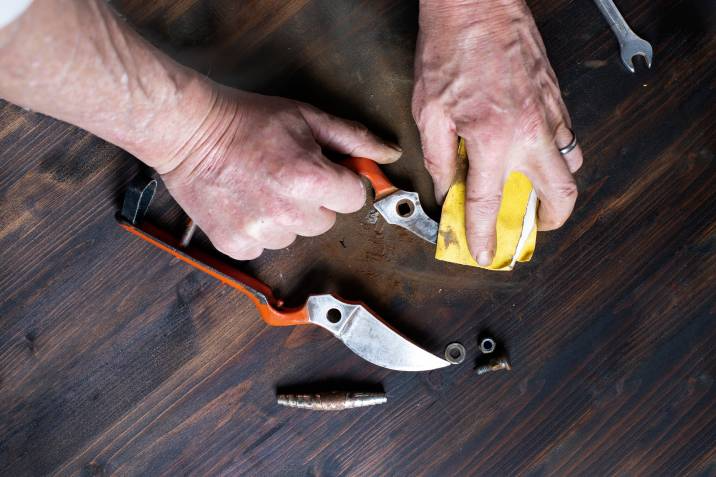
Remove any thick or stubborn dirt and debris. These coat the blades and prevent sharpening. Place the secateurs under the tap to loosen or remove any dirt; you can also use a sharp blast from your garden hose if the dirt is difficult to remove.
Use a rust and sap eraser for highly stubborn dirt and grime (you can buy this at a DIY centre or gardening supply shop) or wire wool to rub them off. You can also clean the blades with dish soap, then give the secateurs one final rinse. Wipe the tool dry with an old rag or towel after rinsing.
Step 2: Remove rust
Equally important is removing any rust on the blades. If the rust is only a thin layer, you can use coarse or fine-grit sandpaper to scrape it off.
Use a water-vinegar solution for a thicker layer of more stubborn, set-in rust. Mix white vinegar with water in a 1:1 ratio in a bucket or basin. Immerse the tool in this solution for at least 12 hours or overnight to remove thick, encrusted rust.
Use a wire brush to scrape off the rust. Use soapy water to ensure complete rust removal, then rinse it with clean water. Dry the tool with an old towel or rag afterwards.
Step 3: Grind a new edge
If any parts of the blades have nicks or dull sections, you’ll have to grind a new edge. With a spanner, hex tool, or screwdriver, loosen and remove the retaining nuts and bolts that keep the tool together. Store the metal spring or coil for re-assembly later.
Lay the handle of the upper blade on the edge of your workbench or work table. Make sure that the blade protrudes and faces away from you. Use a diamond or metal file to create a new cutting edge on the blade, applying long, slow strokes at the same angle as the blade’s bevel.
Note that the bevel angle is usually between 20 to 30 degrees. Do as many strokes as needed until you see a new edge—a brightly-coloured line indicates this on the blade. Stop once you see that a new edge is consistent and visible on the blade.
For the lower “jaw” of the secateurs, lay the handle on your work table with the jaw protruding from the table's edge and facing up. Use your diamond or steel file to flatten any nicks on the jaw. Aim to create a flat and even surface.
Retrieve the spring or coil, nut, and bolt, then reassemble the tool. Apply a spot of machine oil on the moving parts and open and close the secateurs a few times to spread the oil evenly.
Step 4: Sharpen the secateurs
It’s common to use a whetstone to sharpen secateurs. You can even sharpen secateurs with a metal file if you have one and know how to sharpen secateur blades this way. You don’t necessarily have to disassemble the secateurs when sharpening; just make sure that the sharpener consistently makes contact with the blade and no other part of the secateurs.
Wear your safety glasses and gloves, and on with the sharpening!
| See also: A complete guide to sharpening most types of garden shears |
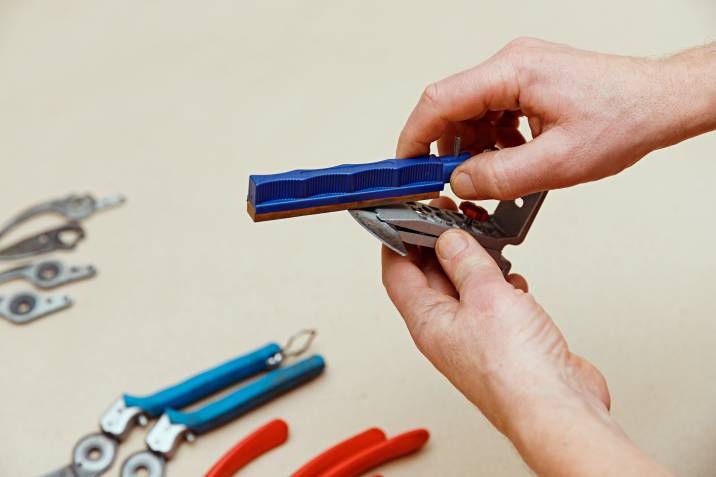
Using a whetstone
First, submerge the whetstone in water until all the air is gone. You’ll know it’s ready when no more bubbles come out.
Large whetstone - lay the blade on the whetstone at the same angle as the bevel
Small whetstone - lay the whetstone on the blade at the same angle as the bevel
Make long, slow strokes a few times without lifting the tool or the whetstone. Don’t rush, and make sure every stroke is at the correct angle. After a few strokes, you should see a long, sharp edge on the blade.
Using a metal or diamond file
Lay the secateurs flat on your workbench. Hold it down so that the blade protrudes from the edge of the bench and faces away from you.
With the file in your other hand, make long, slow strokes at the same angle of the bevel. Do this a few times until you see that the blade has a consistently sharp edge. Never lift the file to ensure consistent sharpening.
NOTE: After sharpening, make a couple of strokes with your sharpener on the opposite side of the blade. This is necessary to remove burrs. Make sure that the sharpener is placed flat against the blade (or vice-versa), and never lift the garden tool sharpener as you do the strokes. |
Step 5: Test the blade’s sharpness
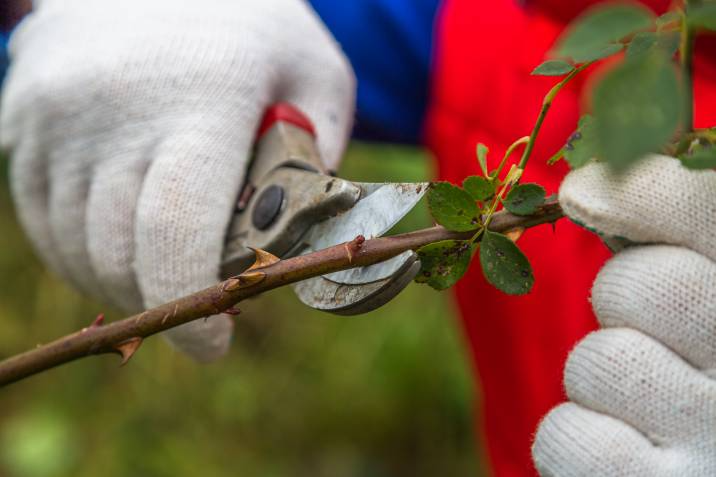
To make sure that the blade is sharp along its entire edge, test the secateurs by cutting a few twigs of different thicknesses. Never run your bare fingers on the blade! Make a few cuts and inspect the twigs.
If the cuts on them are perfectly straight and have no frayed or rough edges, you’re done sharpening. If you still see rough edges on the twigs after cutting, repeat the process until the cuts are perfect.
Step 6: Store the secateurs properly
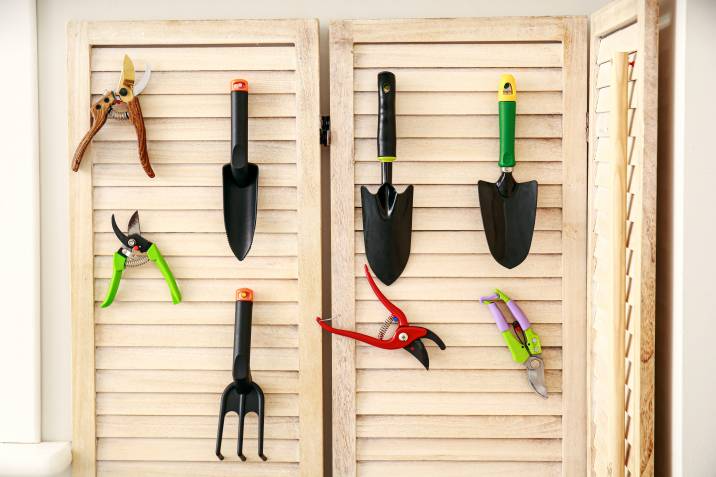
After sharpening the secateurs, don’t just toss them into a storage container willy-nilly.
Apply a spot of machine oil on the blade and spring, then open and close the secateurs to distribute the oil evenly. Hang the tool up on a hook in your garden shed. You can also fill a bucket with coarse sand dampened with machine oil, then store the secateurs with the blades embedded in the sand.
If you want to know more or need help with your gardening tool maintenance or other gardening tasks, you can consult or get the assistance of other gardening experts.
What are the types of secateurs, and which should I use?
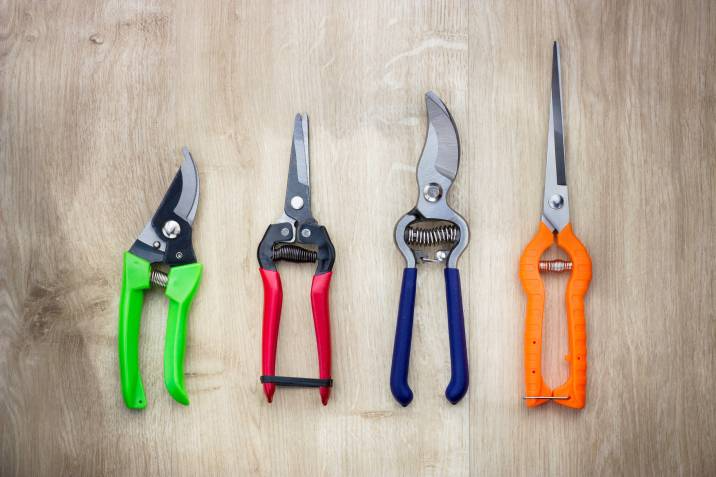
There are many types of secateurs. Here’s a quick rundown:
1. Bypass
These pruners have two blades that pass each other (hence the “bypass” name). The purpose of its design is to provide clean cuts. Use these secateurs to cleanly cut stems or branches 2.5 cm in thickness / an inch thick or less of living plants.
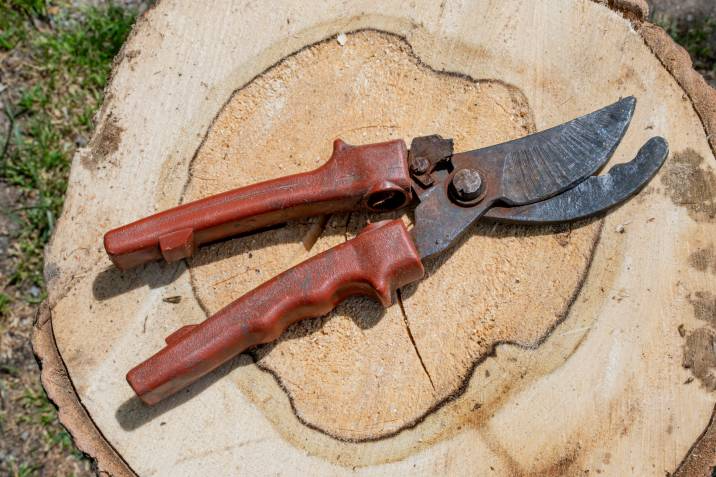
2. Anvil
This type of secateurs is ideal for cutting dead, woody branches that are usually tougher for other secateurs to cut or may cause their blades to become blunt. Anvil secateurs do more of a crushing-and-cutting action on woody branches, thanks to their robust top blade that stops at an anvil-like blunt base.
3. Double-cut
Consisting of two straight blades that converge at the centre, double-cut secateurs look like crab claws and are ideal for pruning fruit-bearing trees. Their heavy blades make it easier to cut clean through woody branches without damaging them, allowing the plant or tree to heal faster.
4. Ratchet
Much like anvil secateurs, ratchet secateurs have a straight blade and a blunt base for bearing down on and cutting off dead stems or branches. Their ratcheting feature allows them to cut thicker, woody branches with repeated squeezes on the handles.
So which type of secateurs should you get? Most gardening experts recommend starting with a good pair of bypass secateurs. As you make your first foray into gardening, bypass secateurs are an appropriate and versatile tool for trimming and caring for many plants. Remember, you can always consult and hire an expert if you’re unsure how to cut and care for your plants.
Learn more: A step-by-step guide to cleaning and sharpening your garden tools |
Sharpen your secateurs with the help of an expert
Getting into gardening may appear intimidating, but you can use this and other handy guides for all the essential knowledge about this worthwhile activity. Don’t forget that you can also post a task to get help with any of your gardening needs!
Frequently asked questions
Attach the 15.9mm aluminium oxide grinding stone to your Dremel. Clean your secateurs and remove any rust. Mount the Dremel on a bench vice and disassemble the secateurs. Use the sharpening stone attachment on a medium to low setting and grind the cutting edge along the angle of the bevel. Continue until the edge looks sharp, and then grind on the opposite side to deburr. Don’t forget to wear safety goggles, gloves, and a dust mask!
No. Knife sharpeners are specifically made to sharpen knife blades and may not provide the right angle for the bevel or ensure complete coverage of your secateurs. So no, it’s not recommended to use a knife sharpener to sharpen secateurs.
You should sharpen your secateurs almost as regularly as you use them. You must sharpen your secateurs every two to three weeks if you use them to tend to your garden on weekends. But if you use them daily and do a considerable amount of pruning and trimming tasks, then sharpening them every other day may be more appropriate.
The term “secateurs” and “pruners” or “hand pruners” are used interchangeably but essentially refer to the same tool. The term secateurs is used in the UK, AU and other places that use British English, while the term “pruners” or “hand pruners” is common in the US and places that use US English. As for shears, secateurs or pruners are actually considered as a subcategory of shears. Most shears are larger and are often operated with two hands as opposed to secateurs being small enough to operate with one hand.
Find tool sharpening specialists, fast
Find a tool sharpening specialist