There’s really nothing like a solid wood floor.
It’s a classic feature for your home and one that lasts the test of time.
Sure, there are plenty of experienced people offering carpentry services in London, but have you ever considered laying the wood flooring at your home yourself? It’s entirely possible.

A couple of things before you get started…
- Wear knee pads to take some of that strain off.
- Wear ear defenders when you’re using power tools – your ears will thank you later.
- A dust mask and safety goggles are required for the board-cutting part.
- Oh and if you’re cutting indoors, make sure you choose a well-ventilated room.
- Patience and planning – don’t rush this process!
Here’s a guide to give you an idea of the steps involved in laying wood flooring at home. Turn to carpentry services in London if you need any expert assistance. To add, if you’d like to know how much it costs to clean floors, visit our updated floor cleaning cost guide.
Pick your choice of wood
A good place to start (and maybe the most fun step). Pick the type of wood flooring you want. Most of the popular options are fairly low maintenance, such as oak, pine, cherry and walnut.
Pick your favourite hue and you’re all set to get started.
Check your base is in good shape
The base (AKA sub-floor) is the layer of flooring which will lie underneath your brand spanking new wood floor. You need a solid base so your flooring can get the support it needs to endure the inevitable stress of daily use.
Check that your sub-floor isn’t worn or uneven in any areas. It needs to be even, dry and smooth. If it does have any faults, get them replaced or fixed before you continue layering your wooden flooring on top.
Remember, a faulty base leads to problems in the future.
Remove all obstacles
This includes removing the trim or base moulding around the room’s perimeter. Use a putty knife to pry these away without causing any damage to the trim.
Let the wood acclimatise
A hugely important step of the process that will require a bit of patience. At least 7 days, to be exact.
As moisture in the air can cause your wooden flooring to expand, you need to expose your floor boards to the new room’s atmosphere for a week so they can acclimatise properly before securing. It takes this time to adjust to the change in temperature.
Your floor manufacturer will have specific instructions on whether the flooring should be left to acclimatise in the packaging or not. Some may need less time, so opt for those if you need your floor done in a jiffy.
Check your placements
‘Dry lay’ your flooring to find the best positions for your floorboards before nailing them down.
It’s easy – lay the first few boards in your ideal locations and check that the placement works.
Start to lay your floorboards
Now that you have your placements sorted, you’re ready to lay your first board (finally).
Lay your boards on top of a vapour barrier sheet to keep noise levels in your home down.
Keep your first board about a centimetre away from your wall to allow for any slight expansion.
Fasten your floorboards
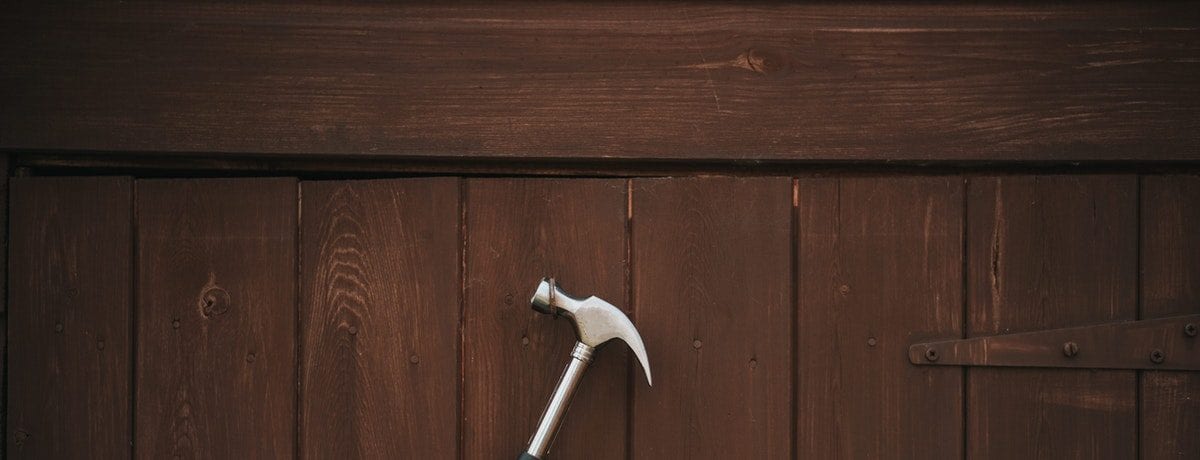
You can blind nail or face nail your floorboards to secure them to the ground. Blind nailing involves driving a nail into the board’s tongue at an angle using a flooring nailer. The nailer is a godsend for you (and your neighbours) as it saves you hammering away.
Face nailing is also straightforward. It involves driving a nail into a pre-drilled hole. You can use a power nailer for this too.
Nail away until all the floorboards are secure.
Step back and enjoy the vision of your newly laid wood floor.
Yep, you did that.
When to call a carpenter
Not to doubt your abilities or anything, but there are some instances where only professional carpentry services will do. Call a carpenter if:
- Your sub-floor is in a bad state. Remember, a faulty base will lead to trouble in the future.
- If you’re worried about safety while laying your wood flooring.
- If you want the best possible finish for your floor. An expert hand pretty much guarantees it.