Sure, installing a DIY garden irrigation system sounds super complex, but it just takes familiarising yourself with a few steps to keep your plant well watered and cared for.
What are the perks, you ask?
Well, a good irrigation system will deliver water only to those of your plants that need it. And, they’ll deliver it at the right time, so the system will save you time, water, and money.
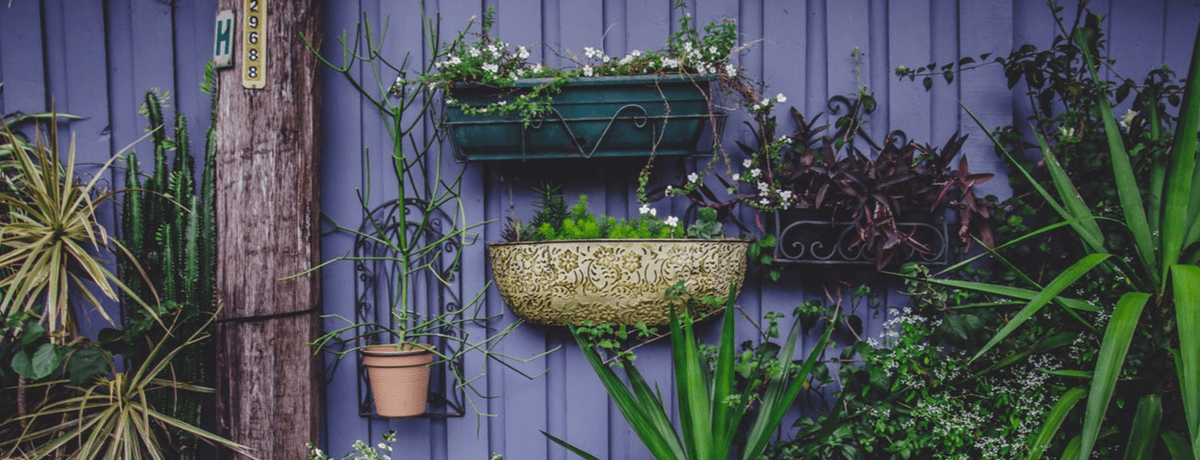
They’re also versatile, so depending on your garden layout, you can either install at ground level, or you can hook it up through a fence so it runs among any plant containers or any hanging baskets.
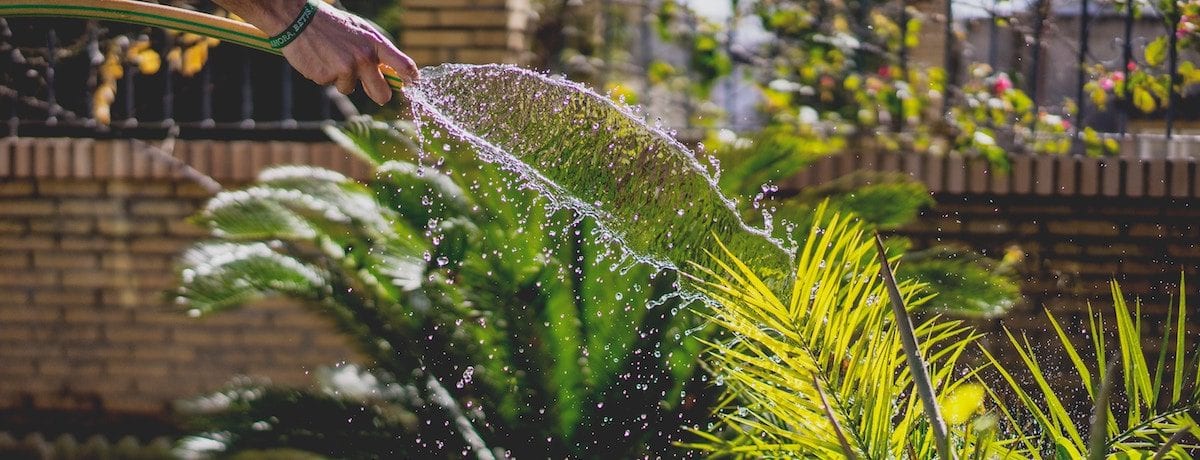
If you’re thinking of sprinklers – don’t. They’re a popular choice (and let’s face it, they’re fun to run through), but they’re not great at accurate targeting. Drip irrigation systems are also more efficient as they deliver water right to the base of your plant, right where it’s actually needed.
If you hook it up to a set timer, you don’t need to be around to turn it on and off!
First things first, what is a water dripper system?
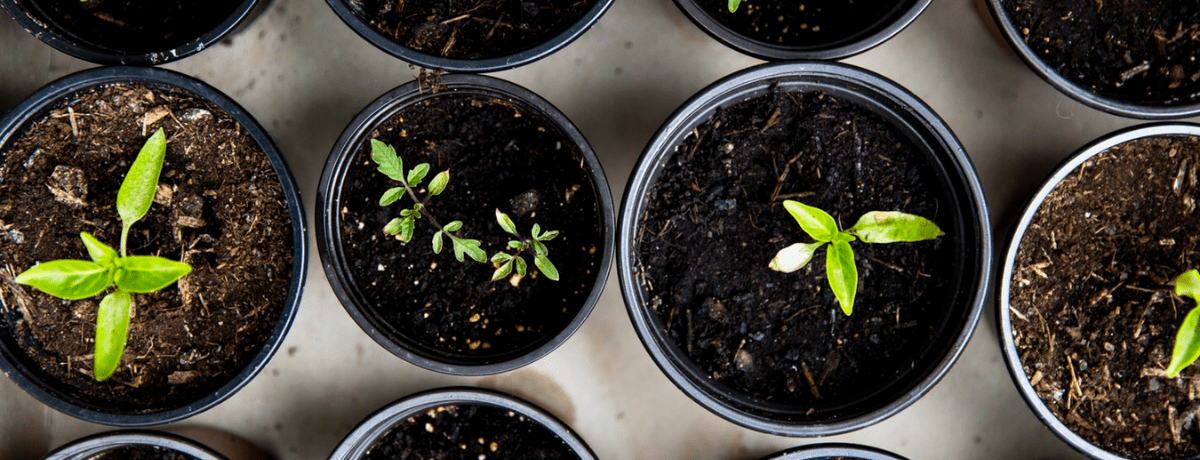
A dripper system waters each plant using tiny drippers which are connected to a hose. You can assemble it to fit any type and layout of garden, but it’s most suited to plant pots, greenhouses and flower beds.
What you’ll need:
- Drippers
- Garden hose (you can get special ones for irrigation systems), hose connector and hose stakes
- Timer
- Control valve
- Hose plug and punch
- Tools
How to install a DIY garden irrigation system:
- Start by unravelling your hose and run it over to the area that needs watering. Make sure that you have enough supply hose to reach back to your tap.
- Once it’s in place, close the end off with the hose plug.
- Time to start creating your water pipe network. Using a hole punch, make a hole in your supple hose. This is where you’ll insert your subsidiary hose.
- Next, connect your drippers to your supply hose. Peg it into place and use mulch or soil to conceal your hose. Make sure your drippers are clear though. (Remember, if you feel unsure at any point, there are always local gardening services who can help.)
- Fit your water timer to your tap and connect your supply hose to it.
- Secure all pipes in place with your hose stakes (if you decide to attach to a wall or a fence, use wall clips).
- Set the timer, and you’re all set to test the system. You may need to adjust the drippers to get a perfect position. You can also adjust the dripper flow rate just by turning them.
Try your new system a few times so you get a clear idea of how long you need to run it for.