Ever found yourself in panic mode before heading out because the drier chewed a button on your shirt, or your hem dropped and it is too late to SOS your Mum’s sewing services?
Yep, we have been there before ourselves. What did you do next? Decided on a less perfect shirt to wear? Secured the hem with pins hoping they didn’t find a new bed in your skin?
Argh – if only you knew how to sew!
The good news is hand sewing is easy to master. There are a few basic sewing techniques to remedy all sorts of tricky situations.
Next time you hit a snag with your clothing preparation you could find a seamstress, or try these little saviours instead. These two simple techniques will have you mending hems and fixing loose buttons in no time.
Here are a list of hand sewing for beginners: techniques, stitches and projects
1. Running stitch
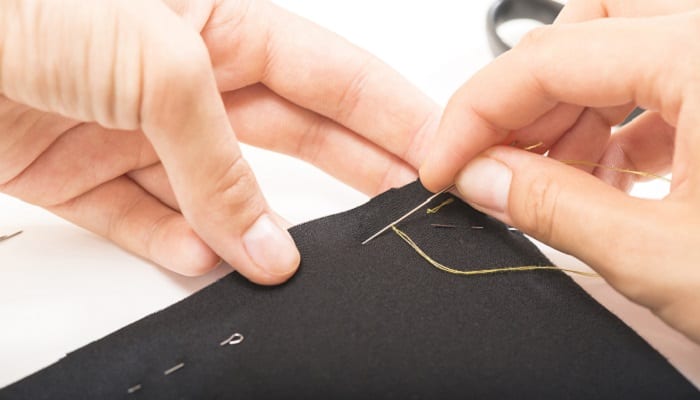 This convenient technique is the easiest to master and can be used for a variety of hand sewing projects.
- Thread the needle and knot the end
- Anchor the knot from the underside of your garment, bringing the needle up through the fabric
- Weave the needle down and up through the fabric following the line you need to sew
- Repeat the process until you reach the desired end point
- Stitch the last two threads back through themselves under the garment and pull tight before you snip the cotton
Running stitch project: to practice your running stitch technique check out this awesome Fabric Yo-Yo tutorial from Positively Splendid. Use the fabric yo-yos to add bling to an old handbag, make some fancy hair accessories, or even some home décor pieces.
2. Slip stitch
Slip stiches are common for hand sewing a hemline and for when you don’t want any stitches to show through.
- Thread the needle and knot the end
- Start from the underside of your garment and push the needle through the hem or a seam allowance to anchor the knot (where it won’t be visible from the top side)
- With the tip of the needle, pick up a few threads of fabric from the garment directly below where you threaded the anchor knot on the underside
- Pull the needle through towards the edge of the hem
- Move the needle over and put it into the hem edge so the stitch falls nicely under the hem edge
- Repeat steps three to five until you have re-stitched your hem or the item you are working on
This method might produce tiny holes on the top side of your garment. The stitches themselves should not be visible.
So next time you find yourself in a pickle don’t go into panic mode. Grab a needle and thread and do your own sewing service repairs instead.
Have a complex sewing job you need help with? Find a seamstress on Airtasker.