People do not come from a packaging box, we are created individually.
Buying clothes to fit our unique sizes and tastes is frustrating when you can’t find the one. Too big at the top and too tight on the hips, too long, too short, ugly buttons, no buttons – you know the drill.
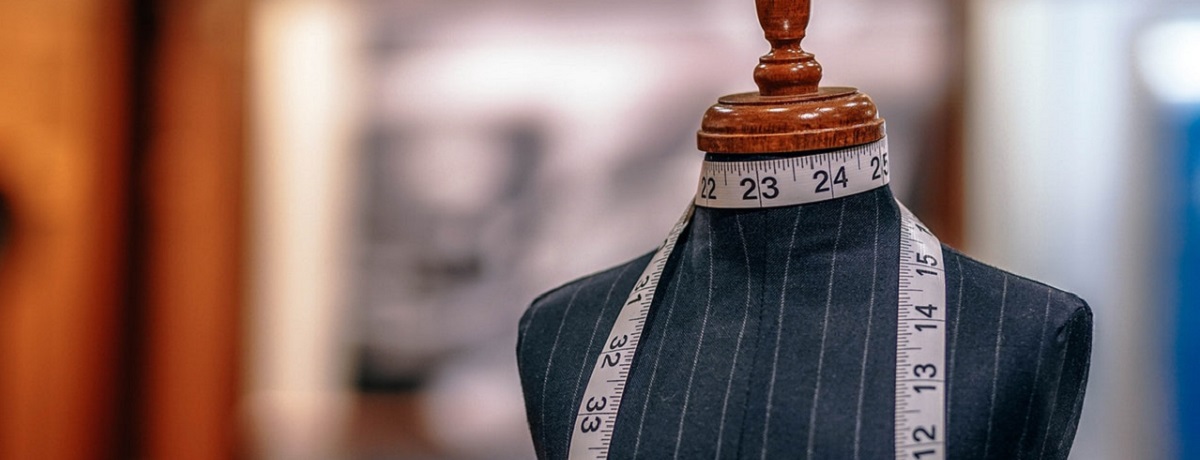
Custom-made clothing can save trolling the retailers but usually requires more dollars, more commitment, and longer turnaround times.
Furthermore, those with growing families often fall victim to school uniform alterations when the kids hit a mid-year growth spurt.
And when fashion trends change from season to season it is nice to be able to keep up. By making an alteration here and there you can have a refreshed wardrobe and be on trend again.
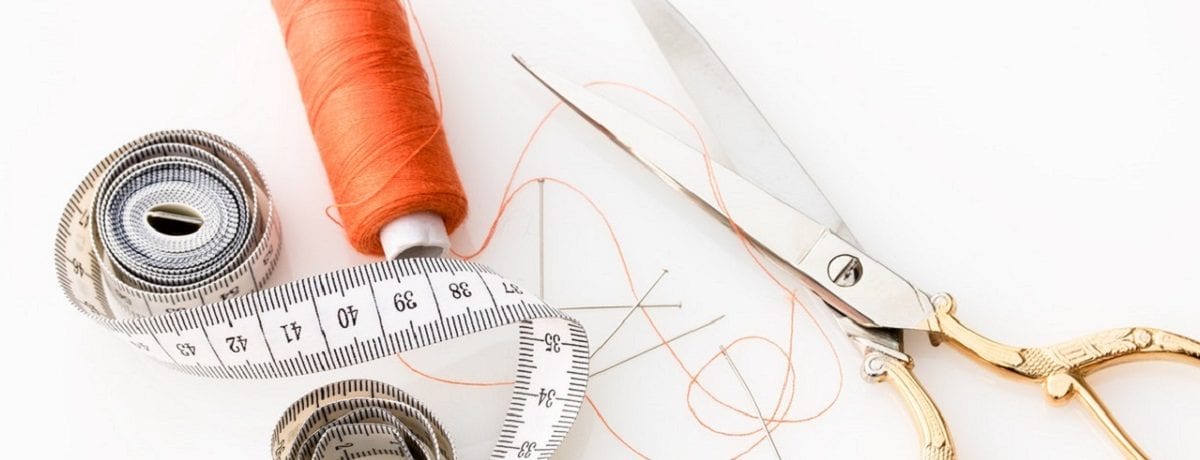
When the need arises it pays to have the skills to do your own clothing alterations.
Here are some sewing projects that can be mastered by beginners:
Hemming
Hemming is one of the most common clothing alterations. Chances are you have something in your wardrobe that could do with hemming.
How to hem
- Put on your garment inside out
- For the best result get someone to help you pin around to the length you want your hem
- Remove your item being careful not to stick yourself with the pins
- Measure and adjust the hemline to make sure it is even all the way around
- Press the hem firmly with a warm iron
- For a professional finish, turn about 1cm under along the top edge and press that as well
- Follow the line you have created around with the sewing machine
- Remove the pins and you are done
The blind stich option on your sewing machine will give the best sewing results for a hem
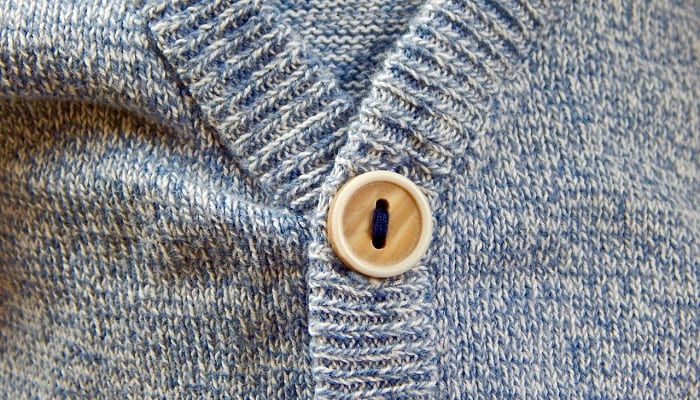
How to change buttons
Changing the buttons on clothing can give a whole new look to the garment. Choose buttons that pop with colour (yellow is on trend for 2018) or blend seamlessly with the item.
- Selecting a needle that will fit through the hole of your chosen buttons, thread it with double-length cotton to match your garment
- Placing the button on the side opposite the button hole, start your first stitch from the underside
- Go across to another hole and back down to the underside of the garment. If you have four holes create an x shape as you sew. When stitching back down go as close as possible to where your stitch came up
- Repeat this process until you have gone over your pattern three times
- For your final stitch, come up the fabric and stop before you go up through the button. Tie it off tightly and trim.
For better wear and tear dab a small amount of clear nail polish on the top of the button and the underside stitching.
Take in a top
Here’s how to create a sexy silhouette shape on that t-shirt you love.
- Wearing your standard undergarment, put your top on inside out
- From armpit to seam in a gentle line, get a friend to pin down as close to the side seams as possible to the shape you desire. Stay narrow at the top and wider at the bottom
- Remove the top and lay it flat
- Check with a tape measure that the top is even on both sides and adjust accordingly
- Sew along the pinned line with your sewing machine
- Remove the pins and flip your shirt
- Press the new seam flat with a warm iron then enjoy your new look
With these basic steps you can get cracking on your kids’ school uniform alterations and rock the season’s trend at the change of a button.
Not keen on DIY clothing alterations? Just hire an alterations pro on Airtasker.