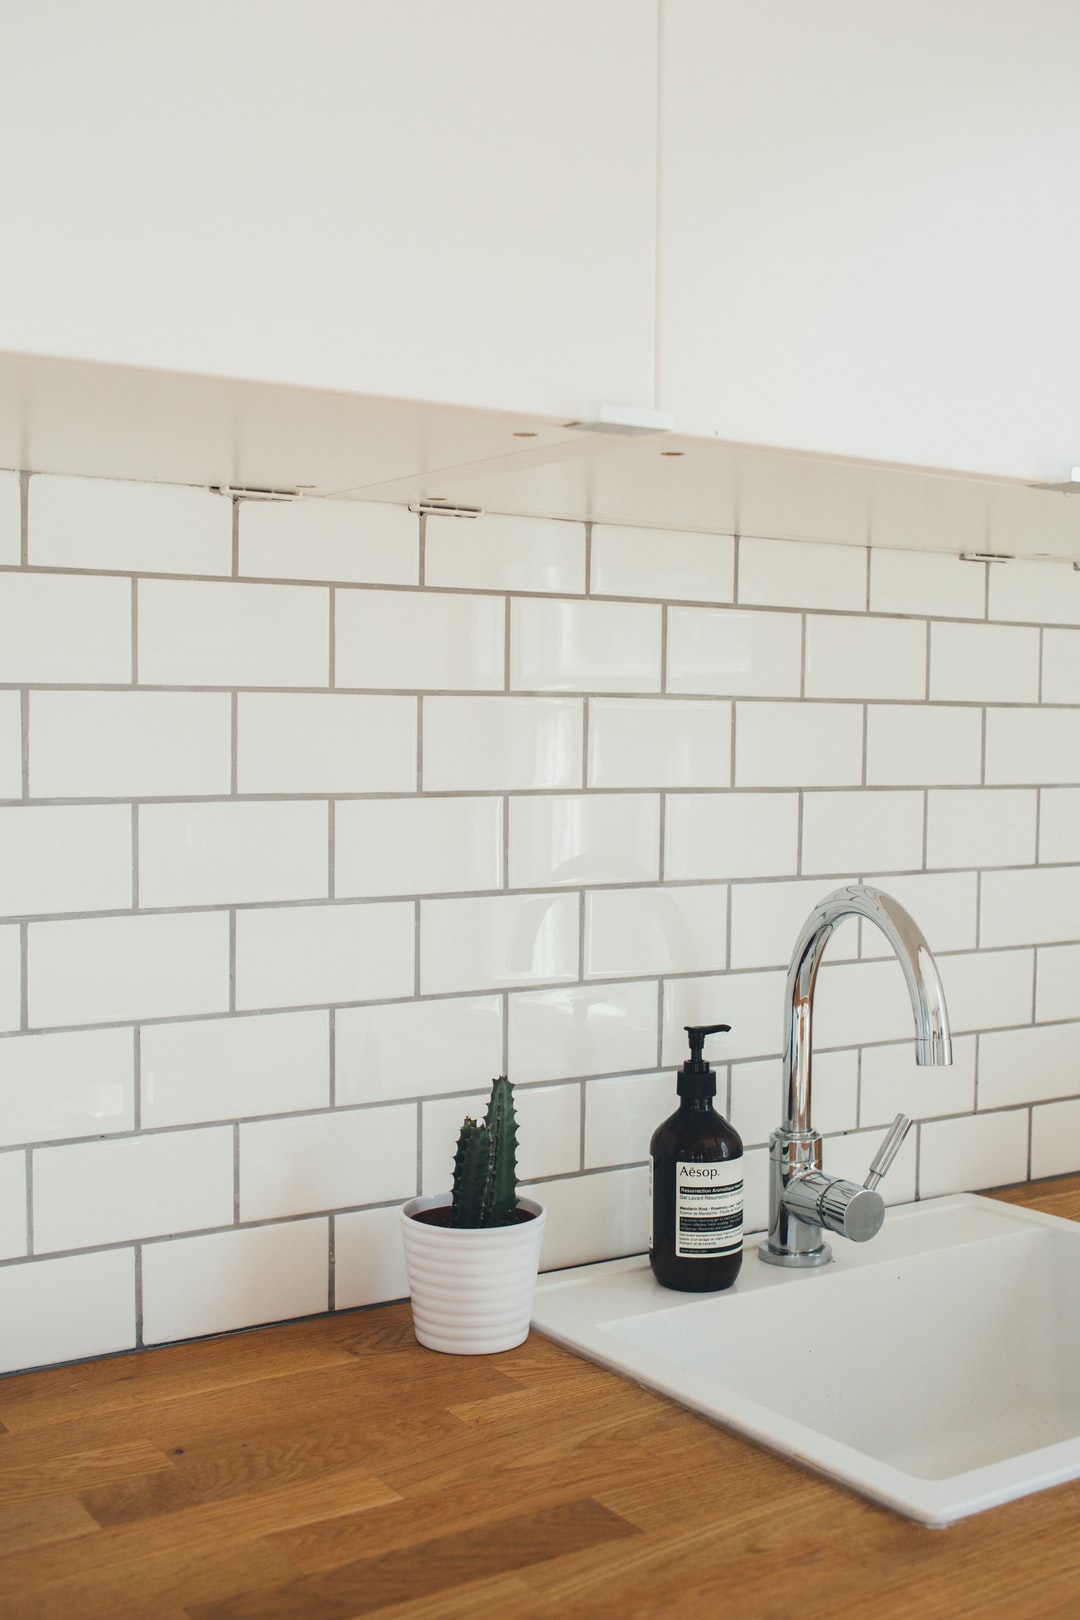
Whether you are starting from scratch with a new home reno or simply adding a feature splashback to your kitchen, sealing your tiles with grout is a vital element of your build. Learning how to grout tiles yourself not only saves you money, but it gives you a handy skill that you’ll call on for upkeep, ensuring your tiles stay as good as new, for as long as possible.
Grout protects your tiles from dirt and moisture and is actually quite quick and easy to apply. In fact, many people are surprised at how simple and quick this important job can be! You don’t always need the professionals or to say goodbye to your bathroom for a week to achieve a stunning refreshed look.
To help, we’ve detailed a simple step-by-step guide that can be used for both how to grout tiles, and how to regrout as well. A professional finish is easy to achieve!
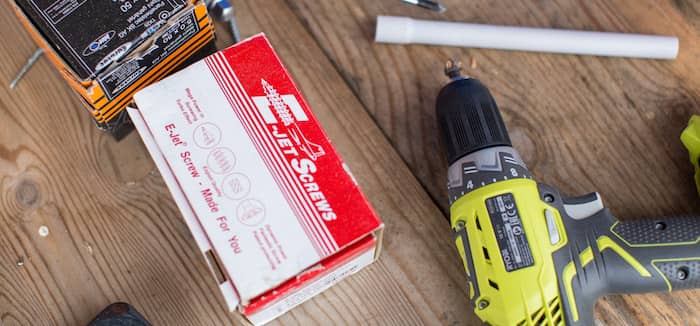
Everything you need to grout tiles
- Tub of grout
- Adhesive
- Squeegee or spreader
- Sponge
- Bucket
- Cloth
You’ll be able to find a range of different grout types at your local hardware store, so ensuring the project sticks to your budget should be very achievable. It will also be important to grab some grout sealer while you are there for the aftercare of your new grout.
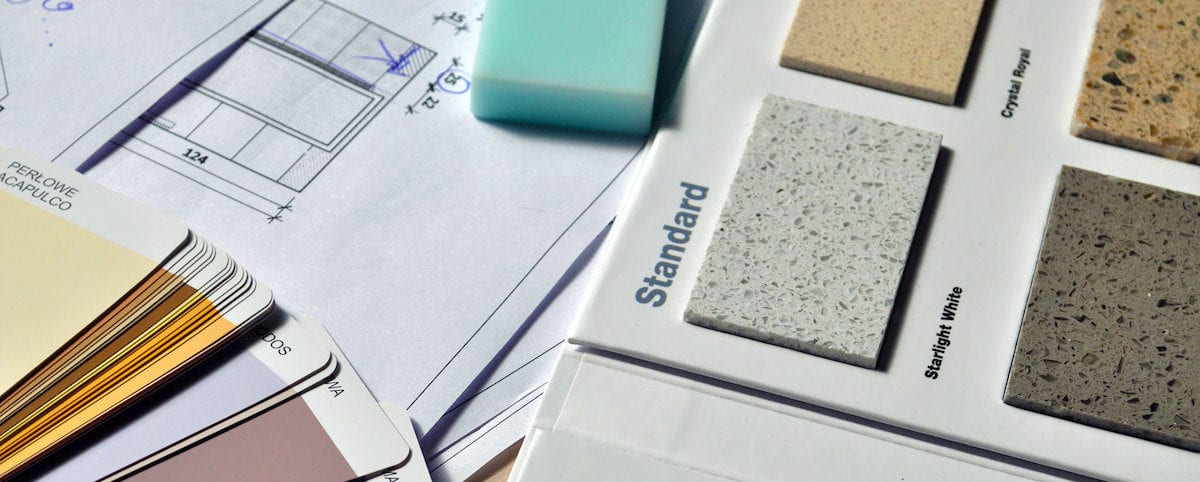
Understanding the different grout options
To help prepare you for that trip to the hardware store, it is essential to have a base-level understanding of the four main types of grout:
- Cement-based: The most popular option for DIY tile projects, not the most robust grout option but easy to work with
- Epoxy: A little bit more expensive but very effective for tiles that require need a lot of water resistance, for example, the bathroom
- Caulking: Usually available in a tube or caulking gun, and best for tough-to-reach corners
- Latex-modified sanded cement: Similar to the cement option but with higher levels of water resistance and bonding characteristics
If you are unsure of what will be best for your project, chat to the staff and let them know exactly what you’ll be doing, they will be able to point you in the right direction!
How to grout tiles – Step-by-step
Step 1: Preparation
If you are working with powdered grout, pour some water into a bucket, then add the grout. Stir and continue to add more crowd until you reach a consistency of whipped up ice cream.
Step 2: Application
Use a squeegee or grout spreader to pick up some grout then force it into the gaps that are between your tiles. You may find it significantly easier to work diagonally at a 45-degree angle when applying the grout, only doing small areas at a time, so your grout doesn’t dry before it is in the right position.
Step 3: Curing
While the grout is still workable, cure and tool it into the joints, wiping off any excess with a damp sponge. Give it about 10 minutes then go over with again with a wet sponge.
Step 4: Sealing
The final step is making sure the joints are waterproof. This is done with a grout sealer that is often applied twice. Just make sure that your tile is dry before applying to ensure the best result. From here you just et the tile sit to dry, then polish it with a cloth.
How to regrout tiles – Step-by-step
Nothing looks better than new white grout, and nothing looks worse than grout that has become mouldy or dirty. If your grout needs a refresh, or you want to get a little experimental by changing its colour, regrouting is the way to go and easier than you think!
This weekend job will seriously boost the look of your space, and all you need is a grout rake and an off-the-shelf product.
Step 1: Prepping the area
Cover the floor with an old sheet to save clean up time and pop the plug into the bath or sink to avoid grout falling in there and causing a blockage. It’s also a good idea to open windows to ventilate the room and clear out the dust. A safety mask and goggles are a good idea as well.
Step 2: Remove the old grout
Use your grout rake, or an electric grout remover to clear out all of the old grout. Start in the middle of the tile and draw a line with your grout rake with a slow, steady movement. Start with vertical lines, then go horizontal. Give the area a wipe down when you are finished to get rid of any excess dust.
Step 3: Applying the new grout
Mix up about 20 minutes worth of grout to ensure you don’t have an excess amount that will dry before you get to it. Chuck some on your grout spreader and work it into the lines. Run over the tiles with the edge to clear away any excess.
Step 4: Drying
Use a damp tile sponge and clean away any excess grout, then leave it to harden for about half an hour. You can use a grout finisher to tidy any indented lines by running the rounded end along the line with a soft amount of pressure.
From here, leave it all to dry for a few hours, then take a clean cloth and polish the powdery residue.
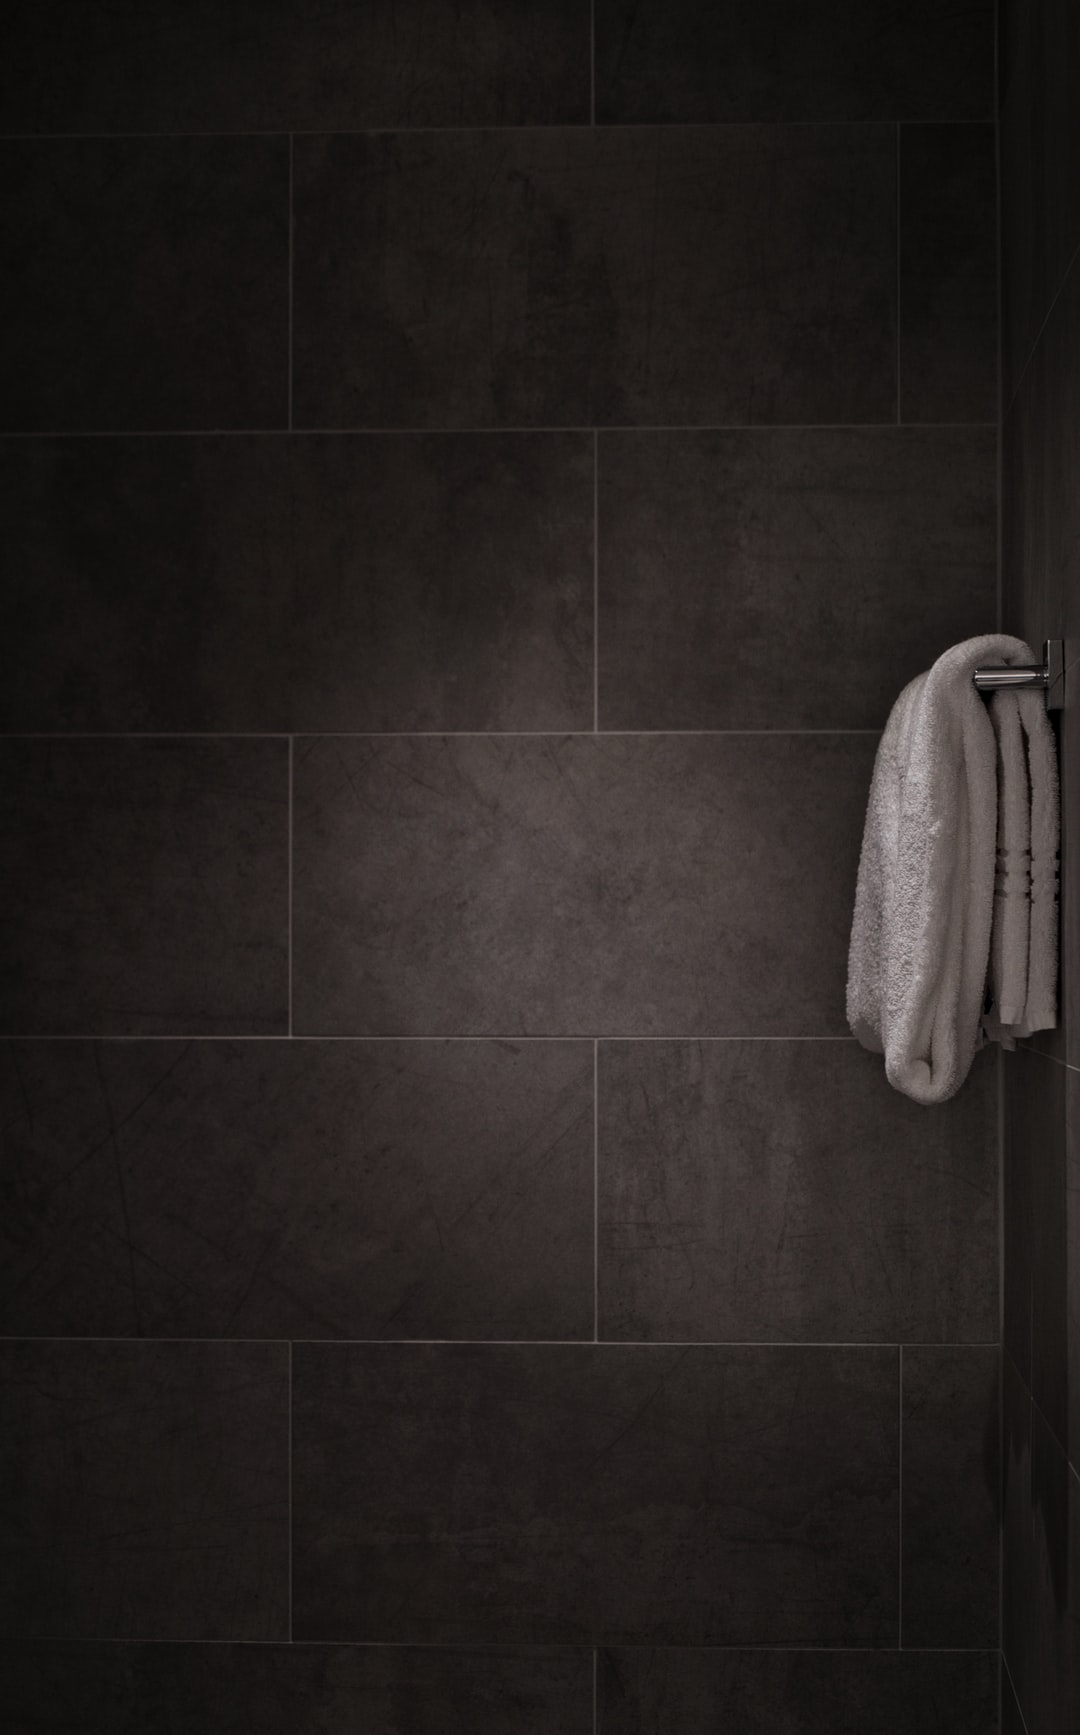
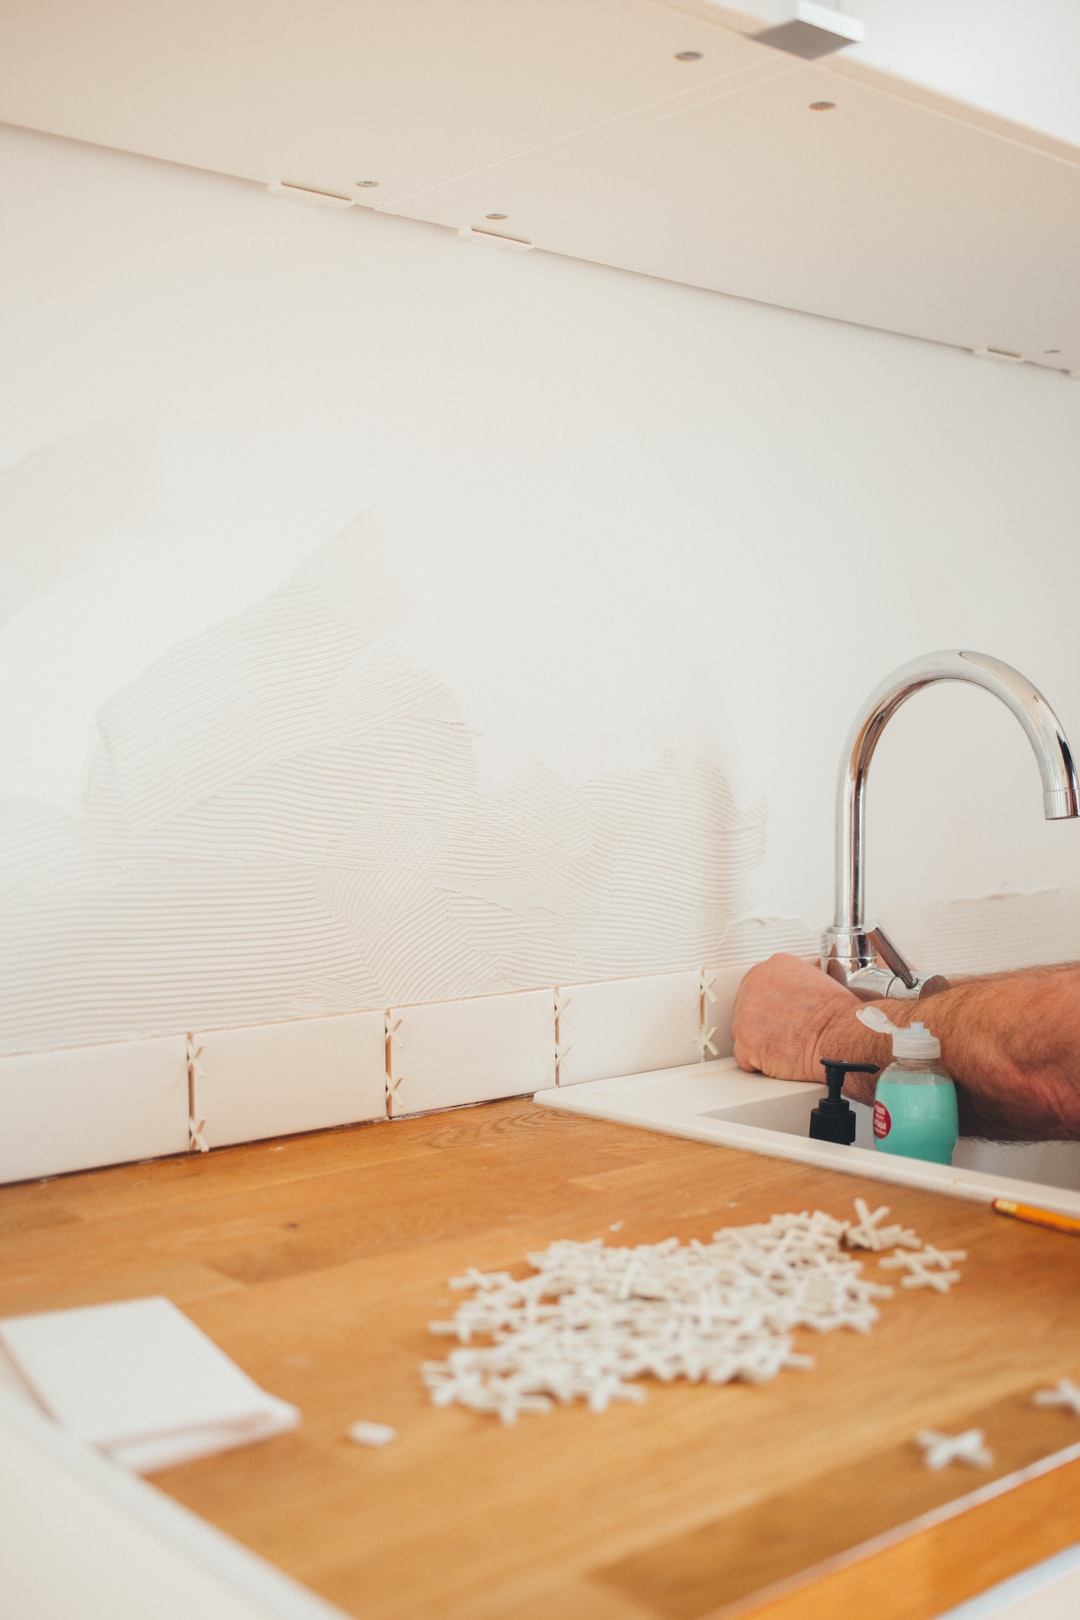
How to grout shower tiles
When it comes to handling the grout on your wall tiles, the steps are mostly the same, save some slight differences. The mixing and creation of your grout, with the powder and some water, is the same, but you’ll want to protect your floor from splatters. Lay a drop sheet secured with masking and remove any spaces that may be in-between the tiles.
Spread a generous amount of your grout mix onto the tiles then use your grout tool to work diagonally across the tiles. This helps the mixture get right into the gaps. To really secure your grout, run the flat edge of the tool across the tiles which also helps to remove the excess. Repeat this process until the mixture in the joint begins to set.
Once this is all done, take a damp sponge and wipe diagonally across the tiles leaving a clean joint that is full of grout. Leave the grout to dry completely then buff the tiles with a soft cloth, and your wall tiles will look as good as new!
Frequently asked questions
How long do you leave grout before wiping?
When you first finish applying your grout, leave it to harden for about half an hour. At this point, you can tidy any indented lines with the rounded end of your grout tool with a soft amount of pressure.
After you have done that, leave your project to dry for a few hours, before cleaning and polishing. When all this is done, sit back and enjoy your fresh new look!
Can you put new grout over old grout?
This is not recommended as it will be harder to achieve a neat and professional-looking result. Take a bit of extra time and use a grout rake to clear out all of the old grout.
The best way to do this is by starting in the middle of the tile and drawing a line with the grout rake in a slow and steady movement. Once you have cleared away all of the old grout and excess dust, you are ready to apply the new grout.
Do you need to seal grout?
Yes, it is very important that you seal your grout to ensure it stays water-resistant and offers you a decent amount of longevity. To do this, purchase a grout sealer from your local hardware store and apply it twice or per the instructions on the packaging.
Ensure that your tile is dry before applying the grout sealer to get the best result. This final step is crucial in protecting all of your hard work, so don’t skip it!
Enjoy your easy DIY new bathroom look!
Just like that, you have refreshed the look of your bathroom or kitchen without an exorbitant cost or too much hard work. Fresh grout will make your space look brand new, while also protecting it from moisture and dirt, saving you from a hefty renovation sooner than necessary.
If you want all of this but the DIY path is not for you, just check out the many Taskers that can handle your regrouting, bathroom tiling or tile grout cleaning. You can also get a little help to refresh your splashback, making it into a feature piece or revamp your floor tiling or any tiling in general.
If you have caught the DIY bug, mastered your grouting and are wondering what the next DIY project you can take on around your home is, check out our blogs about kitchen flooring, splashback ideas, bathroom tiling ideas and even some great design tips for your front porch! There is no end to the improvements you can do, and it’s time well spent, boosting the look of your home and its value! Get to work!