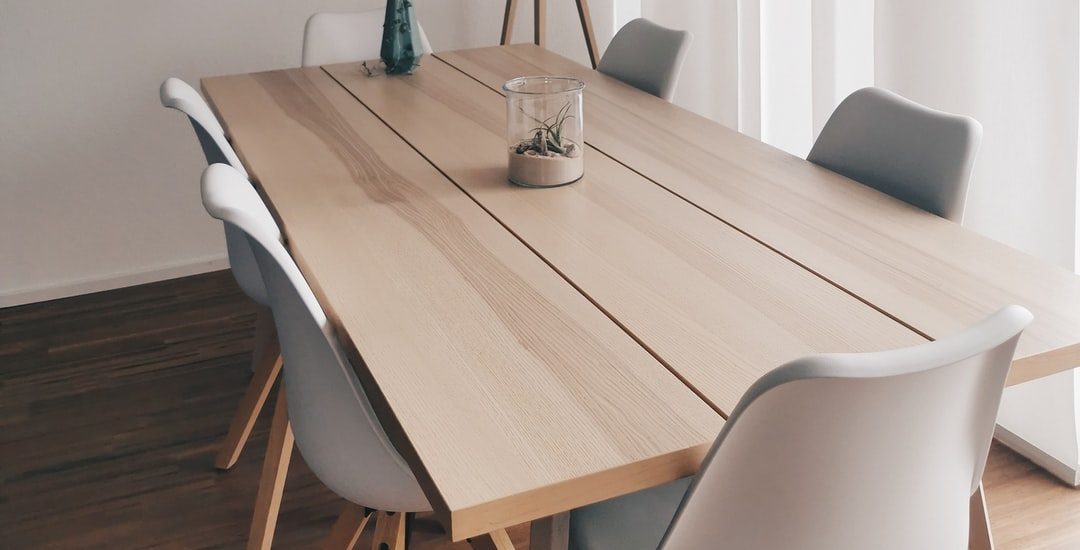
Every home needs a dining table, but there is a real sense of accomplishment when it’s a DIY dining table! You’ll be able to impress your guests with the fact that YOU BUILT the piece of furniture that is holding up their food and drinks!
As another benefit, if you use 100% reclaimed wooden planks, you’ll achieve the look of a rustic industrial DIY dining table while also recycling materials. It may take a while to prepare the wood to achieve a smooth finish, but the result will be truly stunning.
You can use any reclaimed wood for a project like this and completely customise it to the size of our room. Reclaimed wood can be tricky to work with (cue the splinters), but the outcome is worth it, and you’ll save a few trees in the process! Just make sure the wood is completely dry before you begin, and read on to learn how to create a stunning DIY dining table.
The tools you’ll need
You’ll need a few basic and specialist tools before you begin:
- Wrecking bar
- Electric or hand plane
- Claw hammer
- Rubber mallet
- Biscuit jointer
- Circular, plunge or sliding mitre saw
- Belt sander
- Clamps and ratchet straps
Building a DIY dining table: Step by step
Step 1: Clearing the boards
When working with reclaimed wood, you’ll need to start by removing things like existing screws and nails. This is where you’ll need the wrecking bar to help. Make sure you are starting with dry and clean wood.
Step 2: Plane and sand each piece
Use an electric or handheld plane (or a thicknesser) to sand and clean up the boards even more. Once planed, sand each piece with a belt sander to leave a nice smooth finish. The smoother the wood, the easier and more effective the next step will be. Optional: you can stain wood depending on your preferred table. Going for a farmhouse style? Weathered, white-washed wood gives off rustic vibes – perfect for a DIY farmhouse dining table. Or why make a DIY pallet dining table with pallet wood and paint it in a chevron pattern? It’s up to you.
Step 3: Joining the pieces together
Ensure you have clean and dry wood. Use a biscuit jointer to cut an even groove into the side of the wood and ensure a good straight join along each piece. Place a small piece of wood (a biscuit) to line up the two pieces evenly against each other (this also adds a bit of strength to the join). Clamp some beams across the top and bottom of your planks to ensure a completely flat finish, then glue the pieces together.
Step 4: Gluing
Sash clamps can be used to straddle the width of your boards with ratchet straps to account for the length. Make sure you glue your boards on a flat even surface, so you know that the whole piece will be perfectly flat. You want to avoid bowing in the wood or joins, or you’ll be stuck with a wobbly table!
Use wood glue, and be aware that it dries pretty quickly. That being said, we recommend that you leave this section to dry overnight, just for some peace of mind in knowing the glue has properly done its job.
Step 5: More sanding
When your tabletop is glued properly, it’s time for more sanding. The goal is to get the tabletop as smooth as possible in preparation for the filling of any gaps and imperfections.
Step 6: Filling gaps
The tabletop will need some epoxy resin to achieve a perfectly smooth finish. A simple wood filler will also do the same thing. As you are using reclaimed wood, it is quite likely that it is in a bad way with lots of holes and imperfections. Tape off the areas you need to fill with resin, then mix and pour it all in one go. There will only be a couple of hours before the resin starts to set, so you need to prepare your surface so you can work quickly.
You can use basic electrical tape to cover the joins and gaps that exist on the underside of the tabletop. This is important as it will prevent any resin from leaking through the bottom. Mix the resin in a small cup, then pour it in the required areas.
Let the resin set overnight in a well-temperature controlled room (roughly 18 degrees Celcius) to ensure the resin does not cloud over.
Step 7: Final sanding
That’s right, one more round of sanding is required. Plane the whole surface, then do the most sanding you have ever done in your whole life. Keep in mind that you are dealing with resin, so you may need a 1200 grit paper to achieve a super-clear finish.
Step 8: Attaching the legs
You can pre-buy your legs in a style that suits the aesthetic of your home or have a welder create a custom look for you for a pretty low price. Depending on the style of your legs, you’ll have various methods of attachment. Usually, however, they will have a plate that you’ll screw into the underside of your tabletop.
Step 9: Wood protection
Whether you’re using pallet wood or making a DIY pine dining table, the final step is protection. Keep in mind; it will be housing food and drinks, possibly some poker or board game nights, so the inevitable drink spill will eventually happen. The good thing about reclaimed wood is it already has a used look, so some stains or drink rings often blend in much better than on a sparkling new table. Still, it’s best to protect your surface.
Apply a wood stain or oil and lightly sand after each layer. It is up to you how many you wish to apply; you’ll be driven by the look each layer creates and your personal preferences. Allow the stain to dry, and you’ll be staring at a new dining table that you have made yourself! Feel free to make it al fresco and proudly show off your DIY outdoor dining table.
Frequently asked questions
How do you make a table step by step?
A simple overview of the steps required to build a table is as follows:
- Cut the wood
- Build the uprights
- Connect the long supports to the legs
- Attach the casters (if applicable)
- Secure the MDF
- Join the 2x8s
- Sand and sand some more
- Attach the top to the MDF
What materials do I need to make a table?
There are a number of modern table and countertop options when it comes to materials, inclusive of:
- Granite
- Glass
- Wood
- Marble
- Stainless Steel
- Tile
How much overhang should a tabletop have?
Overhang is the amount of tabletop that projects out over the base. This will vary depending on the design of your table, but a rough amount should be four inches along the sides and ends.
How do you secure a wobbly table?
Small rubber stoppers can be a good way to prevent your table from wobbling. You can attach them to the legs depending on which side of the table requires a little more support. Alternatively, you can sand the taller legs down to reach a stable height across all four.
Other ways to improve your dining room
The dining room table is an important part of any home as it provides a place to gather, share a meal, converse and during off-peak dining times, work on various projects!
The living room can often be one of the most used areas of the home. If you need a little help to make it something extra special, there are plenty of Taskers available for that exact reason! You can find people to help with dining room painting, to give a new coat of paint to the room to match your new DIY dining table.
There are also many Taskers who can help with a range of other furniture-related needs such as refinishing, furniture delivery and other furniture repair needs.
Finally, we have some other articles to help you turn your dining area into one of the most exceptional areas of your home. Have you ever wanted to design a boho style dining room? We have the guide to do that right here. Need some more ideas? Check out our dining room ideas article for some inspiration. Make sure your dining room is a comfortable and functional area that represents you, and you’ll enjoy every minute you spend there!
DIY: How to build a shed you’ll love!

Easy DIY: How to build your own mud kitchen
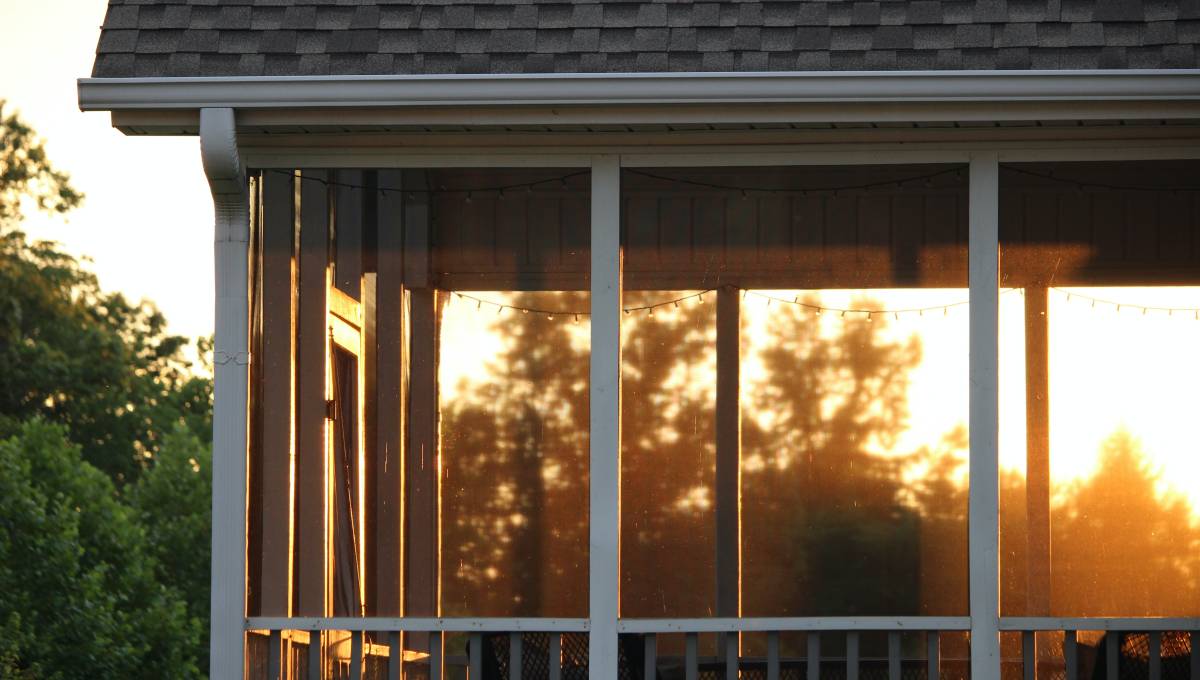
The best tips for privacy: How to screen in a porch
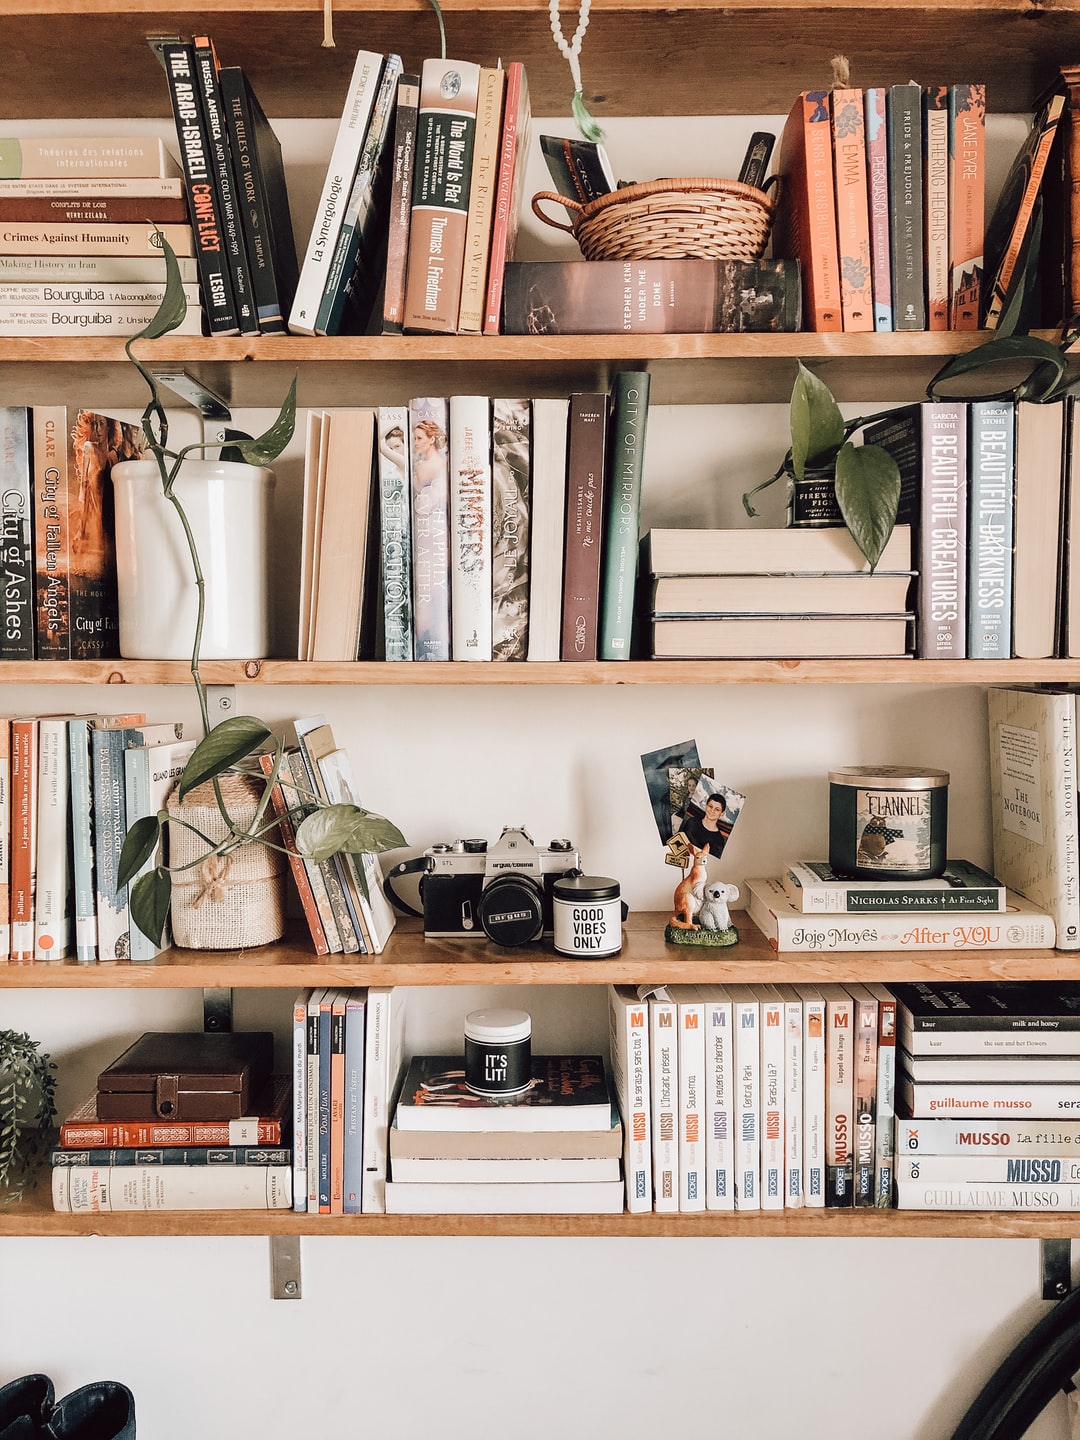
How to build a DIY bookcase and create your own mini-library

How to create a DIY projector screen for the best movie night ever