Wardrobes can be magical places, and not just because some of them have lions and witches and stuff like that through the back of them, but also because they can make your life much simpler! We have some handy DIY wardrobe tips that can help you create, manage and enjoy a truly well-organised space.
You likely put a lot of time into looking your best, and your clothes need the correct care to ensure that is possible. You can also make life much easier with a well-laid-out wardrobe for outfit selection, free space around the bedroom and more.
Let’s look at how to build a simple DIY wardrobe, then touch on some other handy clothing storage tips to best organise your space!
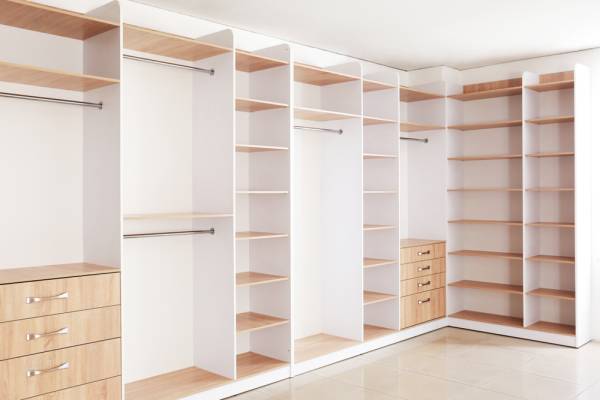
How to create a DIY wardrobe
To create your DIY wardrobe storage, we recommend using Birch plywood for a simple design that can be tailored to your look later with a paint job or various organisation layouts.
In this case, we’ll build a dimension of 75in high by 41.5in wide by 19in deep, but you can go bigger or smaller to match your space.
Materials:
- 3 – 3/4 (4×8) Birch plywood for the primary structure
- 2 – Roll of edge band
- 1 – 1/4 (4×8) plywood for the back
- Edge band trimmer
Step 1: Cutting down the plywood sheets
Use a circular saw to cut your plywood sheets to your preferred dimensions, be it the ones we’ve listed above or whatever size you have decided works for your space.
If you want to include a middle divider, use a pocket hole connection jig and drill all the locations that the pocket hole screws will sit. You can also use wood glue for added strength.
Step 2: Build the Frame of your DIY wardrobe
Build the frame with corner clamps to align the sides, then add the screws are added. If you are including dividers, add glue to the joint and work the divider into place.
Add the back, which is best cut slightly bigger to hide the plywood ends. Use wood glue on the surface of where the plywood backing will sit. Add brad nails to the top and bottom for a firmer grip.
Step 3: Add the edge and sand
Depending on how unique you want your DIY wardrobe shelves to look, you can add a finishing touch with an iron-on edge band. Find a colour you like and apply it to all of the visible ends.
Sand down the entire wardrobe and apply a white gloss to finish it off (also optional).
Step 4: Install the hardware
The hardware is another completely customisable section of your DIY wardrobe. Obviously, you need at least one clothes rod if you plan on hanging things. Alternatively, you can go a truly DIY look and just have the box frame with dividers to stack folded clothes in neatly (you’ll be surprised how great this can look.
While you can get even more creative if you have the skills with things like sliding wardrobe doors, DIY beginners may wish to keep things relatively simple.
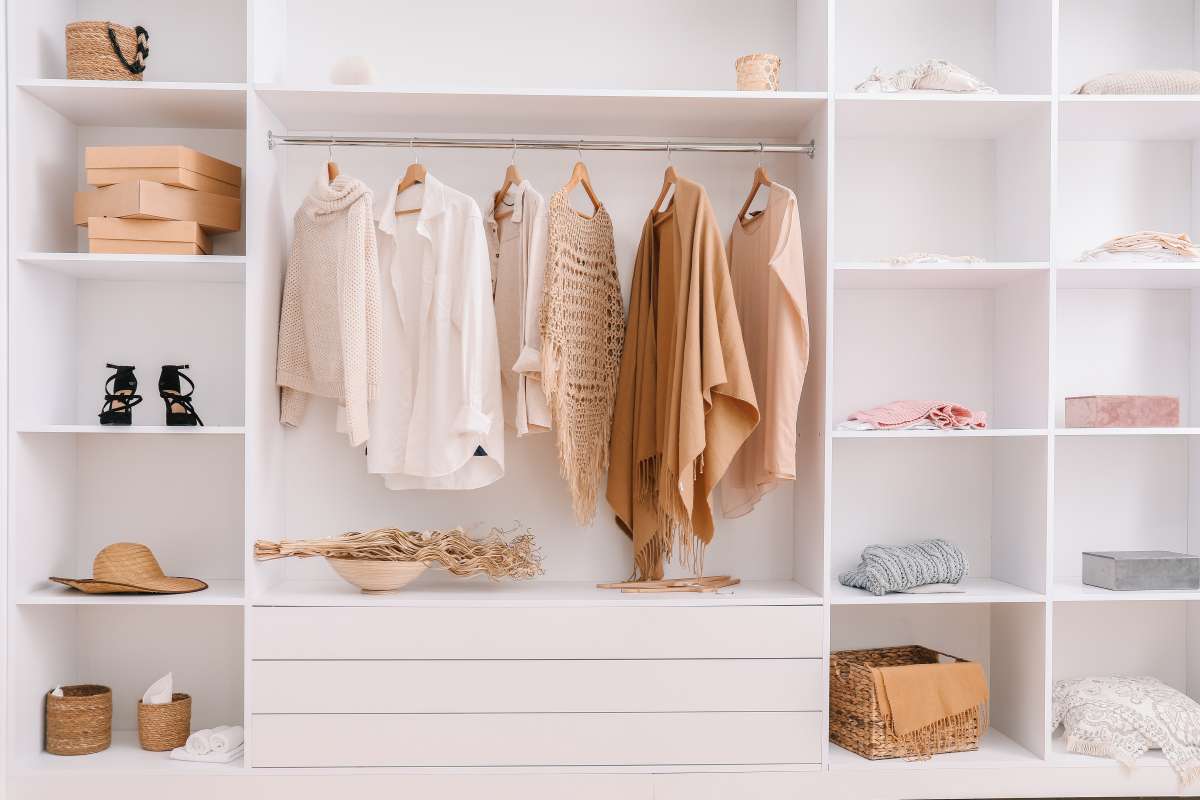
DIY wardrobe solutions: Organisation tips
A big part of creating your DIY wardrobe is organisation. If you know some handy organisation tactics, it can influence how you design your wardrobe whilst also making your use of it much easier! Here we have a few handy tips to easily organise your wardrobe.
Tip 1: Declutter clothes by category
A fast way to declutter that tangled pile on the floor that may or may not be your clothes is to sort them by type. This will make inroads into that massive fabric mountain much simpler. Separate your clothes into a single category and make it easier to compare similar clothes because they are grouped together in front of you.
The theory here is that it is even easier to get rid of the things you have too many of or no longer want. Try to make a commitment only to keep the clothes you know you’ll wear with frequency. If you hesitate on an item, that’s reason enough to add it to the pile for donation.
Tip 2: Empty and clean
This tip is an ongoing one for when your new wardrobe is up and running. Every now and then, it’s a good idea to pull everything out of your wardrobe – like, everything – and give it a clean. Vacuum, wipe down and scrub and use it as an excuse to re-sort your clothing before putting it all back in. The goal here should be to ensure a healthy space for your clothing while preventing mini-messes from building up over time into one big mess.
Tip 3: Design your ideal space
Use your specific wardrobe’s best features to your advantage. For example, if you have a lot of vertical storage space or multiple hanging rods, design and organise your clothing with the ability to hang in mind.
For hard-to-reach upper shelves or the fact that you may not have any shelves, find a creative way to fix the problem.
This may require some out-of-the-box thinking; for example, a hanging shoe organiser can also be a great way to store bulk t-shirts, or you can use plastic tubs for underwear and socks. Add a small armoire if you have an open space wardrove for extra storage or if you have an abundance of shelves, remove some to create more hanging space.
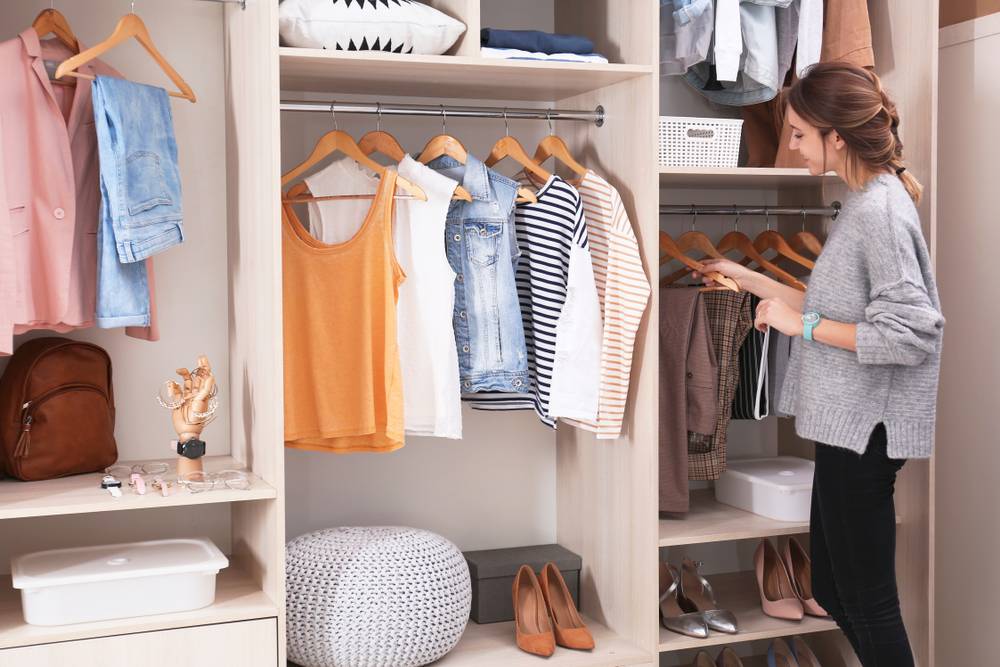
Tip 4: Store by category
This may seem obvious, but you would be surprised how many people do not do this easy tip. If you already followed tip #1, then extend this idea to your storage. Not only does it look neater, but it also makes things simpler when you want to locate a particular sweater in a hurry.
Keeping like items with like items just make sense. All of your belts should live in the same spot, and workout shirts should be separate from your pyjamas. When you are trying to pick an outfit, you’ll benefit from having all of the options next to each other for easy choices.
Frequently asked questions
What is the best material to build a wardrobe?
The most common wardrove material is plywood as it is inexpensive and easy to work with. Wardrobe materials choices are completely subjective and will often depend on the look you already have or would like to have in your home.
The reason why so many people opt for plywood is due to it being a material that is quite solid layers while still being light and easy to work with. This makes plywood a versatile option for both simple and detailed wardrobe designs.
How deep should a DIY built-in wardrobe be?
The availability of space will often be a more determining factor for your wardrobe size than anything else, but 24 inches is the common depth for most wardrobes as a preferred minimum.
Wardrobe dimensions depend on the design and can be as narrow as 18 or even 12 inches if they need to be. The height will also depend on your available space but aim for no more than 72 inches.
Can I build my own built-in wardrobe?
Yes, you can! However, it is important to note that a built-in wardrobe will be a little more involved than just creating a freestanding wardrobe. Built-in wardrobes are, however, a great way to create an inexpensive form of additional storage space. They are still quite simple to build and are a good way to develop some DIY skills while also creating more storage space and organisation for your clothing.
Get organised and get those clothes off the floor!
You now have some handy tips for building your own wardrobe and bringing a little organisation into your clothing storage. The goal here is to make your life easier, which it will!
If you lack the time or are a little less confident in your DIY skills, you’ll find a range of Taskers who can help handle everything for you. Search the experts who can create a built-in wardrobe for you (read here for cool wardrobe design ideas!), repair an existing wardrobe or even deliver the new or secondhand wardrobe you have found elsewhere. You can even have a Tasker declutter your home and wardrobe for a fresh start.
Whichever option you go with, we hope your new wardrobe looks great and makes your outfit prep much more enjoyable!
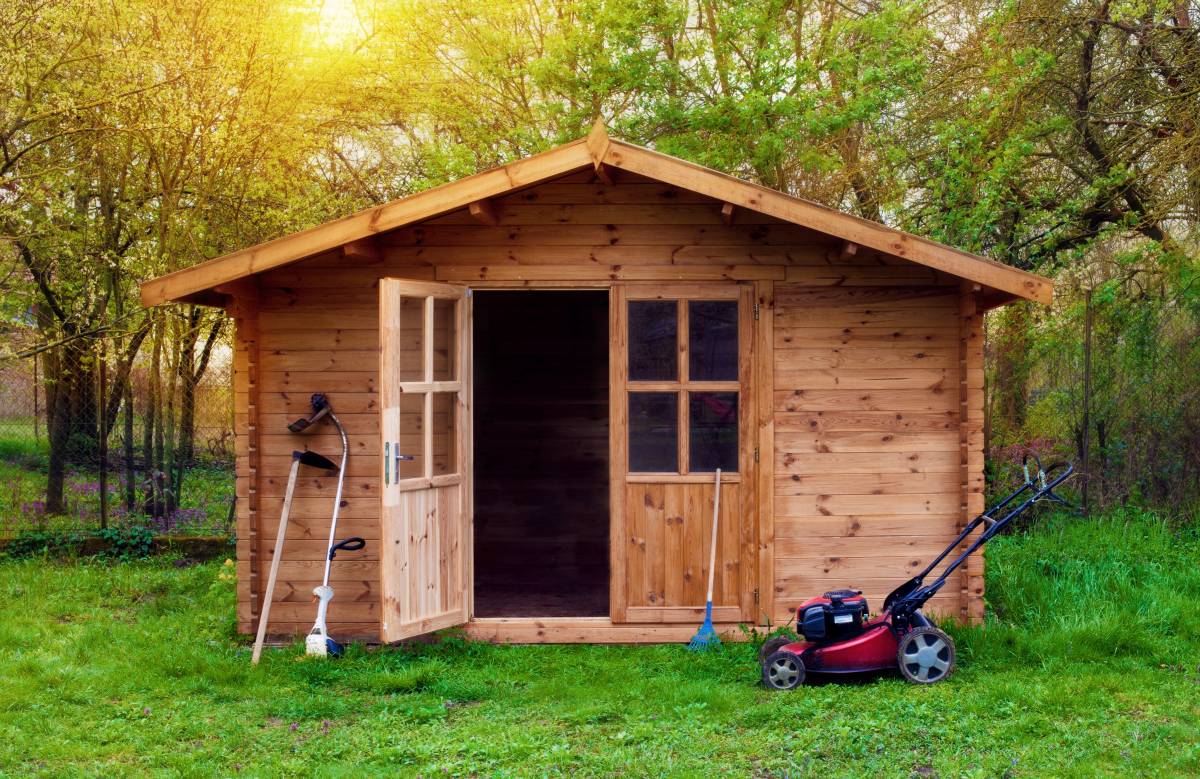
DIY: How to build a shed you’ll love!
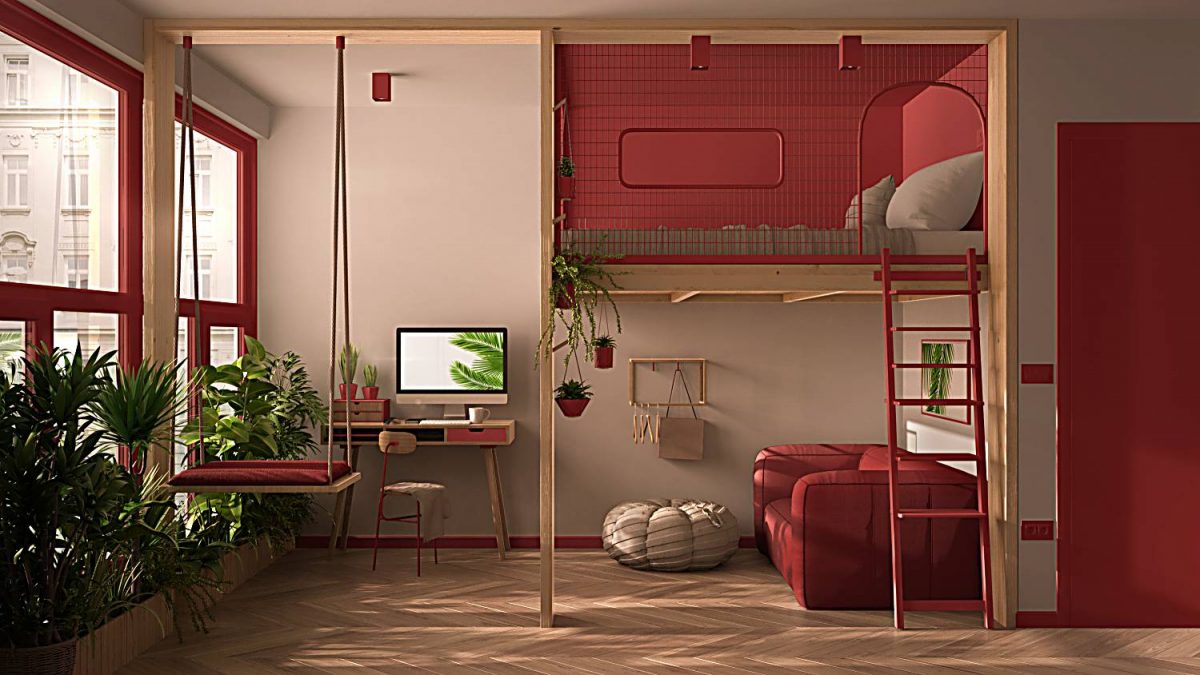
How to create the coolest DIY loft bed for kids (or adults!)
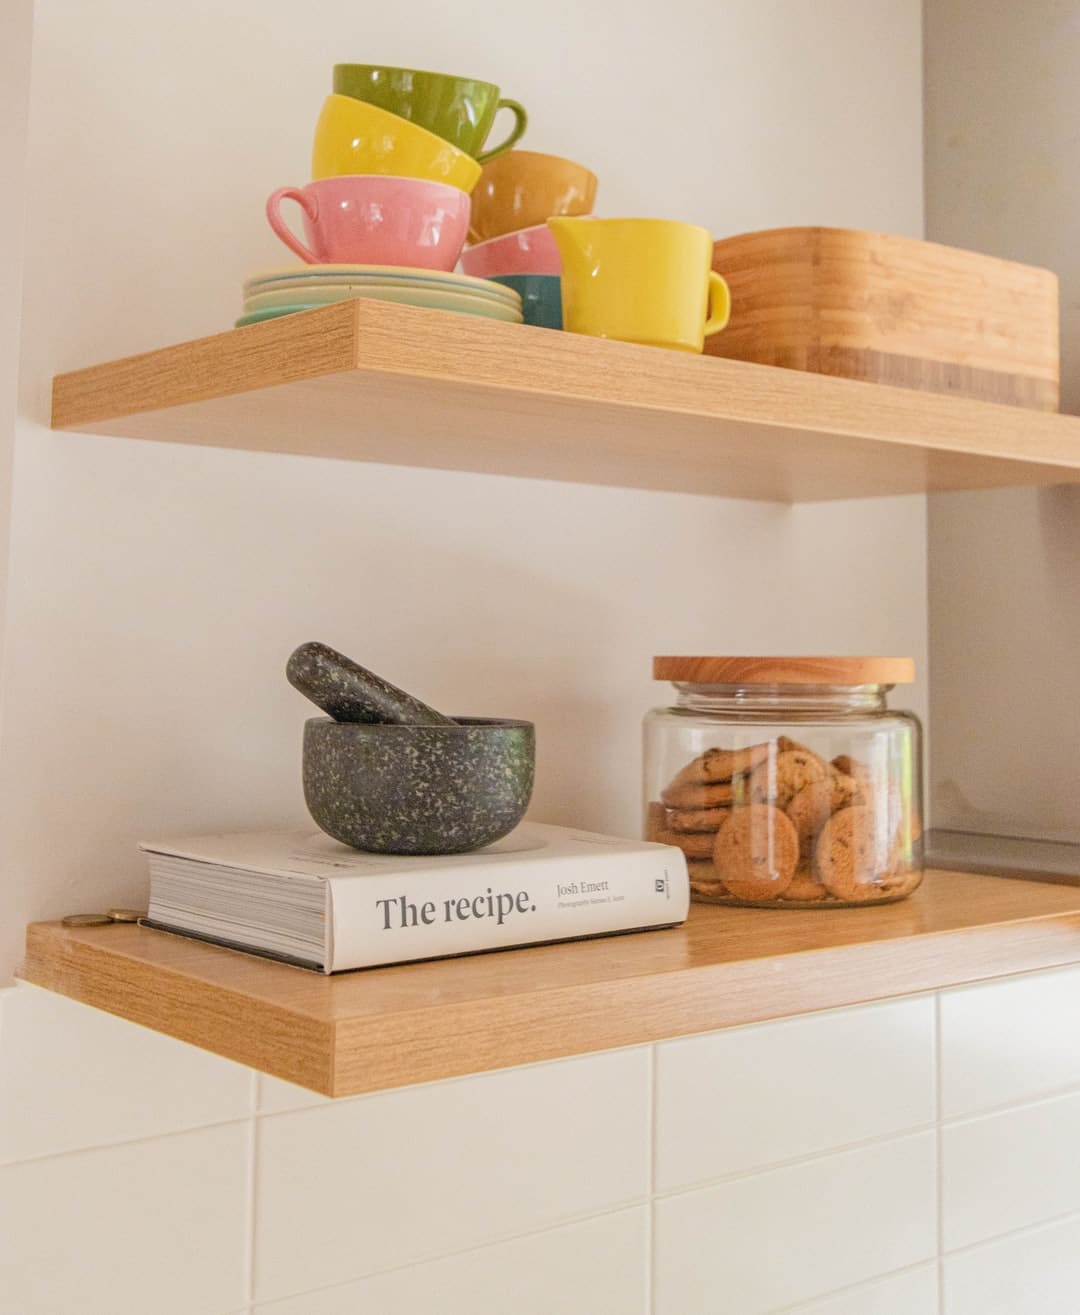
Create more stylish storage with these easy DIY shelves
Be as loud as you like: How to soundproof your home effectively
Discover minimalist storage: How to build floating shelves