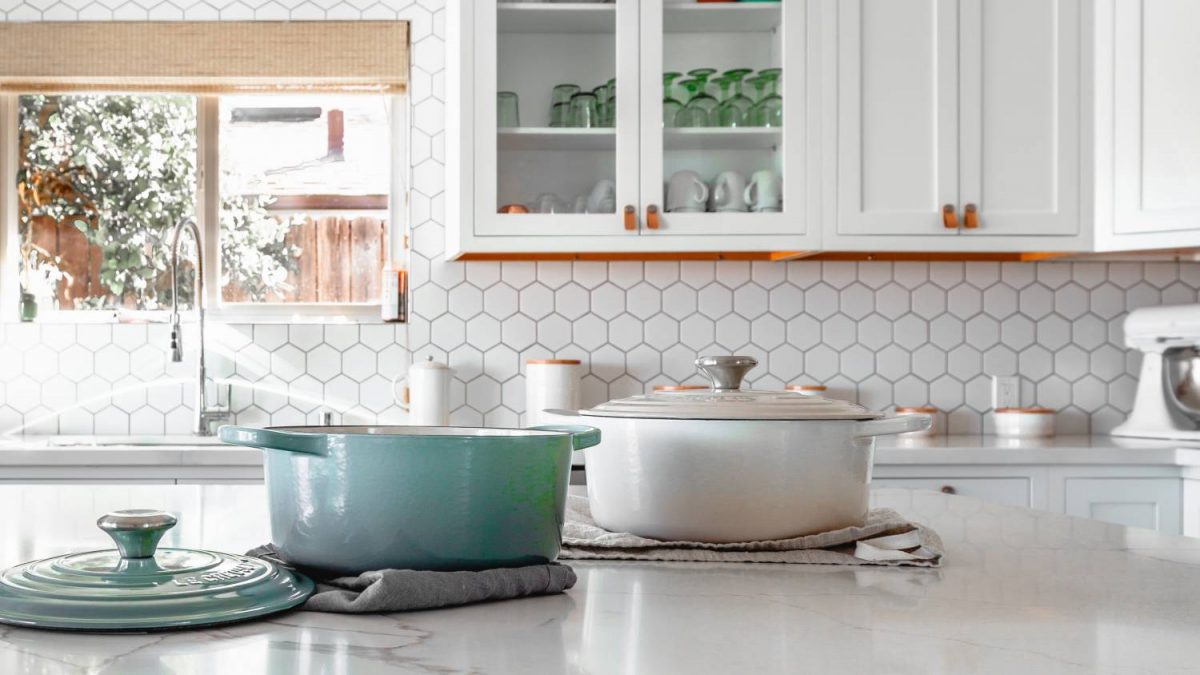
A little extra storage space is always a good thing, no matter how big or small your home is. If you learn how to create your own DIY shelves, this becomes easy to achieve all over the home!
We have three different yet simple shelving options you can create yourself, all of which are wall-mounted, so they won’t take up any floor space. This makes them all perfect for even the smallest rooms! Your blank walls can become usable storage or a place to get a little decorative, displaying a certain collection. Basically, we’re giving you an excuse to buy more fun stuff! Read on for our favourite DIY wall shelves.
The three easiest DIY shelves you can make
Shadowbox shelves
Shadowbox shelves offer a contemporary style that consists of rectangular boxes, usually made of ¾-inch-thick hardwood like birch or red oak plywood. You can build them to any dimension, but we recommend aiming for 6 inches deep x 24 to 36 inches long x 8 inches tall.
You can install a single shelf or in groups of two or more, which leads to a shadowbox pattern. To create them, follow these steps:
- Cut the four parts that make up each box (top, bottom and two ends)
- Double-up on the ¾-inch plywood so your box is 1½ inches thick
- Cut the plywood parts to the desired width
- Crosscut them roughly three inches longer than needed
- Glue together the two plywood pieces for the four parts
- Tack-nail each section with a pneumatic pin nailer until the glue dries
- Cut each shelf part to the required length with a 45-degree bevel on each end
- Glue and nail together to form a rectangular-shaped box
- Conceal the exposed plywood edges with 1½-inch-wide iron-on veneer
- Cut a ¾-inch-thick x 2-inch-wide mounting cleat to screw the shelf to the wall
- Place the cleat in between the ends of the box
- Slide the cleat up tight against the underside of the top section, flush with the rear of the box
It’s always nice to give the shelf a light sanding with 120-grit sandpaper and apply a finish of your choice. To install the shelf, mark the stud spots on the wall, then drill a screw-shank clearance hole through the mounting cleat into the wall at each stud location. Make sure your shelf is level, then drive 3-inch screws through the cleat and into the studs. Make sure you include some finishing washers as well.

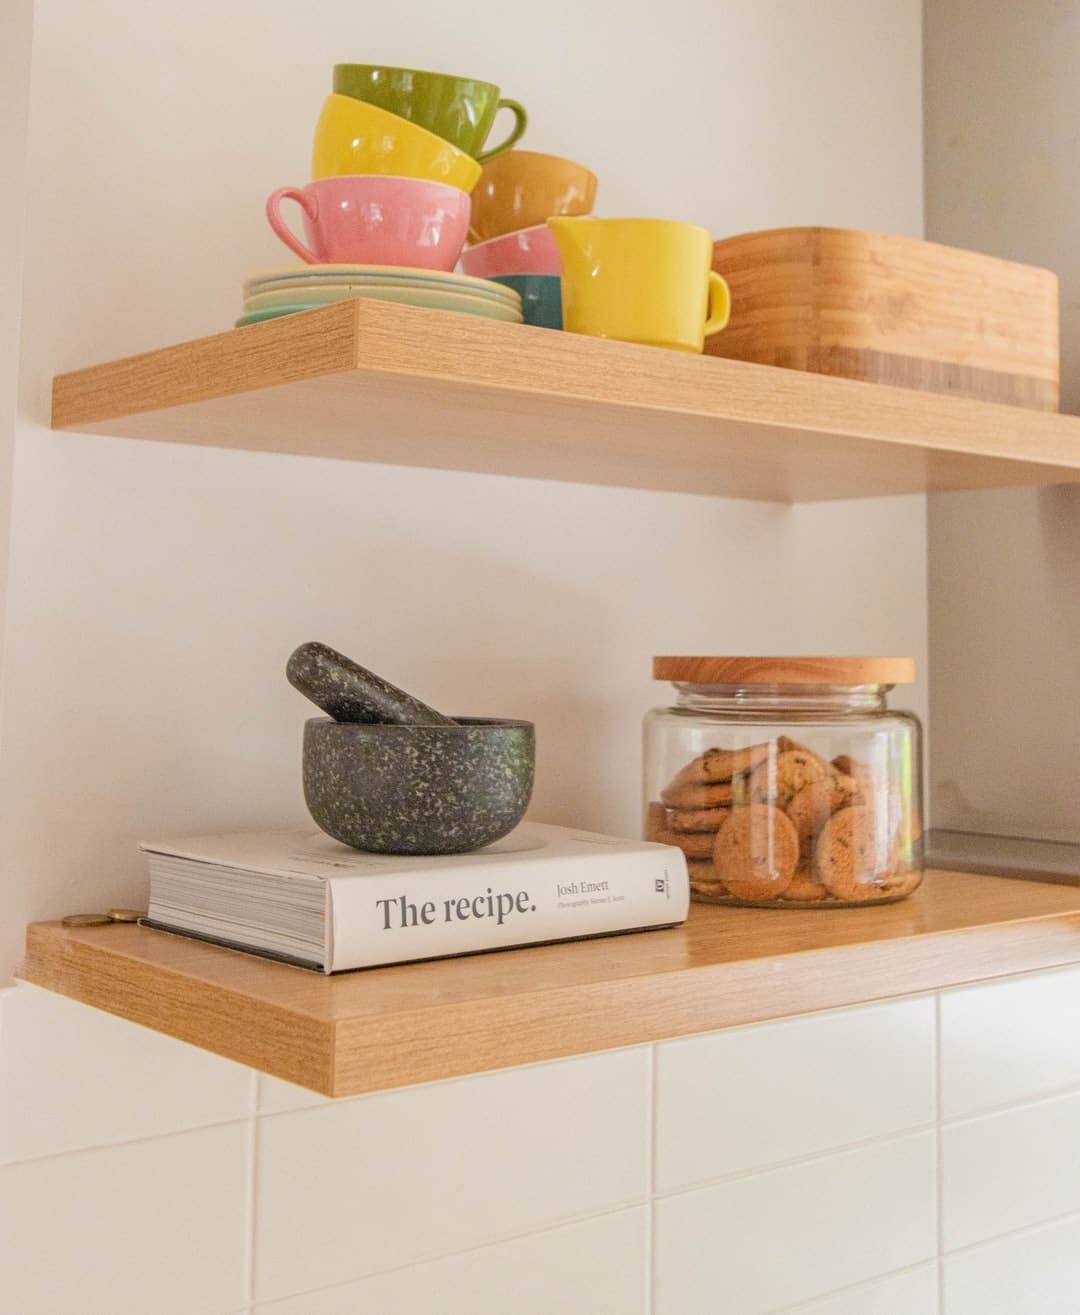
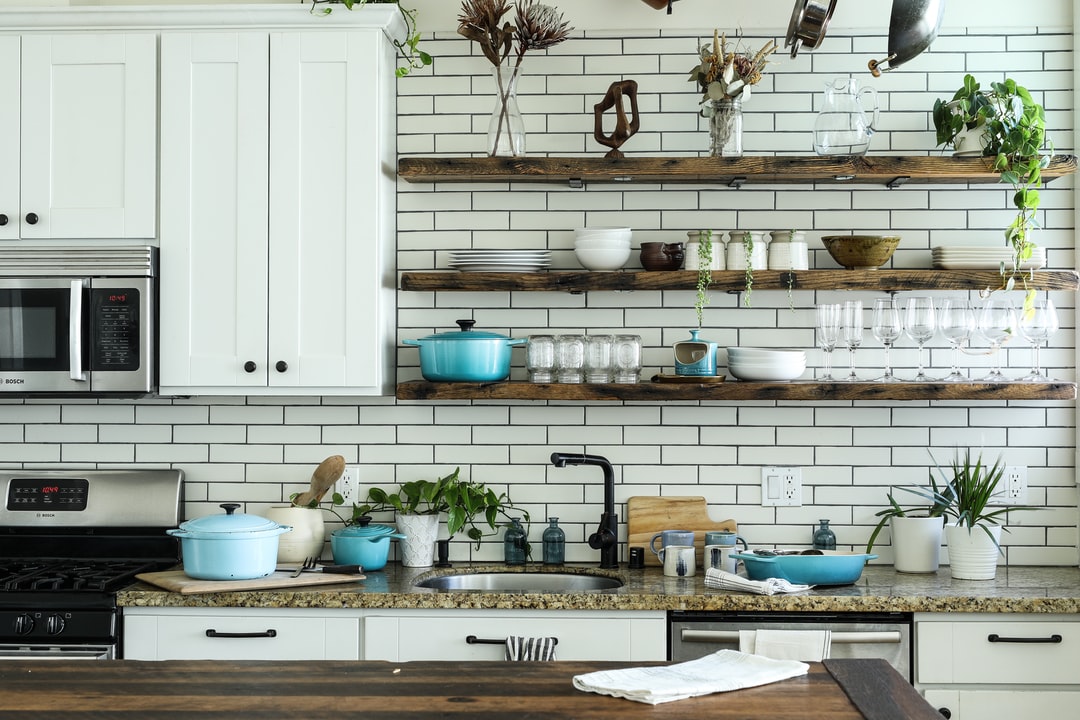
Floating shelves
The most popular home shelf option are those that defy gravity! Floating shelves look like they come straight off the wall with no visible support. They essentially look like a thick wooden board, but they are really a hollow box that houses a wooden cleat securely screwed into the wall.
The standard size for the hollow shelf is about 3 inches thick x 6 inches deep x 22 to 24 inches long, but once again, you can technically make them any size you want (just be wary of putting too much weight on them).
Here’s how to make floating shelves DIY:
- Cut your sides and front for the shelf from ¾-inch-thick hardwood
- Cut a 45-degree bevel onto both ends of the front and one end of each side
- Glue and nail the parts together
- Cut two pieces of ¼-inch plywood as the top and bottom
- Secure the plywood to the hardwood frame with glue and nails
- Lightly sand, paint or stain as desired
- Create the mounting cleat to fit snugly within the opening at the back of the shelf
- Screw the cleat into two (or more) wall studs
- Ensure everything is perfectly level
- Slip the shelf over the cleat
- Fasten in place with finishing nails
Shelf standards
Shelf standards are a type of manufactured shelving that have vertical slotted metal bars and flat metal brackets. These brackets clip into slots in the standards. This is all then mounted to the wall with shelves placed across the brackets.
While technically, you don’t “build” these from scratch, they are an affordable shelving solution that is easy to install and surprisingly strong. You can clip the brackets pretty much anywhere, and it’s easy to adjust the spacing to change the shelving size whenever you want.
Two shelf standards have the ability to support shelves up to about 24 inches long. You can have longer shelves if you install three or more standards.
Shelf standards are easy to install; the key is aligning, so the shelves are perfectly level. It is also important to screw the standards into wall studs to ensure maximum strength. This is the best way to ensure quality standards that you can rely on:
- Screw one standard to the wall first
- Make sure it is perfectly vertical
- Clip a bracket onto the standard
- Take a second bracket and clip it onto the uninstalled standard
- Position the two brackets in the same slot on both standards (very important)
- Hold the second standard against the wall in front of a stud
- Lay a level across the two brackets (raise or lower the loose standard as needed until perfectly level)
- Mark the wall with the screw-mounting holes on the second bracket
- Screw the second standard to the wall
Repeat these steps for all of the remaining standards. After this is done and you are confident your brackets are level and secure, clip the brackets in and lay the shelves across them.
Frequently asked questions
Is it cheaper to build your own shelves?
There are many pros of DIY shelving, predominantly their lower cost. In most cases, buying the materials for DIY shelves is much cheaper than purchasing ready-made shelving. You just need to account for your time to build them and ensure you do everything right the first time! The other major benefit of building your own shelving is customising the sizing to meet your exact needs.
How do you hang shelves without nails or screws?
If you want to avoid nails or screws (essentially any permanent marks on your walls), opt for adhesive strips. Command picture hanging strips, reclosable fasteners, and velcro removable mounting strips are some popular options. You can find these at supermarkets, hardware stores, craft and office supply outlets.
How do you hang floating shelves without studs?
There are several different options when it comes to finding support for a shelf. The most common is a drywall anchor, a plastic screw that plugs into the drywall. A molly bolt is also a good option if you have plaster walls or need to handle a little more weight. Finally, for really heavy shelves, opt for toggle bolts. All of these should be available at your local hardware store.
What is the cheapest wood for shelves?
These are some of the cheapest and most popular wood options for shelves:
- Pine (one of the most affordable softwoods)
- Plywood
- Cherry (a hardwood that is lightweight and easy to use)
- Koa
- Red Oak
- Paduak
- Mahogany
Shelves all over the place
Now that you have three relatively easy-to-create shelving options, you can go nuts with shelves all over your home! As mentioned above, the beauty of these methods is that they avoid taking up any floor space. So you can still keep a semi-minimal look while creating storage and display room in your home.
Now, we are aware that the steps above do require a little bit of DIY knowledge, and this isn’t always easy for everybody. This is why another great option is finding skilled Taskers who can do it for you! Check out our custom shelving experts who can make the exact shelves you need for you, and our wall hanging and mounting Taskers who will make sure you have complete peace of mind in everything that goes up on the wall.
If you are comfortable with your DIY skills and ready to get creative, we have some more handy reading for you! Check out our wall shelving ideas guide for a little inspiration. Once you know how to create your own DIY shelving, it’s just a little imagination needed to come up with some cool, unique storage ideas that will be as aesthetically pleasing as they are functional. Stay tuned for more DIY projects!

DIY Ideas For Your Small Bathroom
DIY: How to build a shed you’ll love!
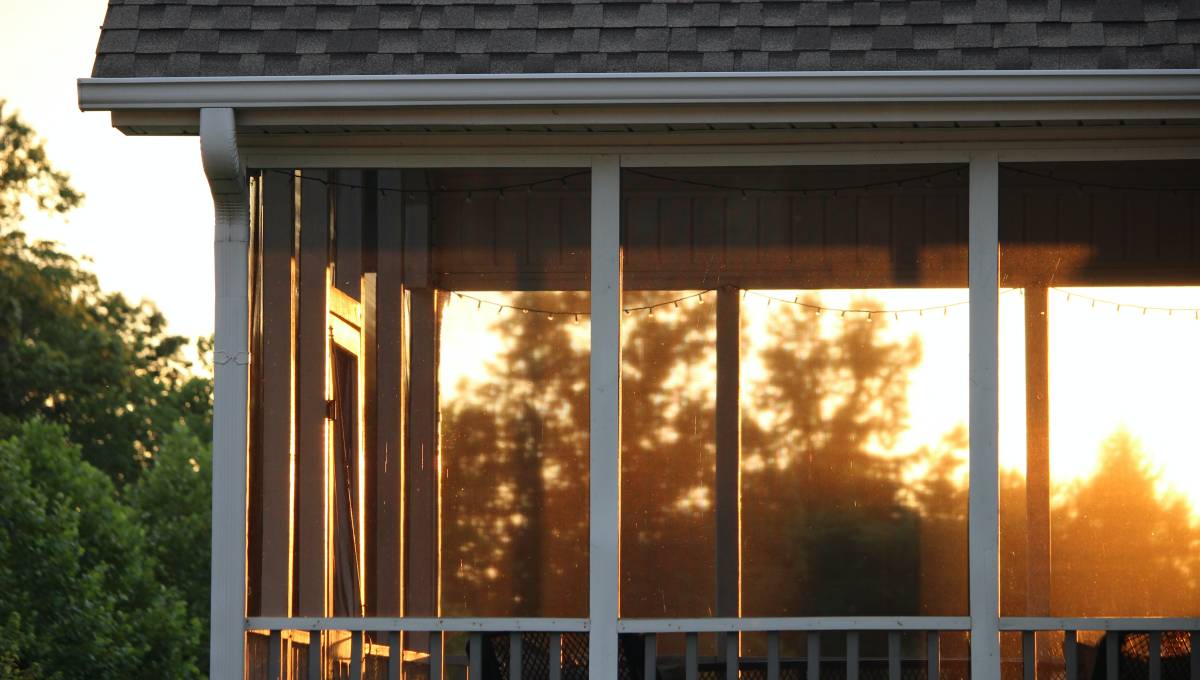
The best tips for privacy: How to screen in a porch
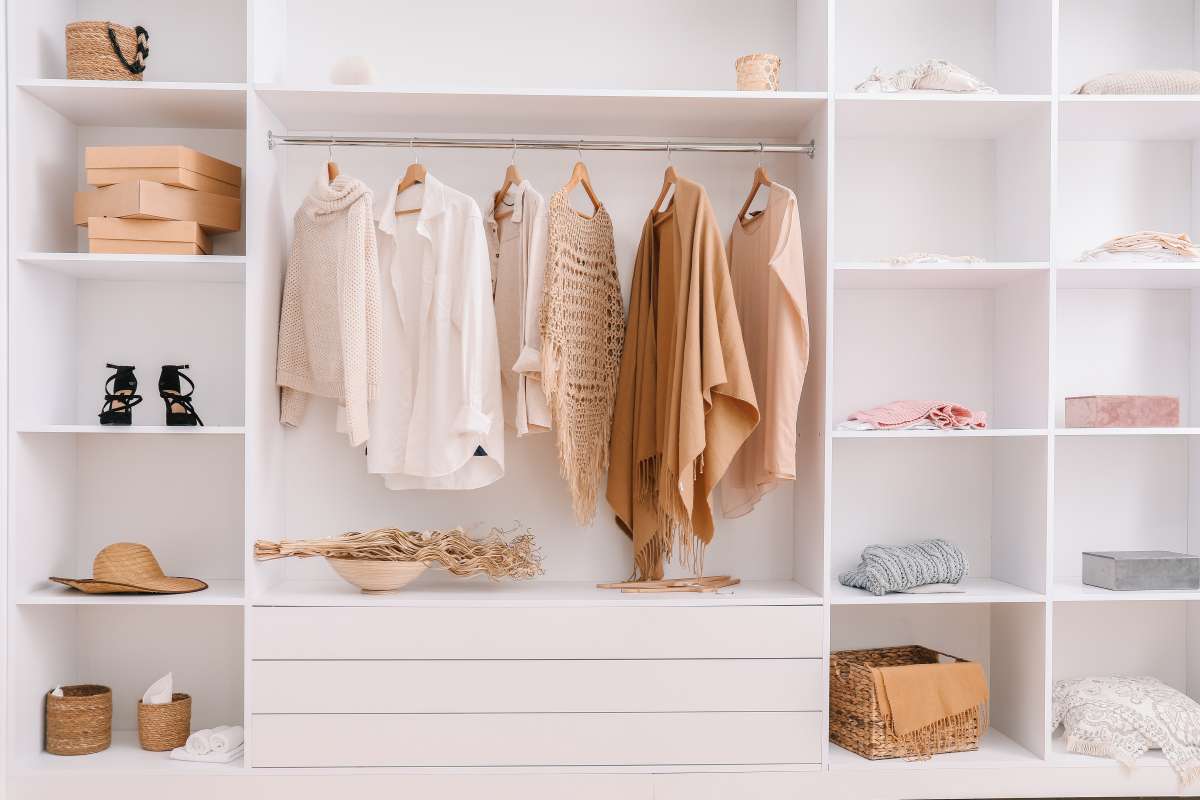
Want to know how to create a DIY wardrobe that totally works? Here’s how!
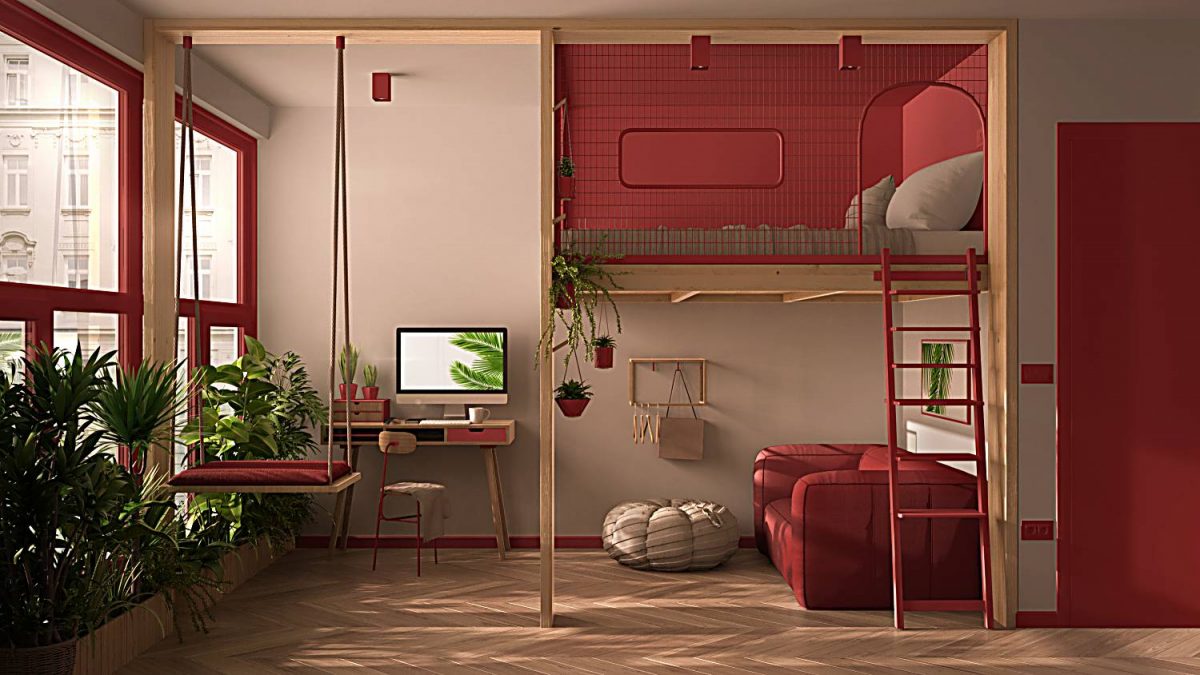
How to create the coolest DIY loft bed for kids (or adults!)