Built-in shelving isn’t always a practical option, and it can look cluttered and over-bearing at times. With some easy-to-create DIY floating shelves, however, you can install your own storage whenever and wherever you like while also achieving a stunning display method for books, photos, and more.
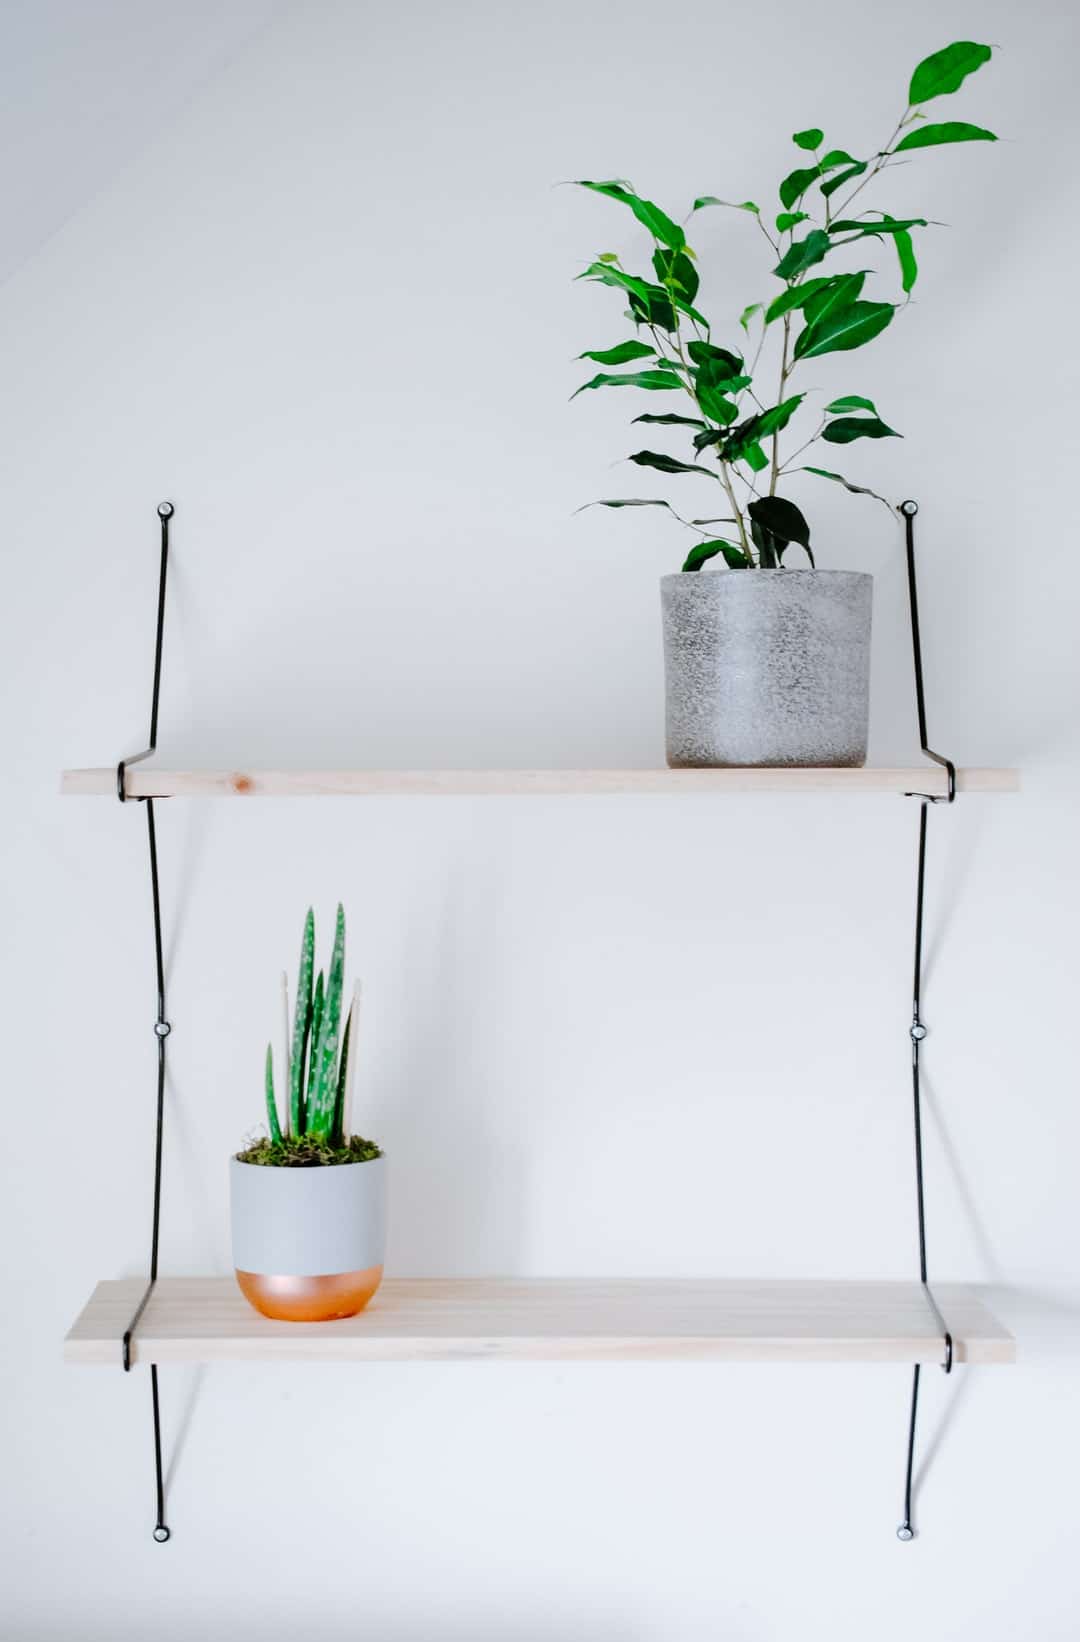
DIY floating shelves look good and don’t require much space. With our simple steps below, they are a great option for rooms that are short on square footage. These shelves allow you to utilise vertical space while adding a touch of your personality to the room. We love to load our DIY floating shelves up with draping plants to really give the room some life!
DIY floating shelves can be an easy woodworking project for those comfortable with power tools. The practical tips below will help you achieve an affordable, custom décor piece that you’ll be able to build in any sized space.
Easy DIY floating wall shelves: The materials you’ll need
You may be sitting there asking, “why don’t I just buy some floating shelves from IKEA?” This certainly is an easier option (although they will still require some DIY set-up), but the biggest issue here is the less custom look. When you pre-buy your floating shelves, you are restricted to certain colours, sizes, and shapes.
For the same price or less, in some cases, you can create your own DIY floating shelves that are tailored to your home’s aesthetic. To do this, you’ll need to gather these materials:
- 2” x 10” pine board
- Mitre or circular saw
- Pencil
- Drill
- Hand or bench router with a dado router bit
- ½” paddle bit
- Sandpaper (medium grit)
- Old cloths
- Stain or paint
- Paintbrush
- Adjustable Floating Support Invisible Brackets
- Level
- Drill press (optional)
- Polyurethane (optional)
How to build simple floating shelves DIY: Step-by-step
We have tried to make the steps below as simple as possible! We recommend putting aside about half a day to build these DIY floating alcove shelves (not including any drying time). You’ll have a custom, high-quality storage solution that looks great in no time at all!
Step #1: Prepare materials and cut boards down to size
If you aim to make this process as cost-effective as possible, we recommend buying a larger piece of wood that can be cut into smaller sections. Do this using a mitre or circular saw and customise the size based on the space you plan to hang them in.
Larger shelves will need to consider extra support, as it is important you don’t put more weight on your shelves than they can handle. This will lead to some serious drooping (and will look terrible/be dangerous).
Step #2: Notch the back of the shelf to allow for the hardware
Use a hand router to create a notch on the back of your freshly cut planks so the hardware can be installed. In most cases, the notch should be 1/2” deep; however, this may vary with different pieces. Check the instructions on whichever hardware you purchase before creating your notch.
Do not skip this step! The notch is important as it will prevent a gap when you hang the shelves between the wall and the shelf due to the hardware. We’re aiming for a professional, clean look after all!
Step #3: Drill the hardware holes
You have some options when it comes to drilling your holes. If you’re using a hand drill, opt for a paddle bit to drill holes in which your hardware should just slide into place. Aim to make these holes about 4” deep, and always follow the instructions that come with your hardware to note any required exceptions.
If you are less than confident when it comes to straight holes, start with the paddle bit, then finish with a drill press. The reason why we recommend this is the paddle bit makes it easier to start each hole accurately.
Step #4: Sanding and staining
We’ll mention that staining can also be painting; it just depends on the final look you are going for. Find a well-ventilated area and give your shelves a sanding to get rid of any rough edges. Wipe them down to get rid of any extra sawdust, then apply your stain or paint of choice.
Your home’s aesthetic is the deciding factor here, but you can paint your shelves white to have them blend in with white walls or opt for a more rustic look leaving the wood as is and bringing it out with a subtle stain or gloss. The choice is yours, but this is one of the primary advantages of DIY floating shelves; you get a more customised look!
Get creative and think about this when choosing your initial materials as well. You can use reclaimed wood or create DIY pallet floating shelves for a more weathered look. Just ensure that when applying stain, you wipe off the excess and let each coat dry to reach the desired finish. Cover the shelves with a coat of polyurethane lacquer if you are going for a glossy look with your staining. Be sure to let all of the pieces dry completely before hanging.
Step #5: Hanging the shelves
Once everything is dry, you are ready to install the hardware. Some hardware requires wood-framed supports, but we prefer to buy the type that avoids this. It makes things a little easier while providing the bonus of the floating shelves being able to handle more weight.
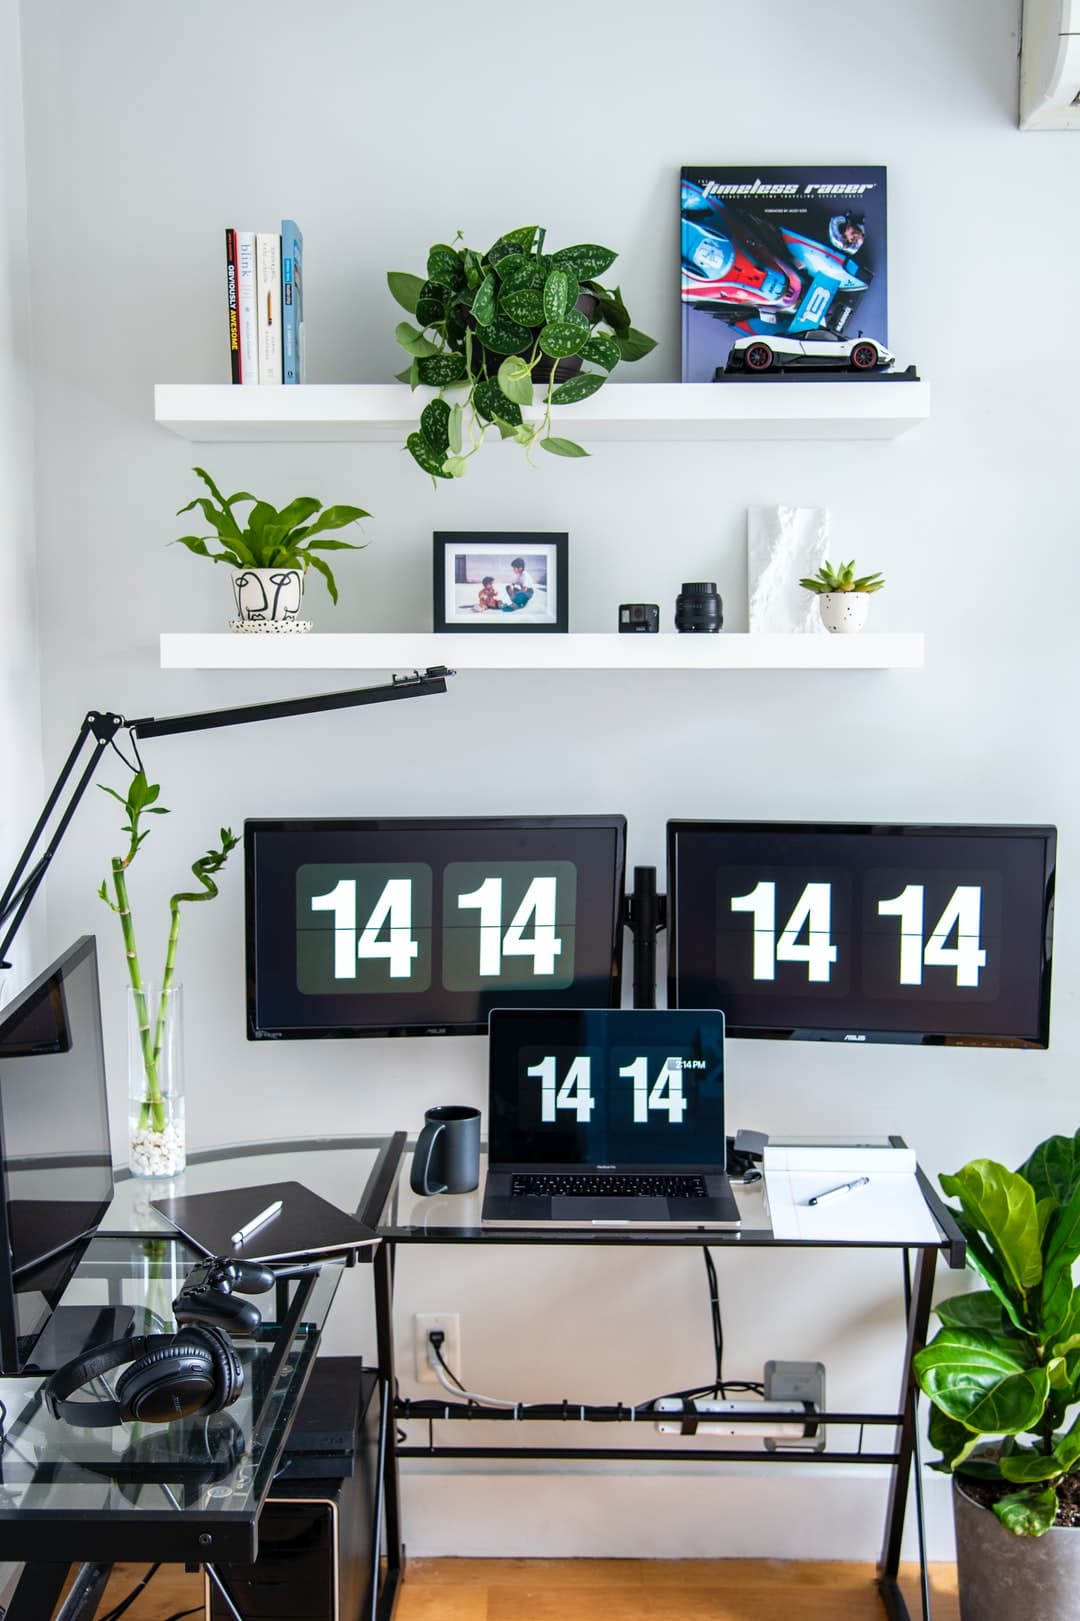
Decide where you want to place your DIY shelves, then mark and measure the hardware spots on the wall. Floating shelves under TVs is a popular choice. Use a level to ensure the shelf is straight and attach the hardware to the wall with the supplied instructions. From there, you simply slip your shelves over the hardware via the drilled holes, and you are good to go!
To be safe, let your shelves sit on the wall empty for a few hours to make sure there are no issues before you load them up with display items.
Frequently asked questions
What material is used for floating shelves?
The sizes and specifics of DIY floating shelves vary; this is one of their benefits as you can customise them to suit your needs or wants. Generally, you’ll use 2″ x 3″ wood, cut into your chosen lengths. The specific type of wood comes down to the look you are hoping to achieve and what will best match your home’s aesthetic.
Do floating shelves need studs?
It is always best to attach floating shelves to a wall stud, as this provides the most support. You can use a stud finder to locate these in your walls. This is a hand-held device that detects metal with a magnet. This is the optimal spot for hanging anything in your home, not just floating shelves.
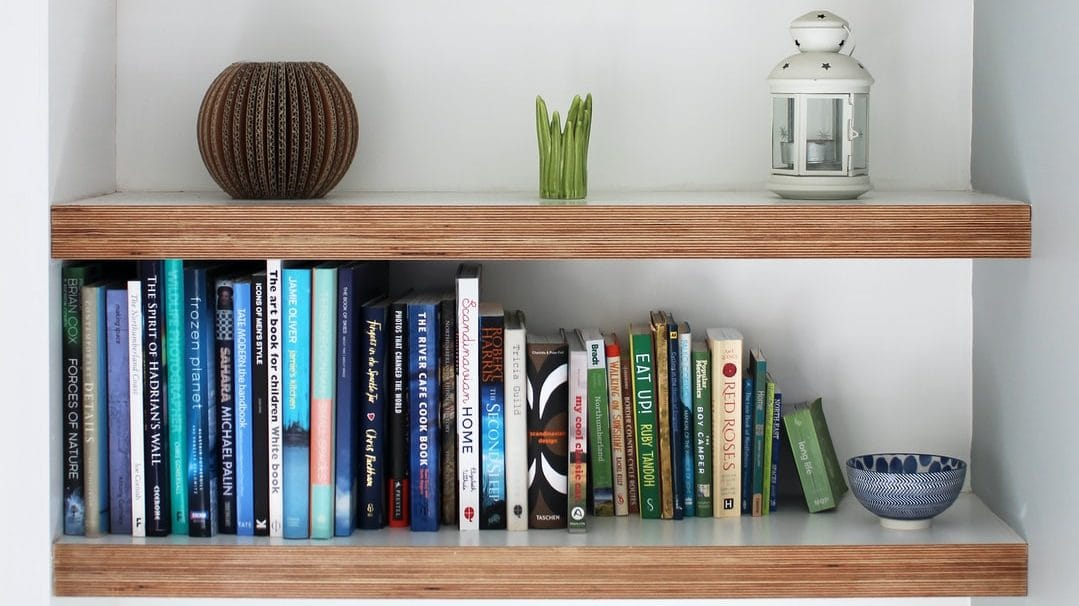
Are floating shelves strong enough for books?
Yes, however, the size of your shelving will dictate how many books it can hold. Usually, the hardware you purchase for your shelving will identify a weight limit, and we strongly recommend you stick to it, so you avoid any accidental collapses!
What screw should I use for floating shelves?
If possible, your screws or fittings should be 50mm screws with plastic Rawlplugs when fixing your shelves to concrete or brick. You can use 40mm screws when fixing to wooden joists, and for plasterboard, 65mm metal plasterboard anchors.
Adding floating shelves as storage can make your place look stylish!
DIY floating shelves are a great way to add some storage in spaces that may seem unusable or bare. They also double as visual improvements to the aesthetics of your home, and you can sit ornaments and art on them to create a 3D feature wall of sorts.
If you are a little fresh when it comes to DIY projects, there are plenty of Taskers who can help achieve the same outcome as the steps above. Search the shelf hanging experts and wall-mounting professionals that can come and get the job down properly, giving you the peace of mind that everything will stay up where it should!
We also have plenty more helpful reading that can inspire you to add some more features to your walls and build your DIY skills. Check out our article on the best hanging plants for small spaces and our tips for the best way to wall mount your TV. You can also take your wall-mounting one step further with this piece that discusses how to save space in your home by hanging appliances on the walls.
By learning some simple DIY skills, you can make your home a more functional and enjoyable space, just as it should be! Get creative, good luck, and we hope you love the results!