If you are a lover of candles, you’ll know two things; a) you can never have enough and b) they can get expensive. Learning to create your own DIY candle is a solution for both of these issues.
Endlessly customisable, making a classically beautiful candle is very easy. Whether keeping them for yourself, giving them as gifts, or even creating a little candle-selling side hustle, this is a fun hobby to learn. Read on for our simple tips to create some DIY candles you will love.
The materials you’ll need
- Candle-making soy wax
- Large candle wicks
- A chosen bottle of fragrance oil
- A spatula
- One heat-proof container
- A double boiler
- Thermometer
- An old pair of chopsticks or pencils
How to make a DIY candle: Step-by-step
As we’ve mentioned, this is a very simple DIY task for any candle enthusiast. So here are our eight simple steps to make your own:
Step 1: Measuring the wax for your DIY candle
Before you start the DIY candle-making process, you need to ensure you are working with a clean, flat surface. It’s also a great idea to protect the area with some newspaper or paper towels. This can be a messy process, so be sure to move anything you don’t want to get wax on.
Depending on the size of your container, measure the amount of wax you need to fill your container, and double it. This will be the amount of wax you need to melt.
Step 2: Melting the wax
Pour the wax into a double boiler to melt it. fThis will often take around 10 to 15 minutes, and you’ll need to stir it frequently during this time.
Step 3: Adding the fragrance
One of the great things about making your own DIY candles is you can choose whatever scent you like to suit your mood. When the candle wax has melted, add fragrance oil to the mix. Your wax package will provide some instructions on how much of the oil to add, so make sure you stick to this recommendation.
Simply pour the oil into your melted wax, then stir the mixture for a few seconds. You can also skip this step altogether if you like, but we definitely recommend adding it to make your candles exude a lovely smell.
Step 4: Attaching the wick
It is vitally important that you attach the wick to the bottom of your container before pouring in the wax. Do this by attaching the wick by dipping it in the melting wax. This will make it easy to stick it to the bottom of the container.
Allow this to sit for five minutes, at which point it will harden and stick. Alternatively, you can also use superglue to attach your wick (be sure to allow this to dry for the recommended drying time).
Step 5: Pouring the wax
Before pouring the wax into your container of choice, let it cool for a few minutes. The temperature on your thermometer should read 140 degrees which lets you know it’s time to pour.
Slowly pour the wax while holding the wick in place and refraining from pulling on it. Make a note to leave a small amount of wax in the boiler that you will use for topping off your candle later on.
Step 6: Securing the wick
You need to prevent your wick from moving around in the melting wax by securing it in place. You can do this with two old chopsticks! Lay them across the top of the container and sandwich the wick in between them, so it remains centred while the wax hardens.
The wax will need about four hours to set at room temperature. Always make sure you check that this is the case before moving the candle.
Step 7: Adding a touch more wax
In many cases, the candle will have hardened with a top that has cracks or holes in it. For those who want a cleaner finish, simply reheat the remaining wax, pour it on the top of the candle, and allow it to harden.
Step 8: Cutting the wick
Your remaining candle wick should be less than half an inch long. You’ll know that you need to trim the wick if, when lit, the candle has a very tall flame or some excessive flickers. If this happens, cut a little off the top.
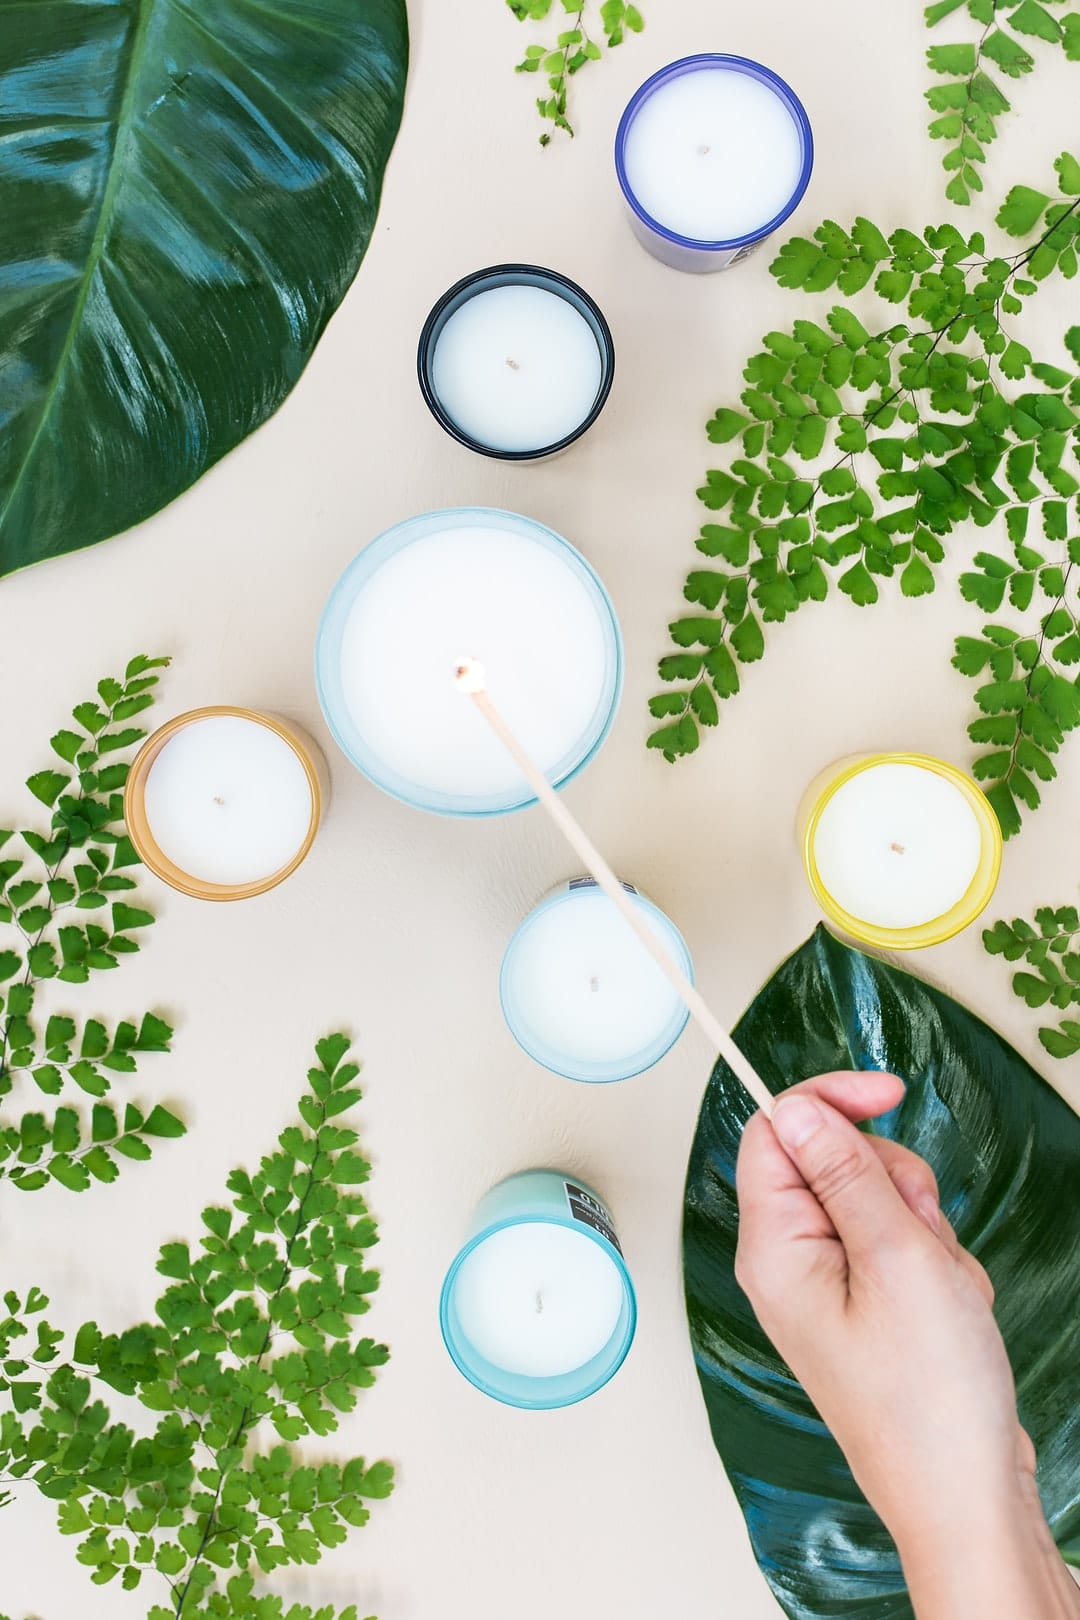
Popular candle variations
Floral candles
A nice touch that can be added to a candle, especially those with a floral scent, is flower petals. Use an old paintbrush, gather some of the wax and use it to adhere the dried petals to the side of the container. Make sure you do this before you pour the wax in the container (so just after step four if you are following the steps above). You can create a more colourful candle by mixing petals and leaves of different types. If you have a floral fragrance oil that matches the petals, you’ve just created a very impressive candle!
Colourful candles
Another great way to create a unique candle look is by adding chopped-up crayons into the melting wax (this would happen during step two above). Grab around 12 to 15 crayons per candle that are preferably in the same colour family. Throw them into the wax mix and see what stunning visuals you can create!
Buried treasure candles
This can be a fun option for candles that you are giving as a gift. Find a small, inexpensive “treasure” like a small toy or piece of jewellery and place it in the container before pouring in the wax (step five). Pour the wax on top to bury the treasure and create a little surprise when the candle burns down.
If you don’t want the treasure to be a surprise, you can make it a visual feature by using a gel wax that will show the item and the progress of the burn until it can be accessed!
Frequently asked questions
Is it cheaper to make your own candles?
Once you are set up with the initial equipment required for candle making, you can bring the cost per candle down with each one you make. Be aware that there can be a significant upfront cost, but this will become much cheaper than buying pre-made options over time.
Why don’t my homemade candles smell?
If your candles are not producing a strong enough scent, lower the temperature during the step when you add the fragrance oil. The reason why the scent may be weak is possibly due to burning off by heat in the melted wax.
How can I make my candles smell stronger?
If you want a stronger smell from your candles, try the following:
- Always use the recommended percentage of fragrance oil per the instructions on your wax
- Weigh your fragrance oils on a scale to get the right amount
- Gently and thoroughly stir the melted wax when adding the fragrance
Is DIY candle-making profitable?
Candle-making can be a profitable home business with high-profit margins due to a low cost per unit. This is also not a time or labour-intensive task, so it is relatively low-impact on your schedule. Time is money, after all!
Fill your home with candles! (A fire-safe amount at least)
Now you know how to make your own DIY candle, you can make as many as you like! We always recommend the safe use of candles – keep a fire safety kit as part of your DIY candle kit at home and never leave candles burning when you head out or fall asleep.
Once you have mastered the art of DIY soy candles, you’ll always have a great gift idea or creative outlet for how to spend your time. So flex that artistic muscle, experiment with some unique creations, and hone those candle-making skills!