As those who use them know, a handheld router is a versatile and useful tool. Turning it upside down and mounting it to your own DIY router table, however, opens up the possibilities and tasks your humble router is capable of.
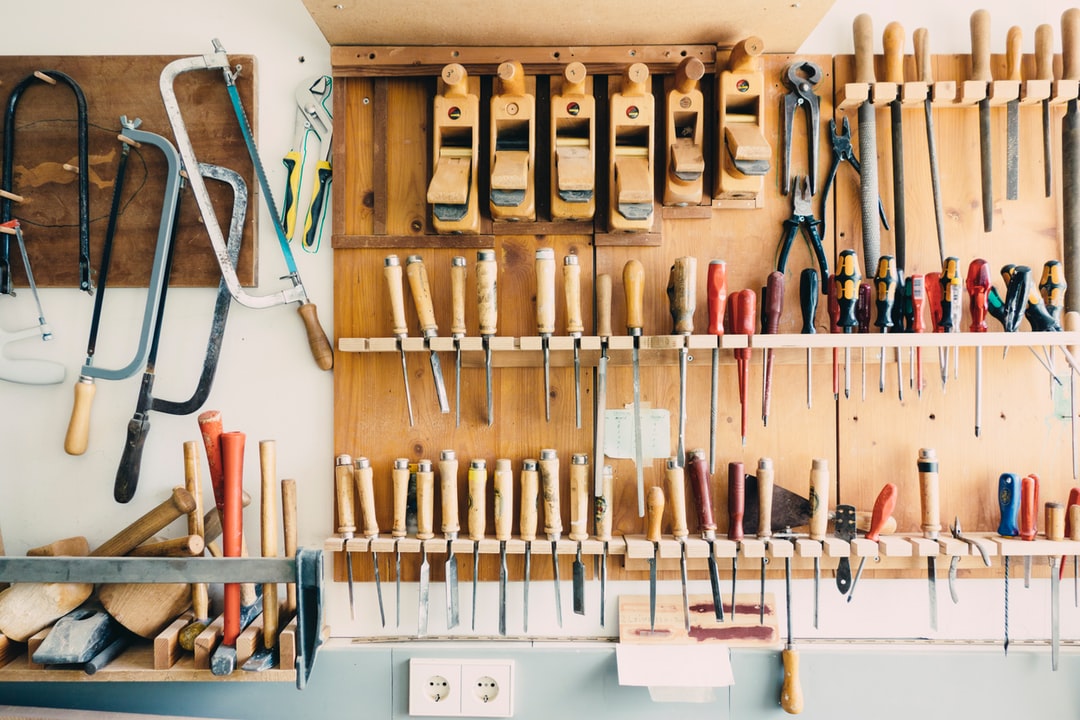
We’ll assume that if you are reading an article about making stuff for your tools, you have some tools. So gather them up and read on to learn how to build a simple DIY router table that can also provide some handy bench and storage space in your work area.
Just note, building a high-quality DIY router table can be complicated for beginners, it is best suited to those who know their way around a workshop (you know, the type of people who own routers that need tables). Here are the things you’ll need for your router table DIY.
Required tools:
- Clamps
- Corded drill
- Countersink drill bit
- Drill bit set
- Dust mask
- Router
- Shop vacuum
- Table saw
- Tape measure
- Glue
- Hearing and sight protection
- Jigsaw
- One-handed bar clamps
Required materials:
- 1-5/8-in. screws
- 2″ washer-head screws
- Polyurethane finish
- Safety power tool switch
- Wood glue
- Contact cement
- Nail-on furniture glides
Step 1: Building the cabinet
Choose the dimensions to suit your space and assemble the cabinet box first. Next, cut the sides and back and band them with hardwood edging. Glue on the edging, using clamps for a bit of support. The edging protects the edges of the MDF and provides a professional finish.
Use washer-head screws to put the frame together as this provides strength and eliminates the need to drill countersink recesses. If you want to include a middle shelf in your design, be sure to measure the height of your router first. Your shelf location should allow you to remove the router motor with ease.
Hang the doors using “full overlay wrap” hinges so the doors can completely cover the front edges of the sides. Nail on some furniture glides and mount an external switch.
Cut three holes in your cabinet for:
- The power cord
- A vacuum hose
- A hole in the top for the router (in the next step)
Step 2: Creating the tabletop
The tabletop will sit over your cabinet top. Glue one layer of hardboard to some MDF core. Weight or clamp it down to dry, then trim the hardboard and cut a hole (as mentioned in the above point) for your router. It makes sense to centre the hole from the back of the tabletop for the most support.
Centre the tabletop on the cabinet, then trace the hole onto the cabinet top. Cut the second hole 1/2 in. larger than the tabletop hole, and add a second layer of hardboard to the tabletop. This layer won’t have a hole in it as it forms the work surface, which provides support for the router.
Add some hardwood edging and plastic laminate and ease the edge with a chamfer bit to prevent chipping. Install the router by drilling a router-bit hole to the size of your largest router bit. Fasten the router base to the tabletop, and the main section is done.
Step 3: Making the DIY router table fence
Take a plank of MDF the length of your table, cut a hole in it, and then cut the plank in half to create matching parts. These will act as the base and the rail. The idea is that the fence forms cutouts that act as an opening for the router bit.
Interestingly enough, you can use your new DIY router table to cut the slots of your fence rail. Attach the two fence halves with glue and screws, and your table is good to go.
Why a router table is useful
Why even mount a router on a table? The primary benefit is stability. When compared to a handheld router, using a DIY router table can be faster as it is easier to push wood across a router than pushing the router across the wood. A sturdy table and supportive fence provide greater control and accuracy.
For larger jobs, a router table is a must-have. For example, creating raised-panel doors is a task that requires big router bits that a handheld router is not capable of (or safe to use). Some specific router bits, like those that cut interlocking door or drawer joints, need a level of precision that cannot be achieved by hand.
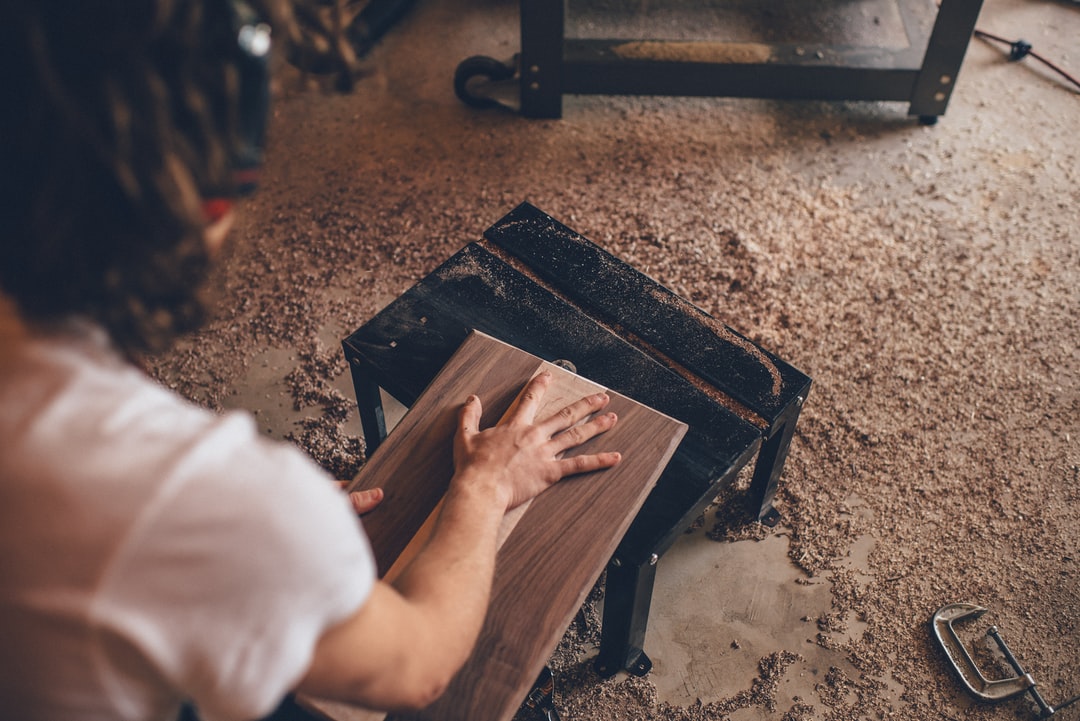
Finally, the router table can be helpful when shaping parts that are too small for handheld routing. The added bonus of a router table is the space for a shop vacuum which ensures dust control, something that is not possible with a handheld router.
Additional touches you can include on your table
If you want to take your DIY router table to another level, include a drawer box. Make sure you do this last so you can use your new router table to cut 1/4-in.-deep rabbets in the drawer sides.
(If you want to skip the rabbets, make the front and back of the drawer 1/2 in. shorter).
Mount the drawer on full-extension slides and give everything a polyurethane finish, inside and out. Add some door pulls and magnetic catches, and you’ll have a fine DIY router table indeed.
Frequently asked questions
Is a router table worth it?
Yes – router tables are a very useful addition to any workspace, especially if you cut your own mouldings. A router table essentially makes things easier and faster when compared to using the router alone. No more clamping the boards or struggling with narrow boards that are hard to shape. Just remember to use a push stick when necessary to protect your fingers.
Can any router be mounted to a table?
Within reason, any fixed base or plunge router should be able to be mounted to a router table. This becomes easier if you are creating your own DIY router table from scratch, as you can custom design its size to fit your router.
What can you make a router tabletop out of?
For a budget option, opt for MDF or particleboard when creating your DIY router table. If you want something slightly higher in quality, hard plastic sheets such as phenolic or UHMW will make an excellent tabletop. These materials are durable, so they will last longer and provide better performance (however may be hard to cut). UHMW is another option that offers ultra-low friction so parts can slide effortlessly across the table.
Can you attach a plunge router to a router table?
Yes, a plunge router can be used in a router table. Some will work better than others, and you will need to consider different safety practices depending on the type of mechanism in your setup for the router lift. In general terms, however, a plunge router is just as safe as a fixed-base router.
Adding a simple router table to your woodworking shop
If you have read the above steps and your head is in a tizz, we don’t blame you. These instructions are certainly best suited to those who know their way around a workshop and have an intermediate level of woodworking skills. The type of people who are likely looking to level up their work area with a router table in fact.
If your skills aren’t quite there yet, or perhaps you want a cool router table to give someone who knows how to use it as a gift, we have the solution. A range of talented Taskers can help with building unique furniture or wooden items, so you can find the best option for you, give them your ideas or specs, and get a unique table for future use.
Those who are handy in the workshed and are looking for fun new projects like the DIY router table, feel free to check out some of our other how-to blogs. There is never a reason to be bored, so keep yourself busy, get creative and build some pieces that look great and will be useful as you expand your skills.