October 31st is upon us, you know what that means! Expect little vampires, Frankensteins, ghosts, zombies, and all sorts of costumed characters come a-knocking to your door yelling “trick or treat!”
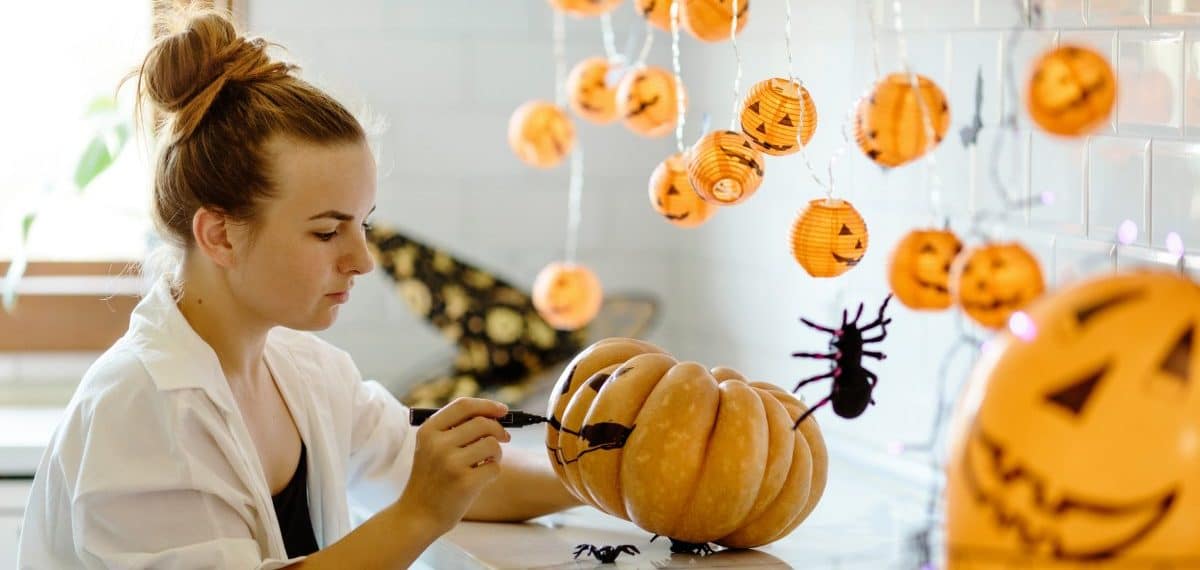
In keeping with the spirit of the season (pun intended), make sure your home looks wickedly welcoming for your trick-or-treaters. While you could put up store-bought decor, why not make your home uniquely spooky with DIY Halloween decorations?
You don’t need to be a master crafter; all you need is a few materials, scissors, glue and a dash of creativity. Read on for easy decorating tips that might come in handy!
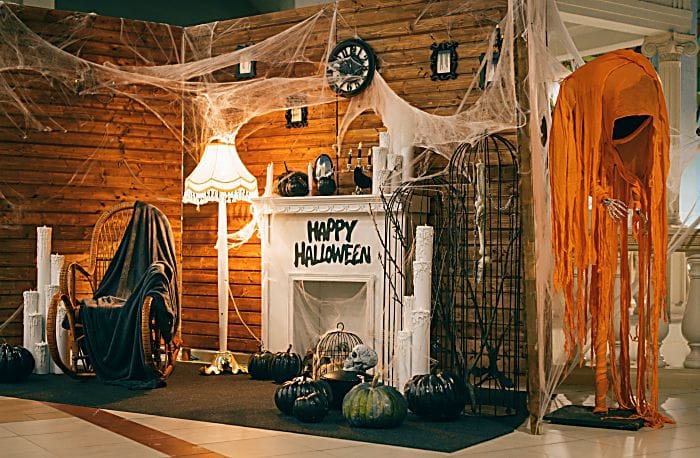
1. Realistic cobwebs
Your neighbours will likely use some form of fake cobwebs to decorate their homes for Halloween, like stretched-out cotton. There’s another way to make realistic-looking cobwebs with little effort.
Materials
- Hot glue gun
- Hairdryer or vacuum cleaner you can set to blow
- Rubber gloves
- Safety goggles
- Table
- Old newspapers or paper towels
Step-by-step directions
1. Plug in your hot glue gun and vacuum or hairdryer. Let the glue gun heat the glue for a bit.
2. Once the glue gun is ready, aim your hairdryer or vacuum cleaner at what you want to coat with cobwebs. Don’t forget to set the vacuum cleaner to “blow” and expose its nozzle!
3. Turn on your hairdryer or vacuum cleaner and point the glue gun’s nozzle towards the blast of your dryer or vacuum. Release the glue gun and direct the spray of hot glue on the area or object you want to cover with “cobwebs.”
If you’re going to cover an object like a fake skull or candelabra, place the object on a table covered with old newspaper or paper towels first.
4. Repeat as necessary on objects or areas you want to cover in cobwebs. You can even make several passes to create a thicker layer. You can also use glue sticks in different colours to make the cobwebs look even ickier.
Red sticks give the impression of blood-drenched cobwebs, while green can give them a more otherworldly effect – it’s as if alien spiders made them!
You can spray these cobwebs to the windows, corners of your ceilings, and on outdoor spots like your porch. To keep your DIY Halloween decorations kid-friendly and safe, choose areas that are visible but away from the reach of pets, trick-or-treaters and candle flames.
2. Easy-to-make pumpkins
Nothing screams “Halloween” more than pumpkins! These will bring your porch to life with its vibrant orange hue and enhance a spooky atmosphere. If you don’t want to go through the trouble of buying, gutting, carving out pumpkins, this is a more accessible and much less messy alternative.
This DIY Halloween decoration idea will also work well without pumpkins.
Materials
- Scissors
- Wire cutters
- Flexible aluminium dryer vent hose, four inches in diameter
- Glue
- Spray paint
- Coloured paper
- Wine corks
- Safety mask and goggles
Step-by-step directions
1. Take the dryer vent hose. Then, using a pair of scissors, cut a length of about 24 inches. Use the wire cutters as necessary.
2. Fold the ends into each other to form a “pumpkin,” then glue the ends together.
3. Once the glue is dry, take your dryer vent pumpkin to a well-ventilated area. Spray-paint the pumpkin in your desired colour. Start with the top, let it dry, then flip the pumpkin over and spray the bottom, then let it dry.
You can paint them a bright orange or try other exotic colours like black or beige for variety.
4. Make the pumpkin stem by gluing a wine cork on top. Cut the coloured paper in the shape of leaves and glue them onto the stem. You can also use real dried leaves if you find some in your backyard.
To make it stand out even more, glue on a bow made from coloured string or paper. You can also make eyes and a mouth from black paper.
As this is easy and inexpensive to do, you can make as many of these pumpkins as you want. Display them on your porch, hallway, table setting or any other spot you want to decorate.
3. Balloon spiders
They’re fun, easy, and highly customisable! Make this easy DIY Halloween decoration of a giant black spider. Here’s what you’ll need:
Materials
- Two black balloons, one larger than the other
- Black crepe paper
- Cellphone tape
- Black twine
Step-by-step directions
1. Inflate both black balloons and tie off their bases securely with black twine.
2. Attach the two balloons to make the spider’s head and body.
3. Cut eight long strips of black crepe paper of equal length and width.
4. Tape four strips on either side of the larger balloon.
5. Tape the finished spider to a high corner of your living room, dining room or porch.
You can get more creative by adding googly eyes or drawing fangs and eyes with a white or red marker. Why not draw a tell-tale red hourglass shape on the spider’s rump to make it into a black widow? Or add pink glitter and make them look elegant yet spooky?
Don’t forget to warn anyone with arachnophobia!
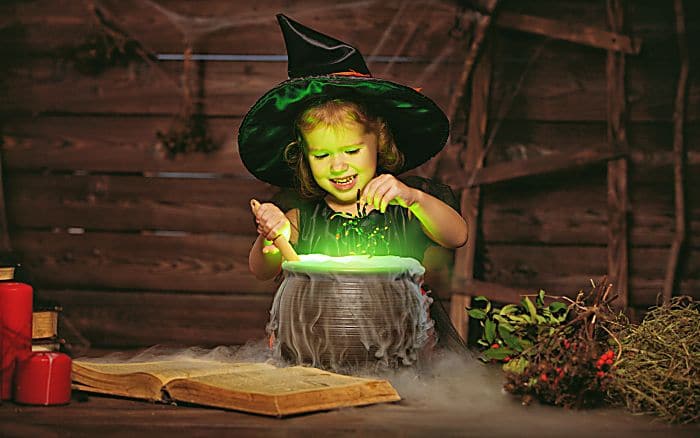
4. Witches’ cauldron
Another simple but effective DIY scary Halloween decoration is the witches’ cauldron. This is one of the more popular DIY Halloween witch decorations you can do, and your decor would be less without it!
Materials
- Dry ice
- Metal bucket painted black
- Glass bowl
- Rubber gloves or tongs
Step-by-step directions
1. Paint your metal bucket black, then set it aside to dry.
2. Once set, place some dry ice on the bottom of the bucket. Don’t hesitate to use a lot of dry ice to create the desired amount of mist.
3. Place a bowl large enough to fit on top of the container.
4. Fill the bowl with candies for trick-or-treaters or other goodies. Place the smokey cauldron on a table close to your doorway or make it part of your table setting.
5. Diabolical door
This is a scary but otherwise cute DIY Halloween decoration that may make trick-or-treaters, guests, and delivery persons chuckle before knocking on your front door.
Materials
- Cardboard boxes
- Black paint or permanent marker
- Red spray paint
- White permanent marker
- Tape
- Fake spiderwebs
- Plastic chains and other spooky accessories
Step-by-step directions
1. Cut or tear long strips of cardboard from boxes. They should be thick and long enough to mimic wood slats that have boarded up your front door.
2. With the white and black markers, draw fake nails on the corners of each cardboard slat.
3. To make your door fit DIY asylum Halloween decorations, get creative with red spray paint and write frightening messages like “HELP US” or “STAY AWAY – INSANE ASYLUM!”.
3. Attach the fake wood slats on your front door with tape or any adhesive that won’t damage your door’s paint.
4. Appy fake cobwebs (see tips above) on the door and slats.
5. Feel free to combine your door with other decorative touches like plastic chains, tiny toy spiders, googly eyes. To complete the experience, get the kids in cute DIY Halloween costumes to greet visitors. Or answer the door with a resting witch face (creepy make-up artists and face painting pros are easily available on Airtasker).
Remember that these are only some of the many possible DIY ideas for your Halloween decorations. While you’re at it, explore more Halloween decor ideas on the blog.
Pull out the stops on making your house look haunted without breaking the bank! And don’t fret if you may not have the time to make and put up these decorations for trick or treat, you can always book an expert to help you realise your vile vision for your decorations. Have a Haunted Halloween!


