Before we kick into things, we need to stress the importance of fire safety, especially in high-risk areas. A DIY fire pit in the backyard is a lot of fun, but please exercise caution and responsible fire use for everyone’s safety.
Now to the fun stuff; making a DIY fire pit is quite simple and can be done with basic tools and materials. Our simple step-by-step guide below will help with your DIY fire pit creation so you can warm up the vocal cords, grab the acoustic guitar for a bit of “kumbaya,” and gather your friends around your very own fire whenever you like!
Before you begin – Make a plan
Any successful DIY firepit project starts with some careful planning – this is crucial.
First, you need to decide where you are going to make your fire pit. Assess the area and find the best location, preferably in a spot with ground that you can dig easily. Avoid spaces with trees, overhanging branches, or anything too close to a fence, shed, or house to protect from potential hazards.
Next, you’ll need to plan the shape of your fire pit? Do this before buying materials by drawing a rough sketch which will help you work out the design and style you want to build. This should also give you a rough idea of the amounts for the materials you need to gather.
The materials you need
Your local hardware store should have everything you need. We’ve chosen our amounts based on an average-sized DIY fire pit. Treat this list as a guide and tweak as needed:
- 20kg of gravel
- 40 – 50 bricks or retaining wall blocks
- 20 – 30 clay fire bricks
- 2 x concrete tubes
- Lava or volcanic rocks
The tools you’ll need
- Bucket
- Hammer
- Hand Tamp
- Garden hose
- Wheelbarrow
- Safety gear
- Spirit Level
- Rake
- Shovel
- Spray Paint (optional)
- Grinder with missionary black (optional)
How to build a DIY fire pit: Step-by-step
Now that you have your area ready, a design, materials and tools, you can follow these simple steps to create a DIY fire pit:
Step #1: Prepare the area
Mark the shape and the size on the ground of your fire pit. Lay down blocks and use a shovel to mark the perimeter of your fire pit. If you are building a circular fire pit, hammer one stake into the ground, then attach a string, using it as a compass to draw the perimeter circle.
Step #2: Dig and level the base
The key to a great DIY fire pit is a solid base to ensure stability and longevity. Use your shovel to dig your marked area to the point where it is 5cm or 2″ deep.
Take a hand-tamper to tamp the soil making sure the entire surface is compressed and level. Check this with a spirit level when done to ensure an even surface.
Step #3: Lay the foundation
Strengthen the foundation by adding a 2.5cm or 1″ layer of gravel throughout the base and distribute it evenly with a rake. Dampen the first layer of gravel slightly and tamp down the gravel again.
Add a second 1.5cm or 1/2″ gravel layer and tamp down to form a strong and stable foundation.
Step #4: Constructing the fire pit walls
Lay the first row of bricks along the inside of the base perimeter using a level to make sure they are even. Then, add the next layer on top, staggered like a ‘brick wall’ and make sure you are happy with how they look before applying adhesive.
Remove each block individually and apply a concrete adhesive, replacing the brick for a permanent fixture. Repeat all of this until you have three or four layers around the fire pit. You can tweak this based on how high you would like your DIY fire pit to be.
Step #5: Placing the fire bricks
Allow the concrete adhesive to dry, then add the fire bricks. These are clay bricks that will help to distribute heat evenly, preventing your blocks from cracking.
Place the fire bricks in an upright position, lined inside of the walls and add more gravel if you need to raise their height (you can also use extra bricks).
Once everything is in position, fill the pit with lava rocks about halfway up the fire bricks. This not only helps to hold the bricks in position while also creating a good base to burn your wood on.
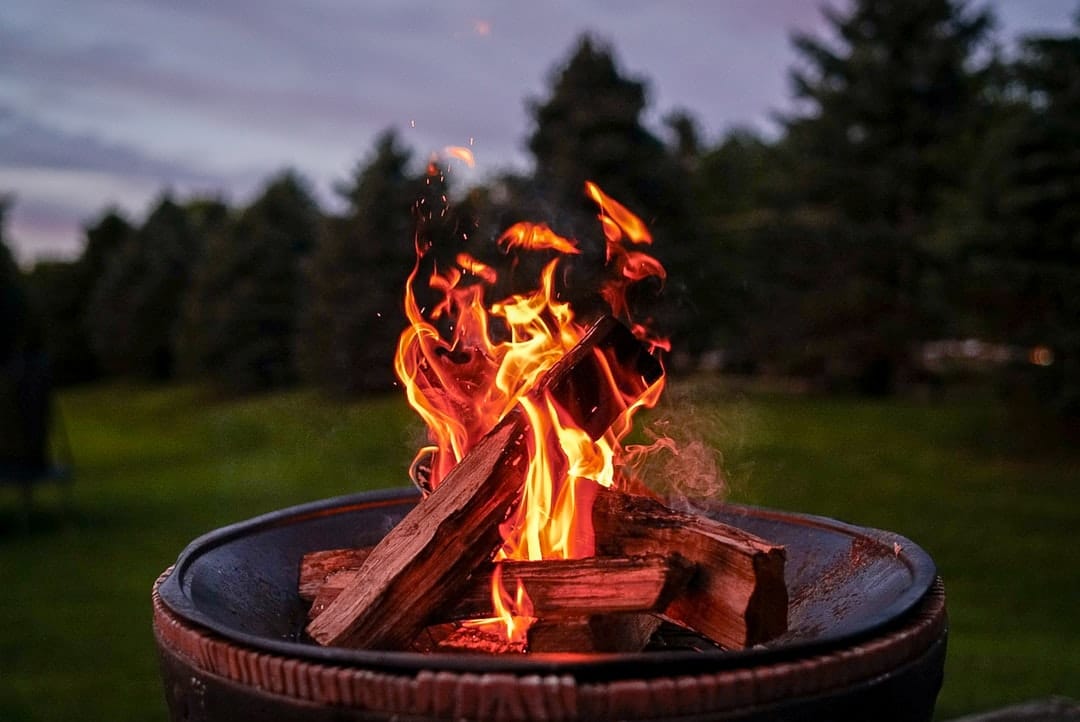
Your DIY fire pit is ready to go!
Now that your DIY fire pit is ready, chuck some firewood in there kick back and relax! If this is your first time building a DIY fire pit, keep it simple with a basic shape to achieve a great result. For those who are a little more experienced, you can try a more challenging design with irregular shapes and decorations.
The benefits of an outdoor fire pit
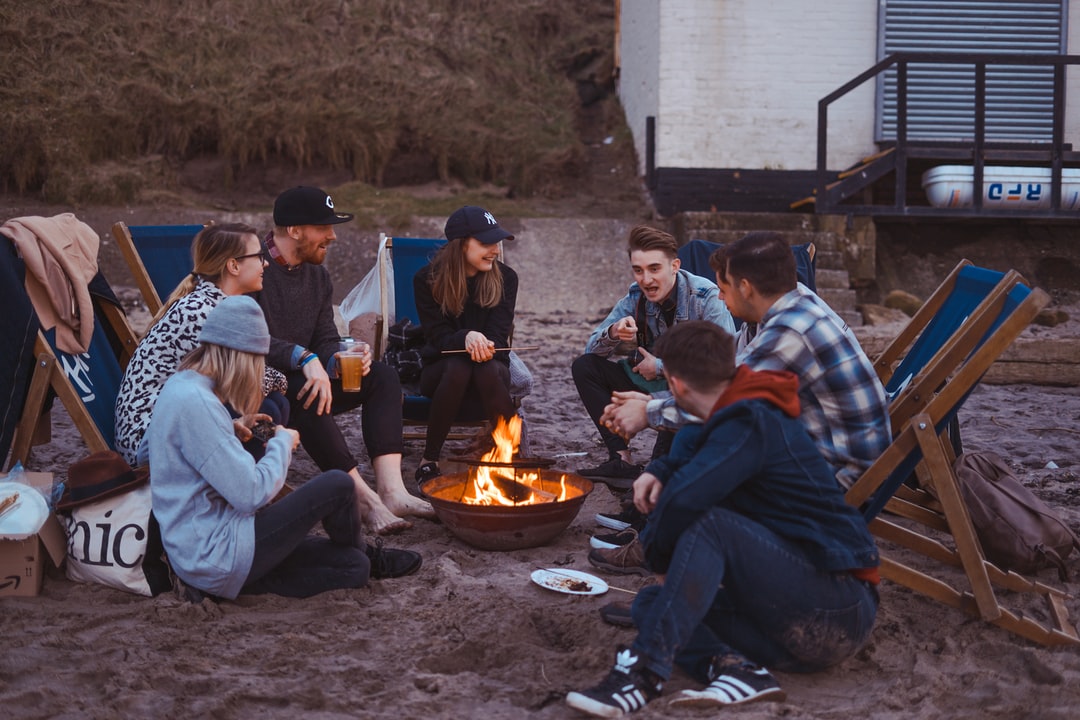
With an outdoor DIY fire pit, you can enjoy your patio or garden areas at all times throughout the year. This multi-season space maker will warm you up on cool nights. Just place some chairs around the edges, invite your friends around and enjoy these benefits:
Fire pits add ambience
Much like candles indoors, the glow of a fire pit offers visual warmth along with actual warmth to your space. You’ll enjoy a sense of closeness with those who gather around it.
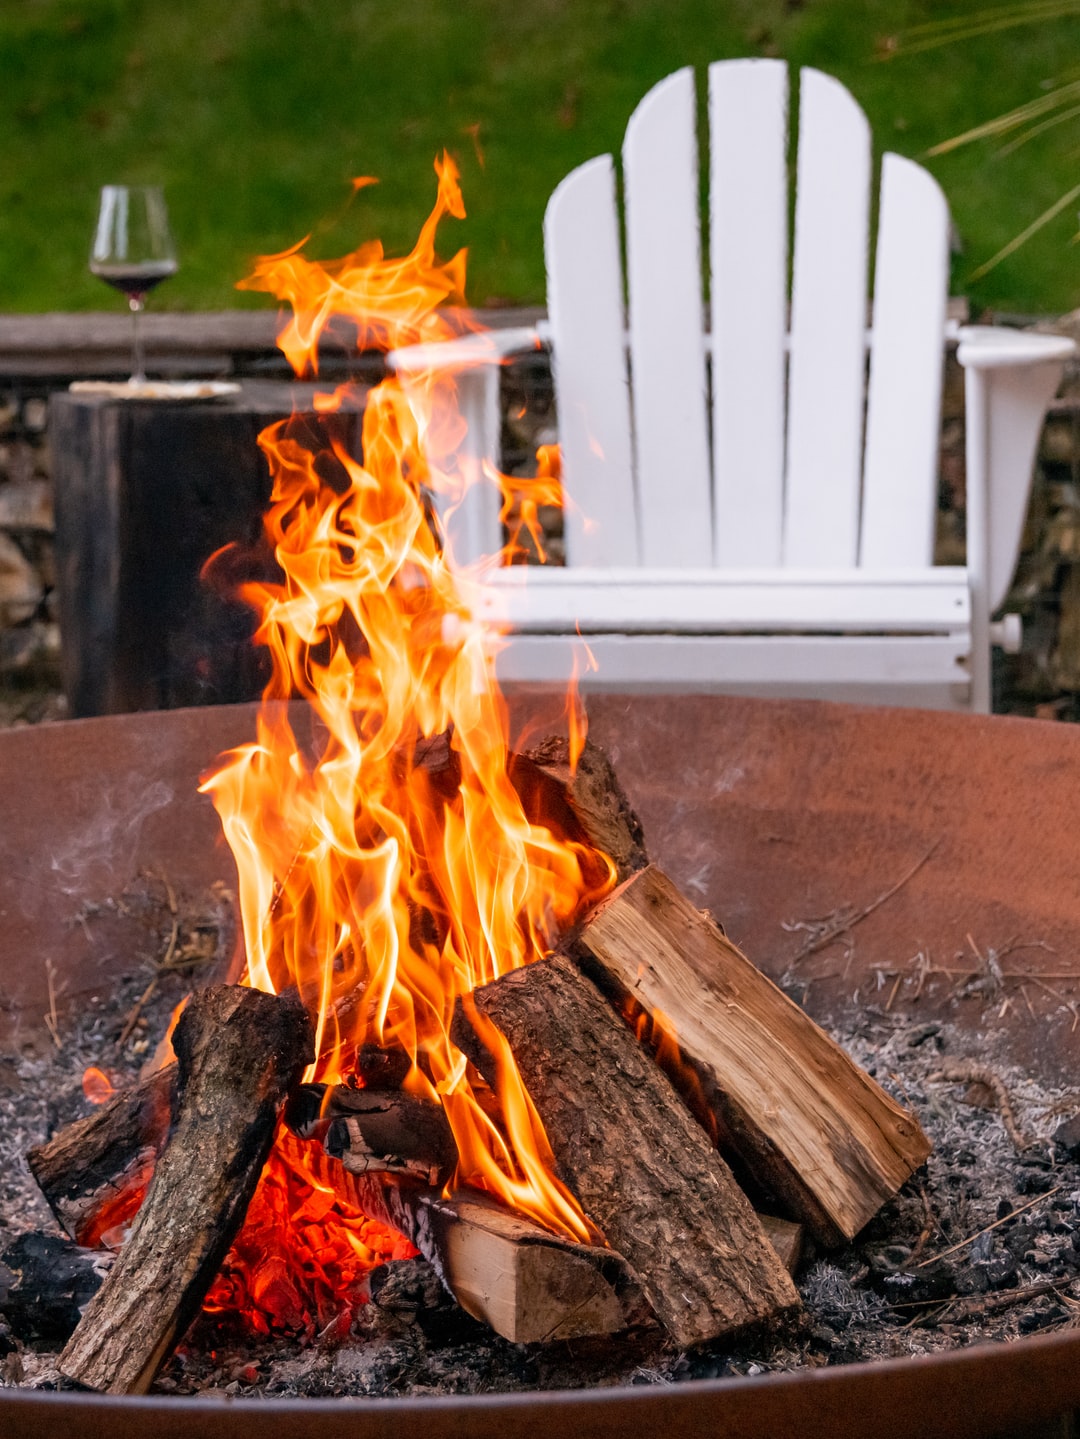
Fire pits provide entertainment
Wood burning fire pits are particularly entertaining. From stoking the fire to simply watching logs burn, this can be one of the most calming sources of entertainment around.
You can use them as a cooking tool
Get a little primal by cooking over an open flame. Wrap some potatoes in foil and chuck them at the bottom of your pit for a delicious meal that you’ve prepared outdoors!
Frequently asked questions
What do you put in the bottom of a fire pit?
The range of materials suitable for the bottom of a fire pit includes:
- Sand
- Dirt
- Lava rocks
- Fire pit glass
- Gravel
Can you DIY a fire pit?
Yes, all it takes is a few basic skills with a little bit of creativity to design and build your very own DIY fire pit. Use retaining wall blocks or bricks, and design based on the specification allowances of your space.
Is it cheaper to build a DIY fire pit than buying one pre-fab?
This does come down to how extravagant your fire pit will be; however, only basic materials are required to build a DIY pit. You may even already have most of the things you need around the home.
How do you prepare a ground for a fire pit?
Preparing the ground for your fire pit is one of the most important steps to ensuring a stable base. To do this, follow these steps:
- Measure where your fire pit will go
- Dig out the space, 5cm deep, keeping the ground level
- Organise the boundary of your fire pit and place the bricks in position
- Add a layer of gravel, dampened slightly and levelled out
Enjoy those fun nights by the fire
Now that you can build and customise your perfect DIY fire pit, the only thing left to do is enjoy it! Your home will become the go-to hang out spot as everyone enjoys some relaxing fire time.
If you need a little help, there are both indoor and outdoor fireplace installation Taskers available to save you a little time and ensure the job is done correctly.
If you are looking to bring the atmosphere of a fire inside of your home as well, we strongly recommend having a read of our fireplace ideas blog which can help you with a bit of design inspiration. Enjoy your fire responsibly, and have fun!
How to actually build a sturdy shed foundation for your beautiful garden
How to build a DIY awning that will shelter you from the elements
How to clean a BBQ – 6 easy & quirky ways

Which are the best vegetables to grow in winter
Your guide to planter boxes for your home