While not the first thought that springs to mind when you think “pets,” worms are a great addition to your home. Hear us out. These little critters are pretty low maintenance and will pay you back by fertilising your garden. When it comes to a worm farm, DIY options are incredibly possible and easy to set up.
A worm farm can also be a great way to teach your kids about recycling while reducing the amount of rubbish you throw in the bin. All you need to begin is a protected, shady spot that maintains a constant temperature, out of any exposed sunlight and to follow these handy stapes.
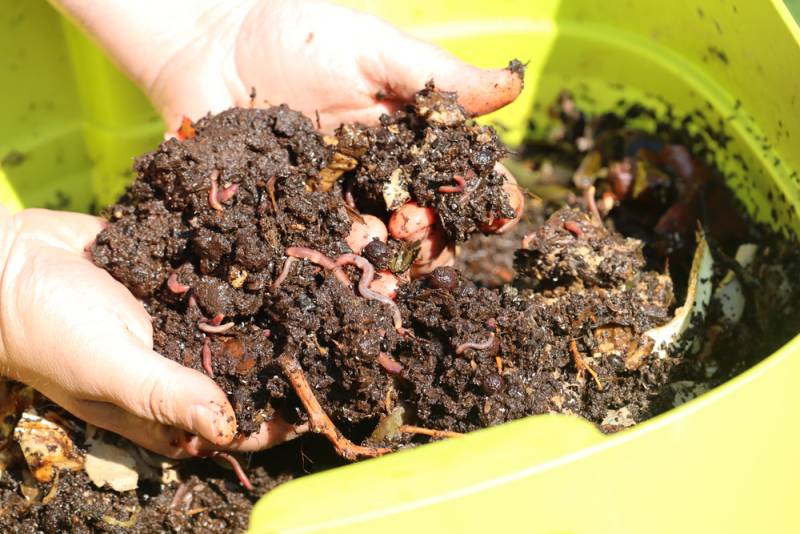
How to DIY worm farm: step-by-step
Before we get into the steps, it is important to gather all of the materials you’ll need. These include:
- Three old polystyrene fruit boxes with one lid
- Old newspaper
- Some shade cloth offcuts big enough to cover a box
- Mushroom compost
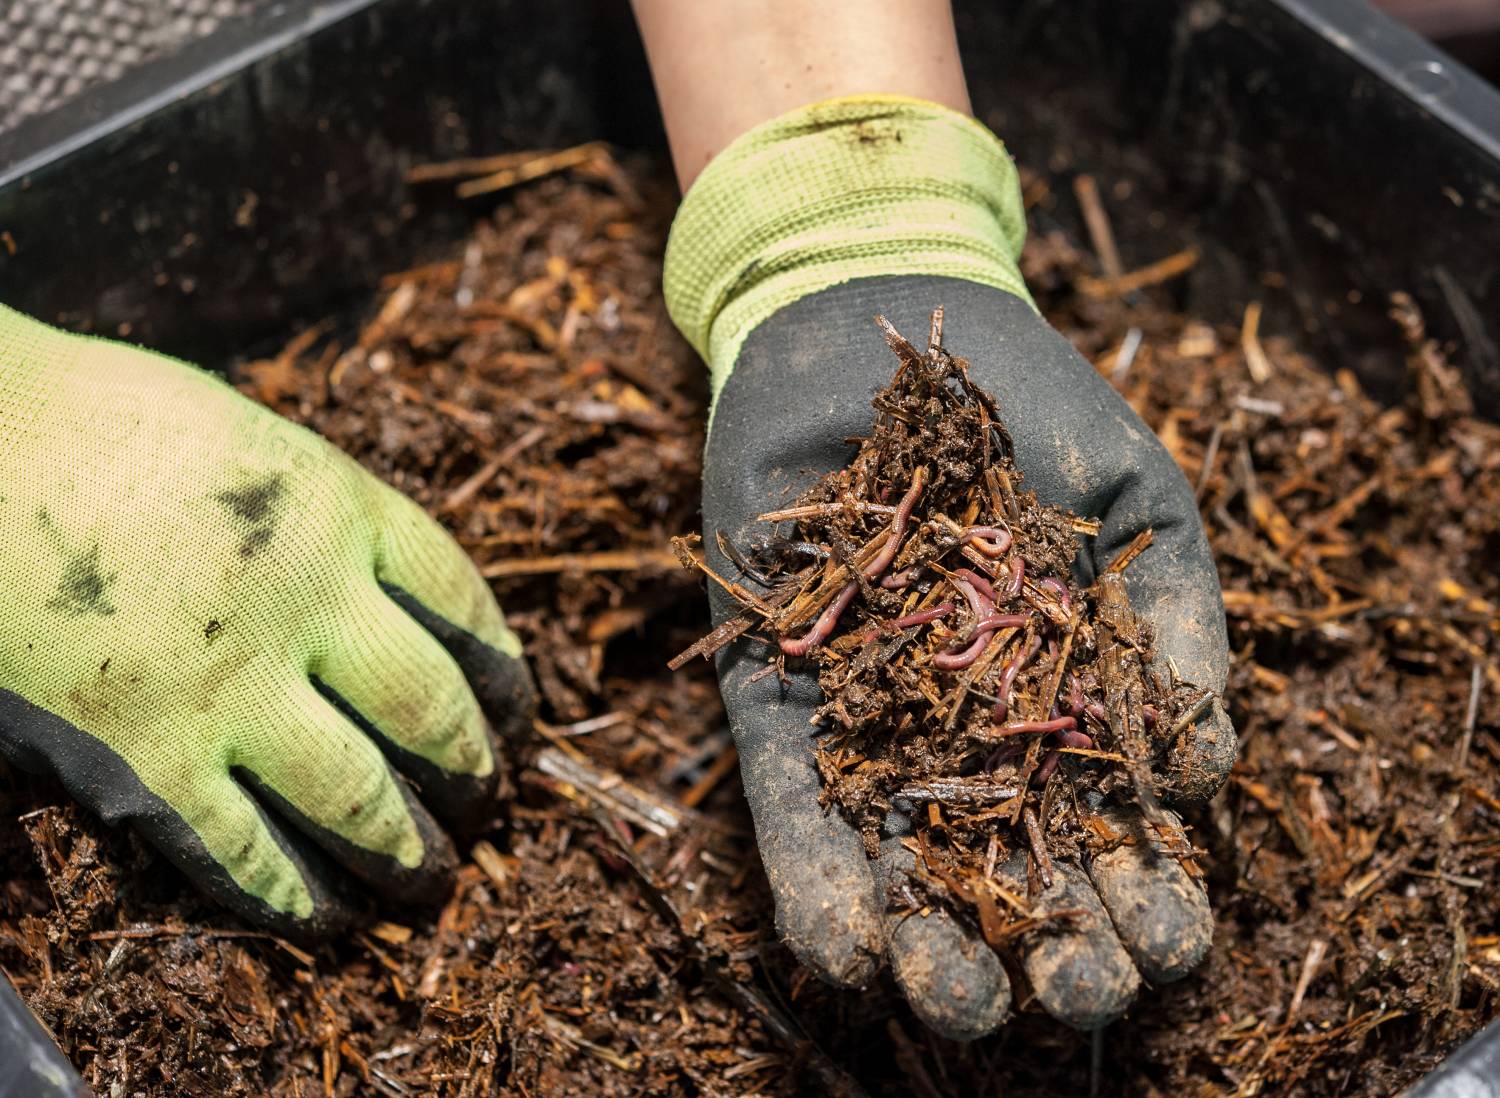
- Worms! Preferably tiger worms or Indian blues
Step #1: Making your worm farm
Stack the three fruit boxes on top of each other. The two at the top are known as the feeder boxes in which your worms will live. As a result, these boxes will need holes in the base. The container at the bottom is known as the reservoir that holds the liquid worm “tea.” Gross, we know, but to ensure this grossness is contained, you’ll want to make sure this box has zero holes and is waterproof.
You’ll want to drain this liquid so you can either install a tap or create a hole in the box that can be plugged. You’ll want to keep this liquid for its many uses that we’ll get to a bit later on.
Step #2: Add worms
Place your worms in the middle container and put a shade cloth over the bottom box so the worms won’t fall through and drown. Line the middle feeder box with some sheets of newspaper along with bedding material like mushroom compost. Add the worms by spreading them out over the bedding, then cover them with damp newspaper.
Step #3: Let the worms settle in
Let your worms get used to their new home for a week or so before it is time for them to be fed. Overfeeding is the biggest issue in worm farms, so check to see how much they eat and mitigate accordingly. The middle section will slowly fill with worm poo, and your worms will want to move up to the top box. When this happens, set up the second feeder box like you did the first one. Chuck some fresh food in there to entice them up and give them a few days to move home.
Step #4: The worm poo switcharoo
When your worms have moved up to the top box, remove the middle box and use the worm poo on your garden. The “top” box is now the middle level, and the original middle box goes on top. You’ll repeat this process as each box fills and your worms move around.
How to feed your worms
Your worms will love chopped up, old food scraps, which is preferably not citrus. Compost worms will eat their body weight in food each day, but you’ll want to avoid overfeeding as this will result in a big smelly mess. A good rule is to wait around 30 minutes for the first batch of food to disappear before adding more.
Add the feed in thin layers, and include an equal amount of ripped-up, paper )non-gloss) to keep the system aerated while also creating a balanced diet for the worms.
The main foods you’ll want to avoid feeding your worms are:
- Anything acidic (citrus, pineapple, onions, etc.)
- Oils
- Spicy foods
- Dairy products, fish and meat (that’s right, your worms are vegan)
Worm farm DIY maintenance tips
If you live in an area with periods of dry weather, you may need to add a little water to your worm farm. Aim to keep the bedding damp, but make sure it is not soaking wet.
- A good temperature for the worm farm is between 12°C and 28°C, and the fact that you’ve used polystyrene boxes will help regulate the heat, an advantage over wheelie bin worm farm DIY. That being said, you may need to give your worms a little warmth on colder nights by covering the farm with a blanket. On hot days, a moist hessian sack or ice block wrapped in newspaper will keep them cool.
Using your worm liquid “tea”
Yes, it is somewhat disgusting, but the worm poo makes worm “tea” which is extremely good for your garden. This stuff is basically organic fertiliser; you just need to water it down first. Mix one part worm juice and 10 parts water to get the right balance, then feed your pot plants or veggie patch with it!
While this seems like a yuck mixture, it shouldn’t smell bad; if it does, there may be bad bacteria in there, so pour it through the system for a second run. Your worm poo acts as a soil conditioner and slow-release fertiliser. If you add a small amount to some potting mix or spread it throughout your garden beds, your plants will be very happy.
You can also water it down to make more of the liquid style feed. Just add enough water to turn the poo into a slurry, chuck it in a bucket, and fill it with water. Throw this stuff anywhere outdoors, from your garden beds to the lawns, and you’ll be increasing your plants’ drought tolerance while providing them with some very valuable nutrients.

Frequently asked questions
How much does it cost to build a worm farm DIY?
Creating a worm farm DIY is a very cheap exercise. You only need food, worms, dirt, and material. If you use old fruit boxes for the farm itself, the most you’ll have to pay for is some compost material and the actual worms themselves. The food will be your own food offcuts and wastage along with, at most, some old newspaper. All of this should keep costs very low, and if you have a decent worm hookup and recycle pretty much everything else, possibly even free!
How many worms do you need to start a worm farm?
To give your worm farm a great start and to see fast and effective results, aim for roughly 1,000 compost worms. This can vary based on the size of your farm and access to worms. The best worm types for a worm farm are tiger worms or Indian blues.
Do worms like coffee grounds?
Yes, very much so! Old coffee grounds are a great addition to your worm farm. The worms will munch them down then excrete castings that provide nutrients that are great for your garden. However, it is important to only give your worms coffee grounds in moderation to ensure the acidity levels of your worm farm sit at the appropriate levels. This goes for any overfeeding of your worms, it is important to learn how much they can handle to keep them healthy across the board.
You’ll be a (worm) farmer in no time at all!
As you can see, it’s all positives when it comes to creating a worm farm. Enjoy a simple, fun project that helps you recycle, gives your garden some top-quality food, and provides a great home for some little worms. All of this at a low cost!
If your worm farm project is part of a bigger focus on improving your garden, you may be interested in some help! There are many Taskers who offer a range of garden tidy-up services that can save you some time while ensuring your outdoor areas look their very best. A little help from the pros can also mean a few new ideas that you may not have considered in your space.
We also recommend that you check out our article that delves into our eco-friendly gardening tips. This, along with your worm farm, will make sure your garden is green in every sense of the word! Gardening can be fun, therapeutic, and it’s also your chance to contribute to overall environmental improvement! (You can get Tasker to safely dispose of green waste, too.) So, get out there, get dirty, and reap the benefits of an excellent outdoor area.