A range of home improvement projects will require you to drill into a tile. Tiles are a notoriously tricky surface to drill into without causing any damage. Learning how to drill into tile without cracking it removes the fear of damage and ensures that your improvements do not cause more harm than good!
While tile is a robust option for your home, it cannot handle an unprepared drill on a hammer setting. Tile is expensive and you are likely trying to improve a space, not damage it, so it’s important to ensure care when drilling. There is nothing worse than a DIY project requiring expensive repairs from a professional!
There are some important steps to consider which will ensure that your tiles won’t chip, crack or shatter completely when you take a drill to them. Read on to learn how to drill into tile the right way.
Using the correct drill bit
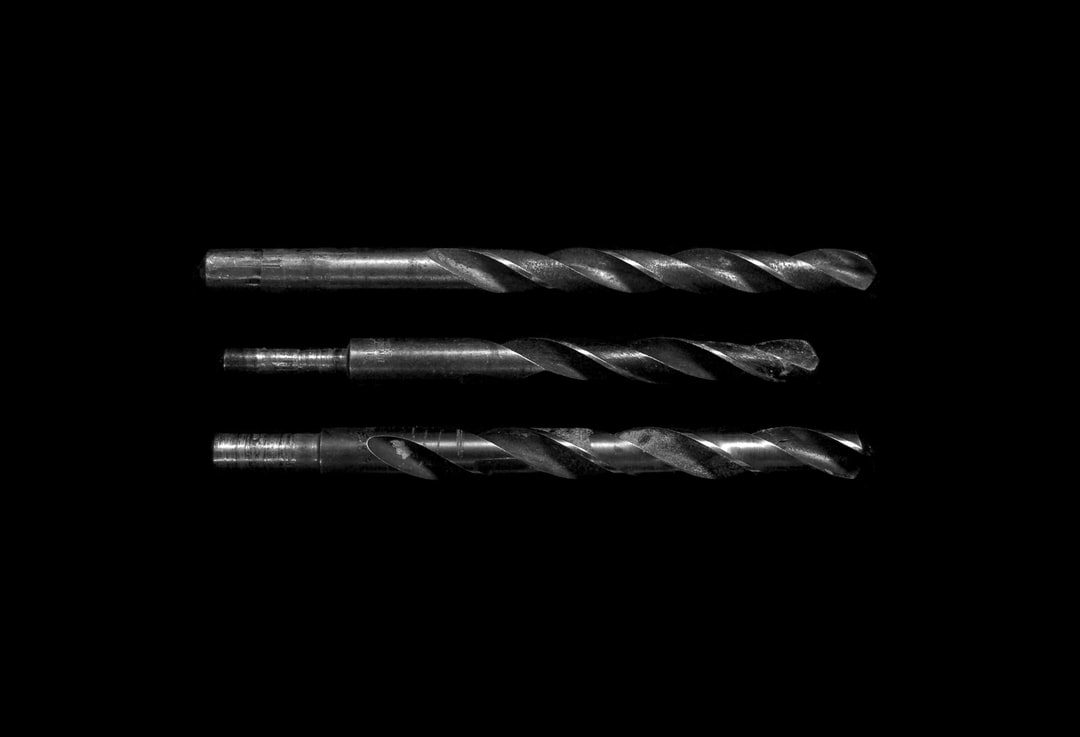
This is possibly the most important thing to get right when it comes to how to drill into a tile. Drilling safely and with no risk of damage to your tiles comes down to using the right drill bit. There are two types of drill bits that you can use:
- Diamond-tipped
- Carbide-tipped
Diamond-tipped drill bits are the most preferred choice as they are durable; however, they are more expensive. If you have porcelain tiles with a hard backing, this option will be the best way to avoid cracks.
Carbide-tipped masonry drill bits are made to handle hard-rock surfaces, and while they are not as durable as the diamond-tip, they can be just as effective. This option is best-suited for ceramic tiles with a softer backing.
How to drill into tile
The start is always the hardest part as tiles are purposefully designed to be strongest on the outside. Breaking through the hardened glazed surface is often the part of the drilling process that causes issues such as chipping or cracking. To ensure you avoid this, follow these steps:
- Mark an “X” on the spot that needs to be drilled with masking tape which will help to give the drill bit surface traction while also protecting the tile in case the drill bit slips
- Confirm the depth required and mark the drill bit to the same depth with masking tape
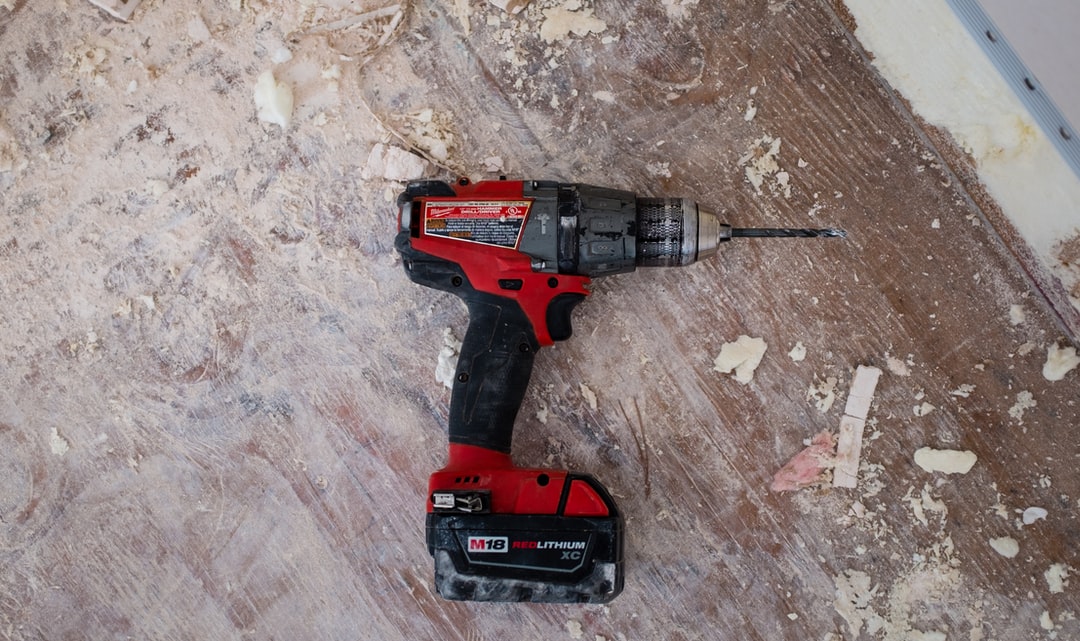
- Ensure that your drill is not on the hammer setting as this will crack your tile
- Drill carefully to break through the surface, then continue with a consistent speed until you reach the required depth
- Remove the drill slowly to ensure you do not chip the tile during removal
It is very important that before drilling, you confirm that the wall you are drilling through is free from pipes, water or electrical cables. If you are working with tiles, you are likely in the kitchen or bathroom, and you want to guarantee you won’t be causing expensive damage by drilling through a pipe.
Safety elements to remember
You may find that your drill overheats if you have a think tile and have been drilling for a long period. This can mean bad news for both your drill bit and the tile. To avoid this pause frequently and dip the drill bit into some water to help it cool down.
When you have drilled through the tile, decrease the speed and pressure of your drill and remove it slowly. From here you should be left with a clean and even drilled hole with no harm to the remaining tile around it. Remove the remaining tape and make sure there are no small shards of tile left where you drilled.
How to care for your tile when you finish drilling
Once the appropriate holes are drilled, and the project is complete, you’ll need to consider the cleanup. These tips can be used for ongoing tile maintenance to ensure you get the best out of your tiles for as long as possible. There are a few smart cleaning techniques to keep tiles and grout looking like new. All you need is the right cleaning products and tools with a little spare time.
It’s important to keep a regular eye on your tile for signs of dirt or grime. If left for lengthy periods of time, this can cause more harm than just a dirty look, as the dirt particles can attack your tile surface. A hazy film or dirty grout is usually a good indication that the time has come for a clean.
The right clean for any type of tile
Tile floors are incredibly durable; however, certain kinds of tile require particular cleaning methods. Ceramic and porcelain tiles are low maintenance; however, slate, marble, granite, and limestone, essentially anything that is more coarse, will require individualised care and specific cleaners.
Here are a few easy cleaning tips to keep your tile in good condition, and always looking its best:
- Always begin by cleaning up the loose debris by sweeping or vacuuming your tile floors, or wiping tile walls as this will keep them from getting dull
- Choose the right mop or sponge and use mild detergent and clean water
- Be sure to change the water frequently as attempting to clean with dirty water will make more of a mess than you fix
- If you find any tile stains or discolouration you’ll need to use a dedicated stain remover; it’s always best if you try to find the right type of cleaner for whatever causes the stain
- Dry the tiles to avoid water spots with a lint-free cloth immediately after you are finished cleaning
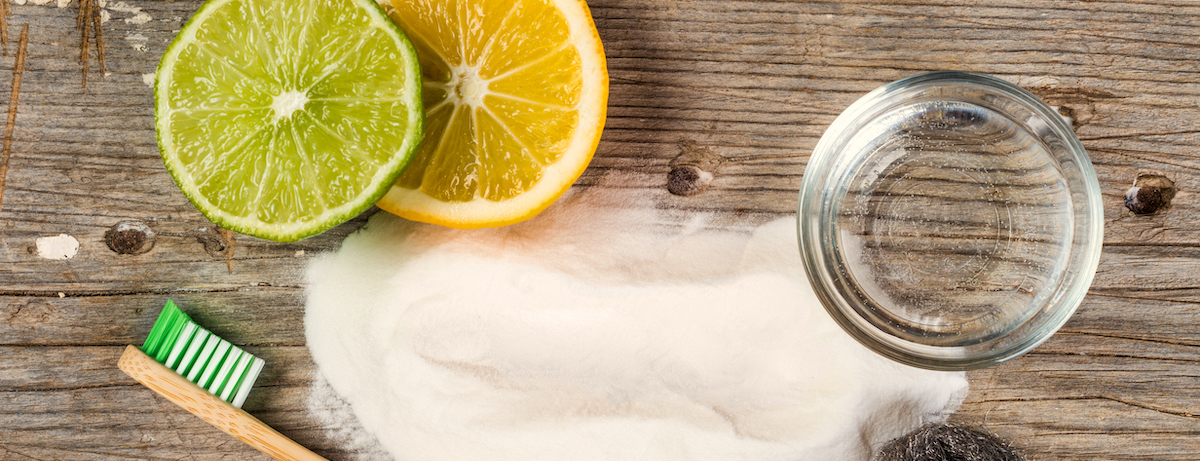
While cleaning, it is important to keep an eye out for soap residue. If your tiles look hazy after you have finished cleaning, this means there is likely still soap on the surface. This can be removed with a nonabrasive all-purpose cleaner, or you can use a homemade cleaner with fresh lemon juice and water (unless you are cleaning stone tiles).
Frequently asked questions
What drill bit do you need for tiles?
It is very important that you use the right drill bit when drilling into tiles. This can be the difference between a successful project and a broken tile. There are two types of drill bits that you can use to safely drill into a tile, a diamond-tip and a carbide masonry-tip.
Diamond-tipped drill bits are the most expensive of the two, but they are also the best choice as they are extremely durable. This option is best suited to porcelain tiles with a hard backing and will help you avoid cracks.
The carbide-tipped masonry drill bits are not as durable as the diamond-tip but are still very effective when it comes to drilling through ceramic tiles that have a softer backing.
What is the best drill bit for ceramic tile?
The best option to drill through a ceramic tile without damaging it is a carbide-tipped masonry drill bit. These drill bits are made to handle hard-rock surfaces and are very effective when drilling through ceramic tiles with a softer backing.
You can also use a diamond-tipped drill bit; however, these are often better suited to porcelain tiles. The diamond-tip is a stronger drill bit, but also more expensive.
Do you need a hammer drill for tile?
No, in fact, it is strongly recommended that you do not use a hammer drill, and also confirm that the hammer setting on your drill is switched off before drilling through tile.
The standard drill setting will work to breaking through the hardened glazed surface of the tile with a little patience and persistence. A hammer drill will cause chipping or cracking, so to avoid this place masking tape on the area you are drilling to give the drill bit surface traction and protect the tile. Drill carefully to break through the surface, and keep a consistent speed until you reach the required depth for the hole.
Slow and steady wins the non-cracked tile race
The instructions above will help ensure your tiles are free from cracks and chips when drilling into them. Just remember to have patience and exercise care when drilling the hole. That and the right equipment should keep you crack free.
If you a less confident and do not want to risk your tiles, or if you gave it a shot and things went bad, there are plenty of tiling expert taskers who can help. From porcelain tile installation to floor and splashback tiling, there are a plethora of experts ready to help make your wet areas look their absolute best. You can also find plenty of handymen and women who can help with a range of tasks around the home from repairs, to maintenance and renovations.
If you nailed the tile hole drilling and are looking for some more inspiration for new DIY home reno skills, read some of our other articles. We can help with how best to remove a tile floor and a range of other bathroom tile ideas. Have a read and get to work in making your home the very best space it can be!