- Home/
- Guides/
- Splashback Tiling/
- How to Tile a Kitchen Splashback
How to tile a kitchen splashback: The easiest steps possible
Find a splashback tilerLast Updated on
Learning how to tile a kitchen splashback by yourself is one of the easiest DIY ways to improve the look of your home. This simple and affordable upgrade can be a lot of fun as there is no shortage of kitchen splashback options available when it comes to tiles. You get to flex your creative muscle while upgrading a functional area of your kitchen!
You have a lot of options when it comes to materials for your splashback, but glass, mirrored splashbacks, and stone splashbacks can be much more expensive and very difficult to keep clean. On the other hand, a tiled splashback is easy, affordable, robust, and simple to clean, all while looking amazing. It also allows for patterns and colours to suit the look of your kitchen.
Read on for all the steps for how to tile a kitchen splashback and take this fun DIY project on today!
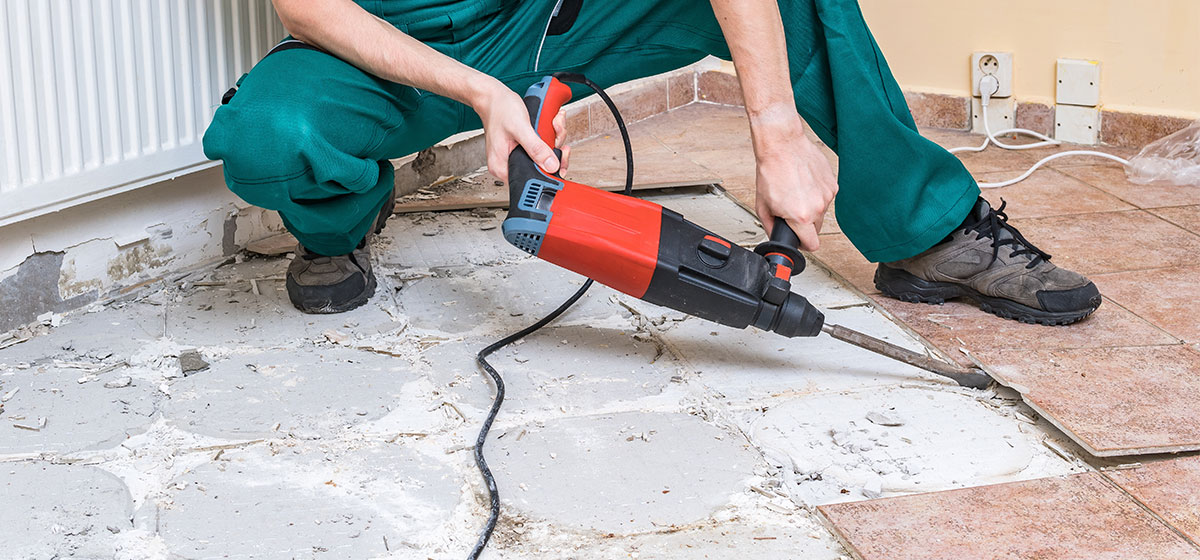
Removing the existing splashback
If you are getting rid of an old splashback or renovating, you will first need to remove whatever it was that formed your existing splashback. You can tile over it, sure, but the finish simply will not be as good. Go the extra mile with the effort of removing the existing splashback. Once you have, you can reinstall some new plasterboard and start with a clear flat surface.
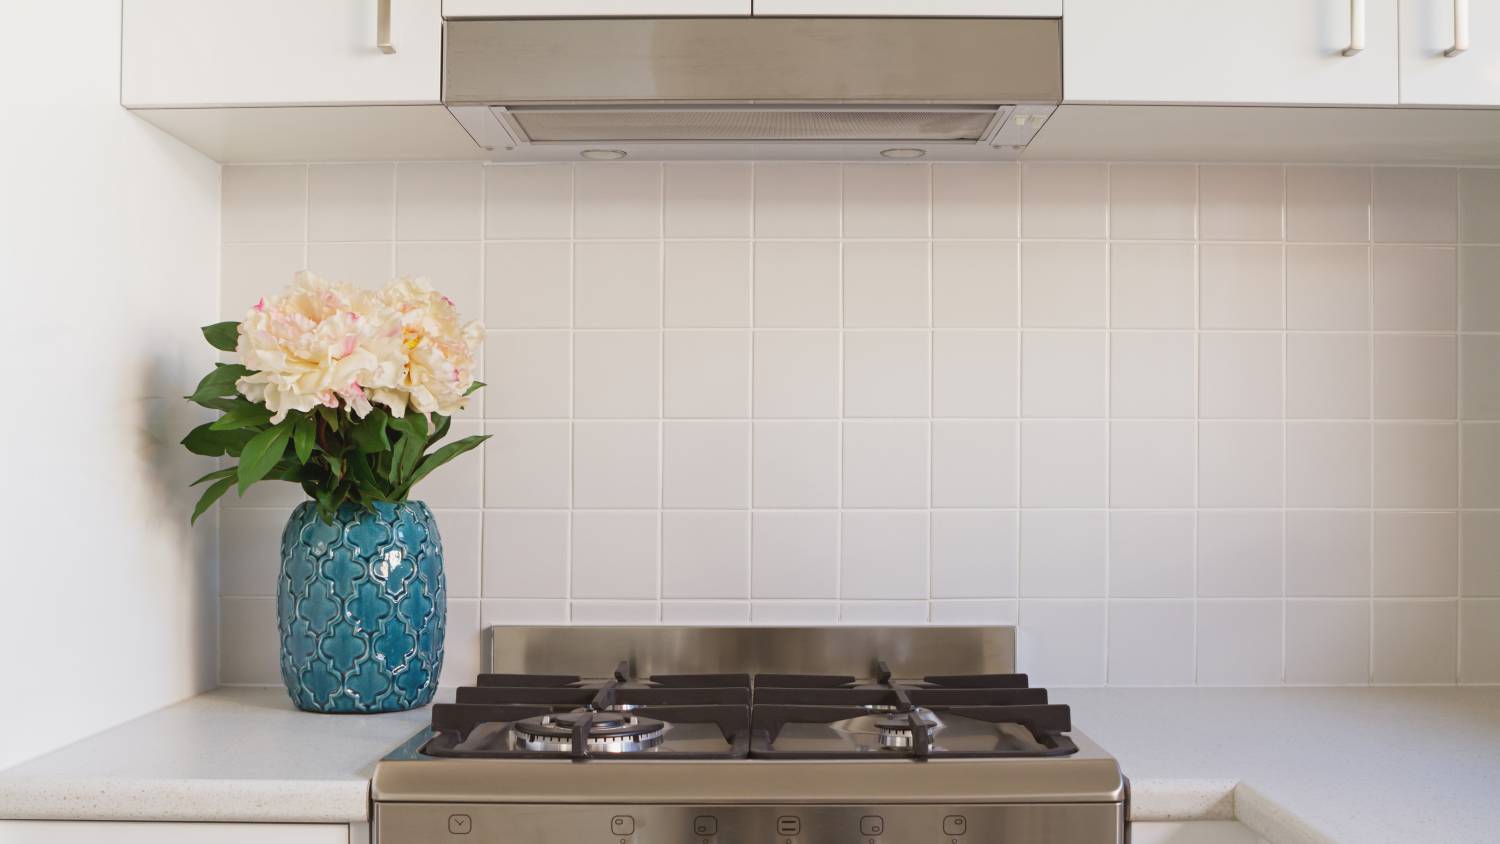
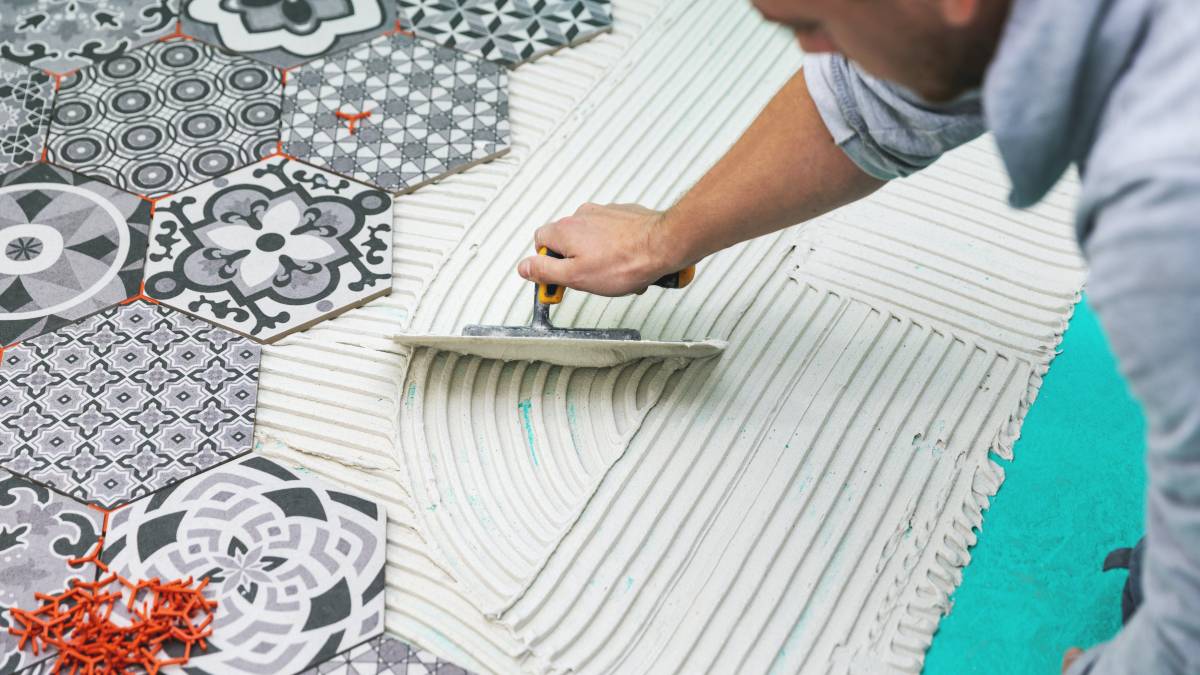
 Source: JOSBRA design on Unsplash
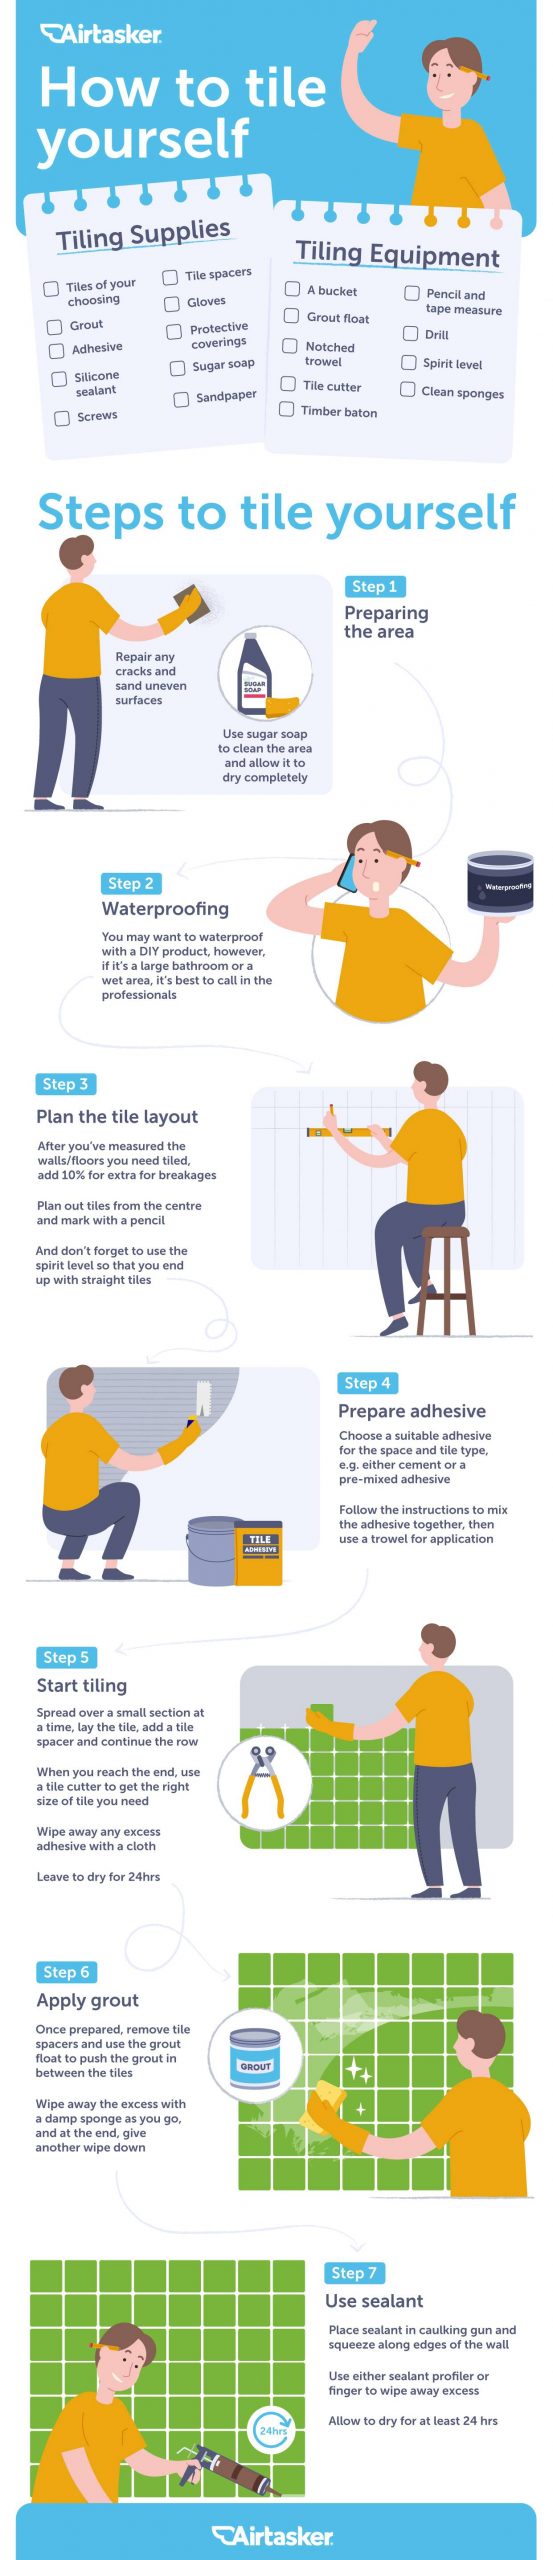
Alright – now that you’re ready for new tiles, here’s a helpful infographic summarising all the steps to DIY tiling in general:
Read on below as we dive deeper into tiling kitchen splashbacks, specifically.
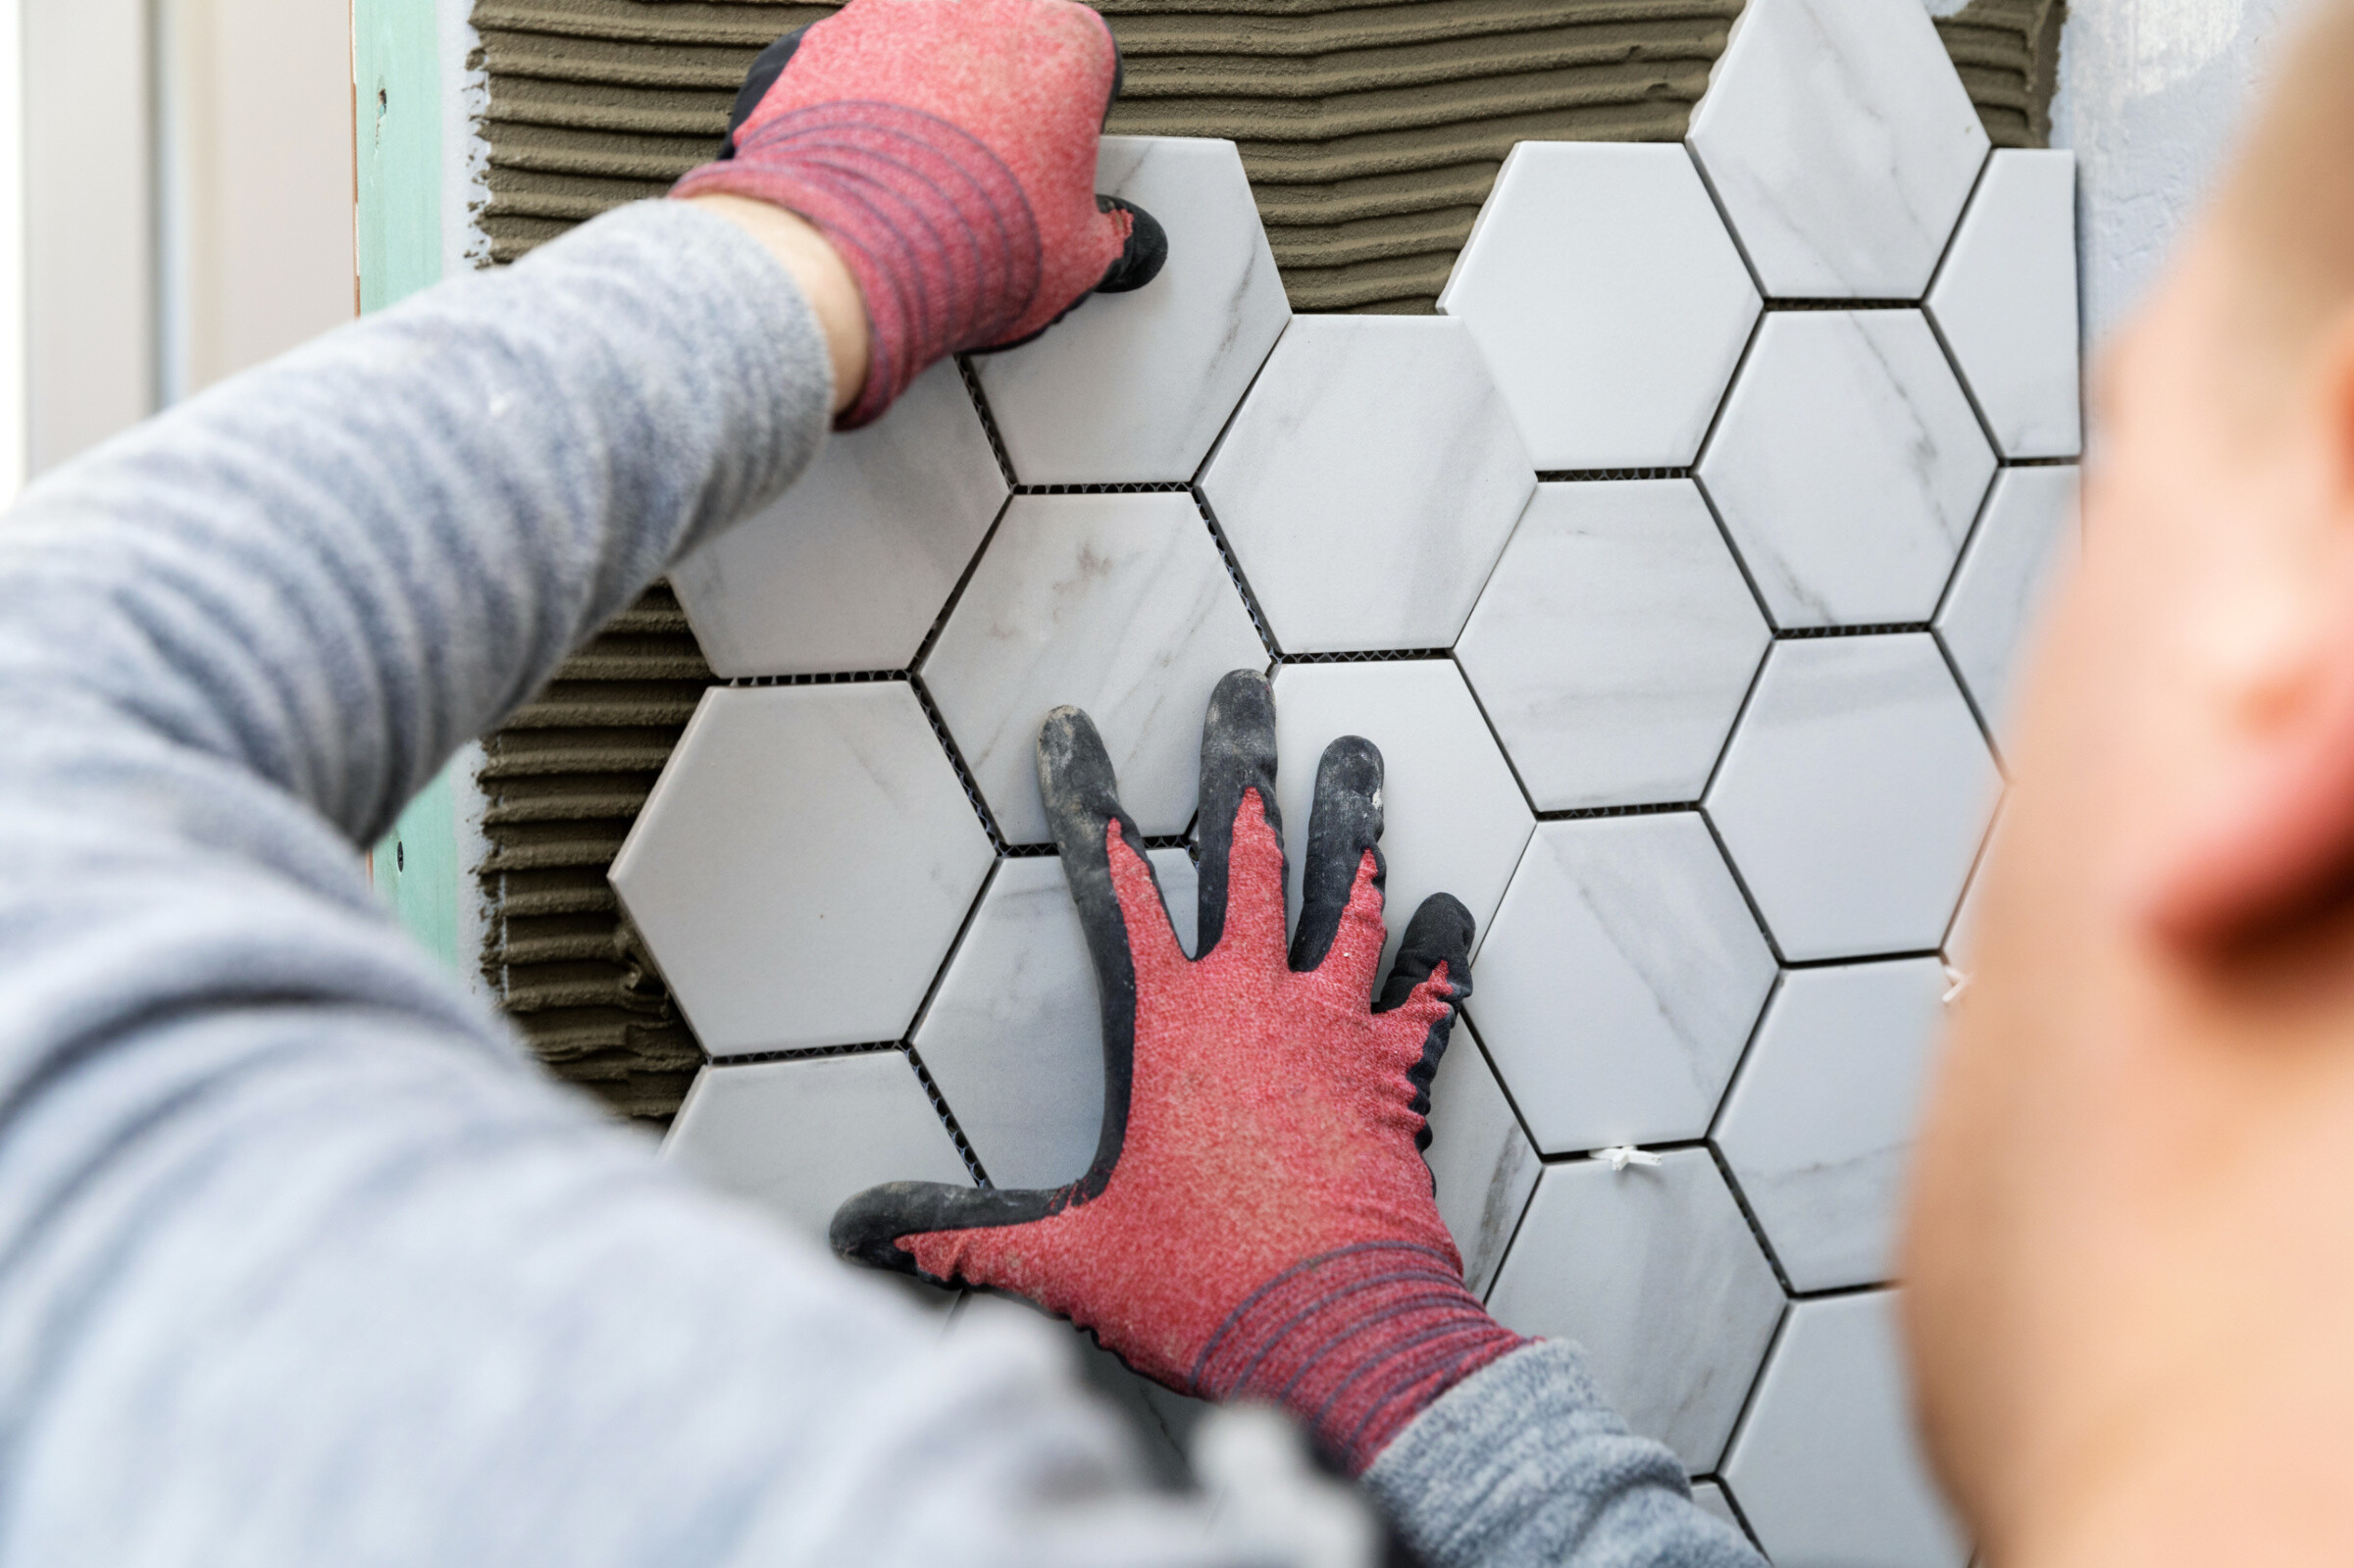
How to tile a kitchen splashback onto new plasterboard
- Prep the surface and make sure your plasterboard is free from lumps or bumps. These will interfere with your tiling. Also, always put protective sheets over your benchtops so they stay free from damage that can be caused by tile adhesive and grout.
- Include something to support your new tiles. If you have a benchtop, perfect, but if you are tiling between two cupboards, temporarily attach a block of wood to support the tiles and ensure a clean line.
- Get some tile adhesive from your local hardware store. It often comes in a powder that you will mix until it looks like toothpaste.
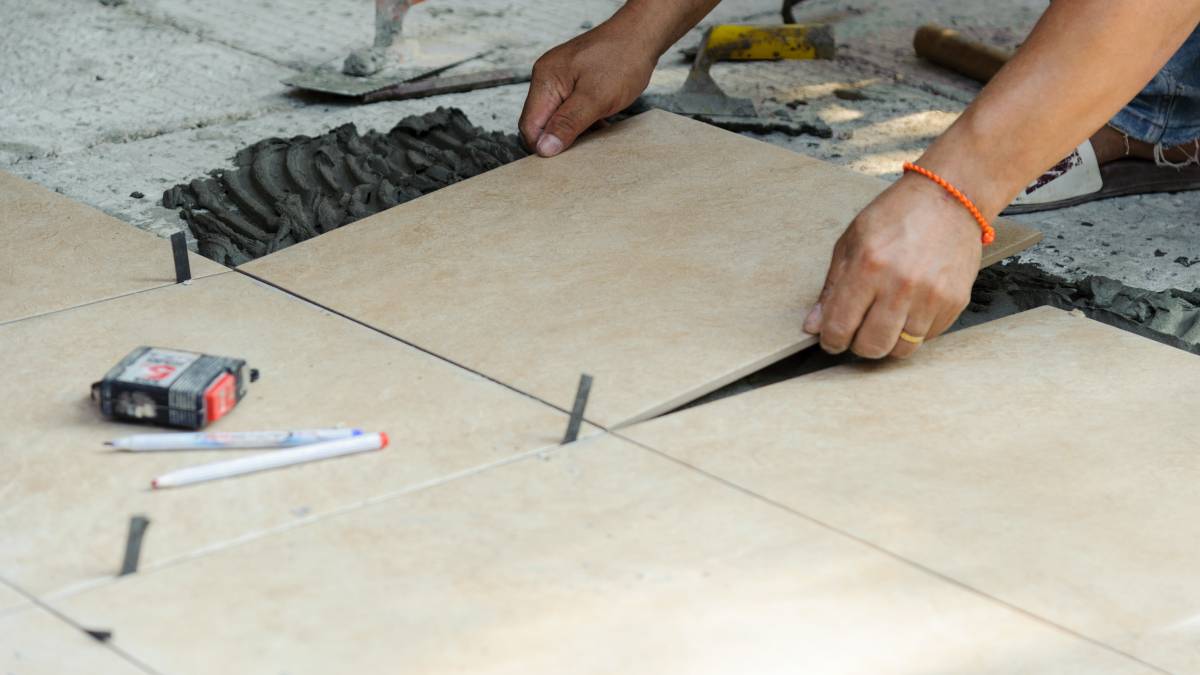
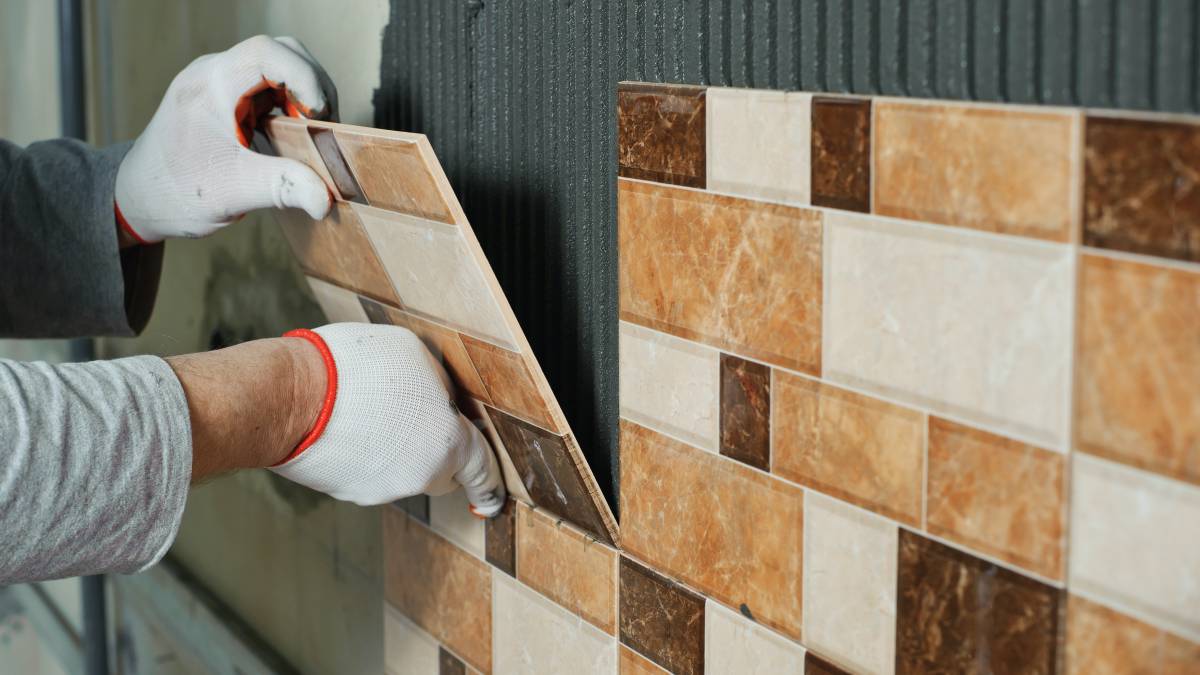
- Choose a starting point and use a 6 or 8mm notch trowel to apply a line of adhesive that covers the area that will make up one row of tiles. It’s always a good idea to start at the bottom, pushing the trowel upwards to apply the adhesive. If you are creating a mosaic pattern with your tiles, use a 6mm notch trowel. If you are laying in lines, use an 8mm notch trowel.
- Put the first row of tiles in place; this will form the foundation for the following rows. Place spacers along the line. This will ensure the tiles are lined up correctly and evenly spaced. Use a spirit level to make sure everything is straight.
- The hardest part will come at the end of the row. Unless you are unbelievably lucky, you will likely need to cut your tiles to create the perfect fit. You can do this by placing the tile upside down on a tile cutter, running a cutting blade along the line where it will need to be re-sized and either cutting it with the cutter or applying pressure to break it.
- Place the cut tile at the end and butt it into the corner or architraves.
- Repeat all of the above steps to the completion of your full splashback area and leave the spacers in their positions for at least 12 hours.
- At this point, the adhesive should be set, and you can remove the spacers.
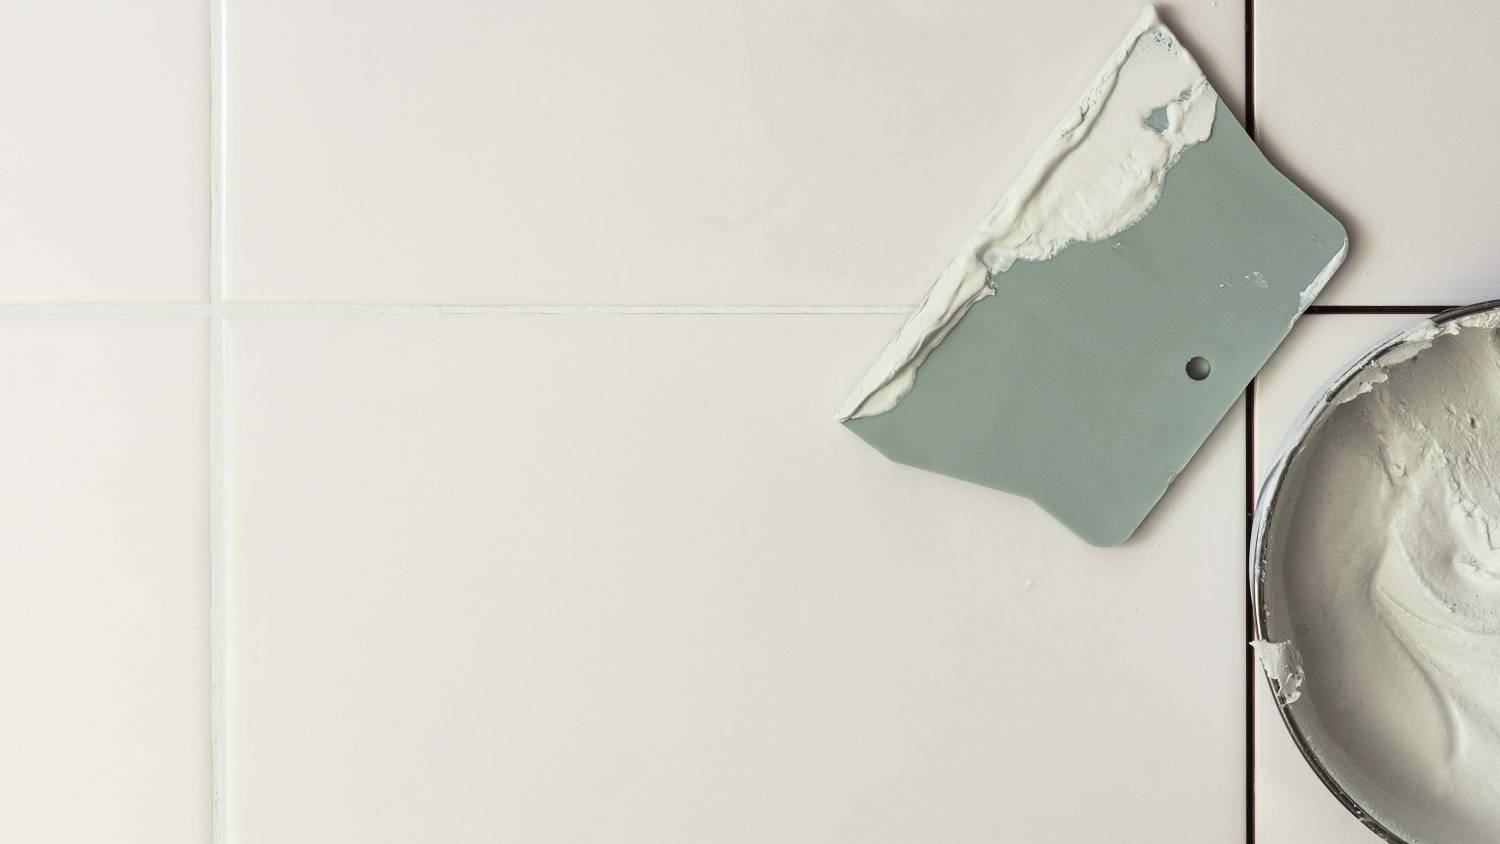
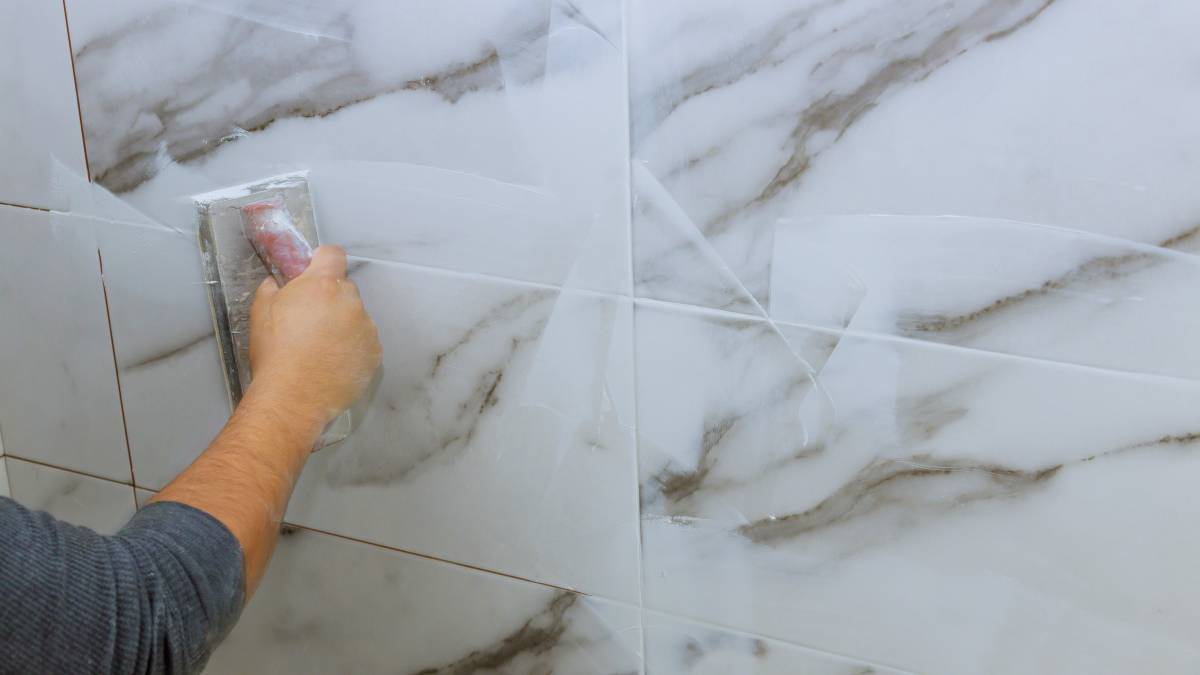
Adding grouting to your splashback
Once you have laid the tiles and the adhesive is set, you will need to add some grout. Grout is often available in a wide range of colours, so you can plan ahead with your tile look in mind, making the grout part of the feature. Just make sure that you find a grout that is suitable for 3-6mm tile joints.
Prepare the grout as per the instructions from the manufacture on the packet, then follow these steps:
- Use a rubber trowel to apply the grout in a massage-like motion. You should be adding grout into the joints in a 45-degree circular motion. Fill all of the joints and remove any excess grout as you go.
- Wait for roughly 30 minutes allowing the grout time to set, and use a clean sponge to wipe away any excess grout.
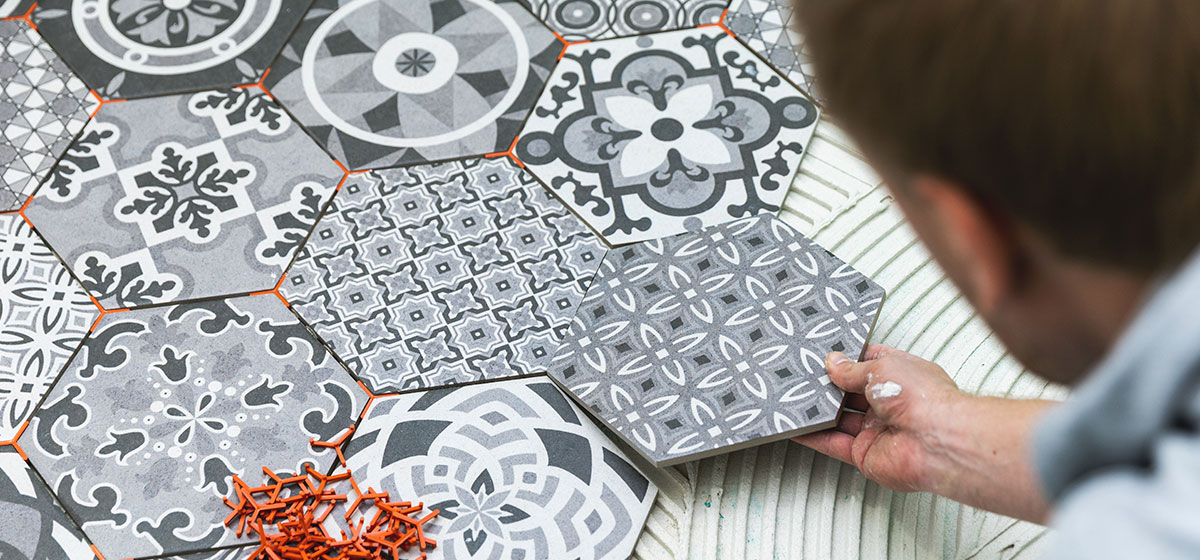
Choosing the design for your splashback tiles
As there are literally thousands of tile choices for splashbacks, how do you choose the right option for your home before learning how to tile a kitchen splashback? While it partly depends on your budget, you should first decide if you want your splashback to be a feature or to blend in with the existing look.
If you opt for a feature, feel free to get colourful or even choose a pattern. Approach it like you would a feature wall in the living or bedroom. If you want a more minimalist look, choose a white or single colour that matches your walls and cupboards.
Should you DIY your splashback at all?
Refreshing your kitchen splashback is an affordable way to do a mini-makeover. Upgrading your kitchen splashback to a tiled option is easy to do and a great DIY project, even for those who do not consider themselves to be super handy.
Tiling a kitchen splashback should be somewhat simple, providing you follow the above steps. As a reminder, here is an overview of the process:
- Start by preparing the surface by clearing the old splashback and creating a level area
- Make sure your tiles have a benchtop to support them
- Prepare some tile adhesive
- Apply it to the required position on the wall, one row at a time from the bottom
- Place the tiles on the adhesive with spacers to ensure they are spaced evenly
- Repeat this process row by row
- Wait 12 hours
- Remove the spacers
- Apply some grout liberally, wiping away the excess as you go
- Allow the grout to set for 30 minutes
- Splashback tile installation complete!
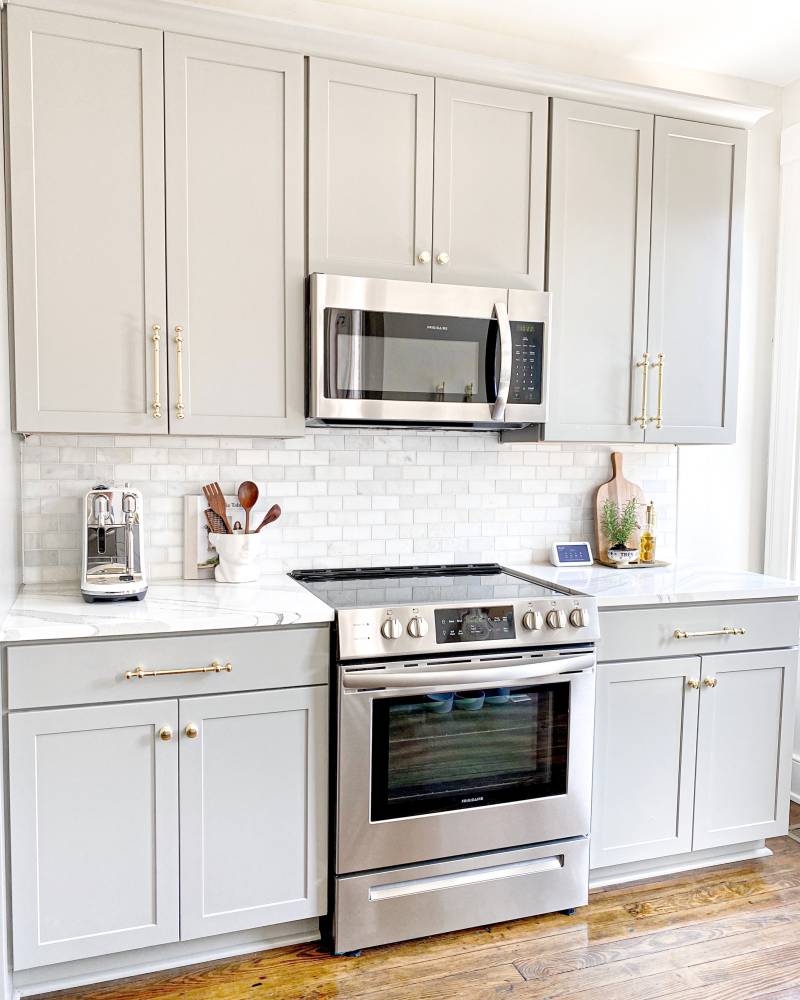
 Source: Uliana Kopanytsia via Unsplash
Not so confident in your DIY skills?
While we say this is a simple DIY task, learning how to tile a kitchen wall splashback may still be above some fresh DIYers abilities. How long to tile a kitchen splashback depends on your skills – you simply may not have enough time!
If that is the case, we have a range of expert Taskers who can help handle the project for you. Ensure a professional finish and save yourself the hassle!
If you are, however, set on improving your DIY skills, we have plenty more resources to help you get there. From the right way to drill into tile to how to tile other areas of your home, like the shower, the learning never stops. You can read about how to tile a wall, how to remove floor tiles and how to tile your whole bathroom!
We also have some helpful design inspo blogs to get the creative juices flowing. Read about how to paint bathroom tiles, some great laundry and bathroom tile ideas, some great looks for fireplace tiles and a bunch of kitchen ideas. Your home is a reflection of your personality, and it also needs to be comfortable, so explore some cool style ideas and make your space your own today!
Find splashback tilers, fast
Find a splashback tiler
Frequently asked questions
You can install a splashback over existing tiles as long as they are securely attached to the wall. There should be no cracks or broken tiles as this may impact the adhesion of the panel. The existing tiles will also need to be level, so it is best to remove any uneven tiles as they can distort the final look of your new surface.
The goal of a splashback is to protect your kitchen walls from water and oil splashes. Therefore, a practical approach is to use tiling with the bonus of it being a great decorating scheme.
Always start tiling roughly 3/4 of the height of your tiles. Start with the bottom row of the tile and work your way up from there.
It is likely that your tiles will need to be cut, so they perfectly fit the perimeter of your room. If you begin in a corner, you can start your pattern with full tiles on a straight line moving evenly into the room. It can be more difficult to get the pattern right if you start in the centre. Starting in the corner also means that is one less tile corner you need to cut.
Related articles
How to properly remove floor tiles
Read more

Related price guides
How much does tile flooring cost?
Read more
How much does porcelain tiling cost?
Read more
How much do regrouting tiles cost?
Read more
Let's do this!
It's free and takes only a minute.