- Home/
- Guides/
- Appliance Removal/
- How to Move Your Washer and Dryer

The spin cycle on the move: How to move a washer and dryer
Moving your washer and dryer can be tough. Learn how to do it with ease!
Get help from removalistsPublished on
When moving to a new place, the removal of the washer and dryer can be one of the most challenging tasks. Aside from weighing about a hundred kilograms, the process also includes disconnecting them from a gas line, requiring additional safety precautions. Hiring professionals is highly encouraged to ensure your move is done safely and efficiently.
But with the right tools, techniques, and this guide, you can learn how to move your washer and dryer yourself! This guide provides instructions on preparing and selecting the necessary equipment and tips for moving appliances.
Tools you’ll need
Plastic wrap
Moving blankets
Tape
Adjustable wrench
Wire cutters
Appliance straps
Appliance dolly or moving dolly
Level

Before you start
Proper preparation is necessary before learning how to move a stacked washer and dryer unit. Complete the following steps before starting with the task:
- Gather all necessary manuals and warranty information. Read the appliances’ manual for installation instructions and disconnecting and moving them safely. To prevent water damage, keep these documents in a secure location, preferably in a plastic bag. These materials will also come in handy in case of any damage or warranty claims.
- Enlist help. Having the right helpers is vital for a safe and efficient move. It’s best to enlist at least one or two physically fit individuals, like friends, family members or neighbours, to help with lifting. Make sure they wear appropriate clothing, including closed-toe shoes.
- Measure doorways and stairways. This is important to determine if the appliances can fit through successfully. If not, you may need to come up with a different strategy to move them out of the home.
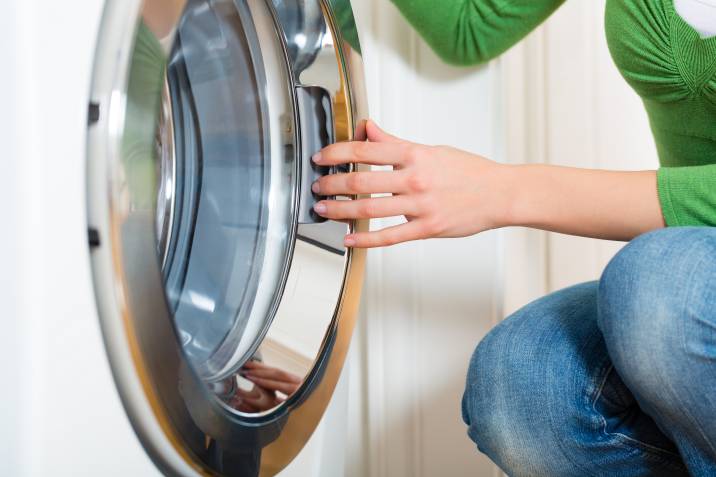
- Clean your washer and dryer. Cleaning both appliances is important to prevent bad odours and improve their efficiency. Use washing machine cleaning tablets to remove dirt and residue build-up inside your washing machine. With the tablet inside, run a cycle, then keep the washer door open for a whole day to let it dry and air out completely. For your dryer unit, empty the lint trap and clean it with a brush or vacuum.
A step-by-step guide to moving a washer and dryer
It’s time to get to work now that you’re ready to move your washer and dryer! Here are the steps.
Step 1: Drain the washer
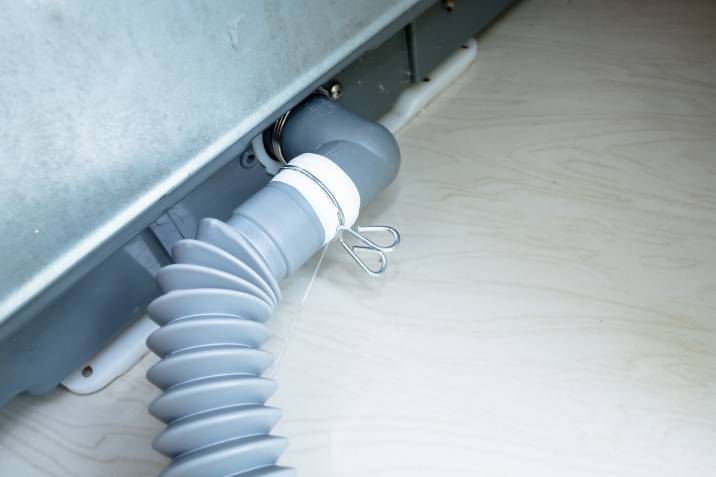
Turn off the water supply valve connected to the washing machine. Then, locate the large plastic drain hose and remove it from its current position. Place the hose near a laundry sink or a bucket to drain any remaining water from the hose.
Another way to remove the water is to set the washing machine to the spin cycle, allowing the water to drain through the hose and into the bucket or sink once the cycle is finished.
☞ Related read: How to move a washing machine
Step 2: Disconnect the inlet hoses
Go to the back of the machine where they are usually located. Turn off the incoming hot and cold water valves, then disconnect the hoses from the washer.
Depending on the connection, you may need an adjustable wrench to remove them. After detaching the hoses, place them in a laundry sink or a bucket to drain any remaining water, then put them into a sealable bag for transport.
The drain hose should stay attached to the washer, but you can secure it with rope or tape to prevent it from moving during the move.
💡 Important tip: To avoid getting electrocuted when removing the water lines, turn off the power to the washer by switching off the corresponding breaker in the breaker box. After disconnecting the electrical cord from the outlet, you can turn the breaker back on. |
Step 3: Secure the bolts
Ensure the agitator and tub of your washing machine are secured to avoid problems during the move. Check the appliance manual to locate the shipping bolts used to keep the tub in place and prevent shifting while moving.
If the bolts are unavailable, you can use a piece of cardboard or foam to wedge between the drum and the frame. This prevents unnecessary movement.
Step 4: Unplug the dryer
Turn off the power to your dryer at the circuit breaker to avoid electrocution. Gas dryers need professional assistance to disconnect and cap the gas line. After disconnecting, unplug the dryer from the wall and bundle the electrical cords with a twist-tie or tape to the side of the dryer to prevent them from tangling or creating a tripping hazard during transportation.
Step 5: Disconnect the vents
Detach the large ventilation hose used to vent the dryer’s exhaust outside the house. You can loosen the clamps or use wire cutters to remove them. Check if the hose is clean, put it in a sealable bag, and store it in the dryer until you’re ready to install it again at your new home.
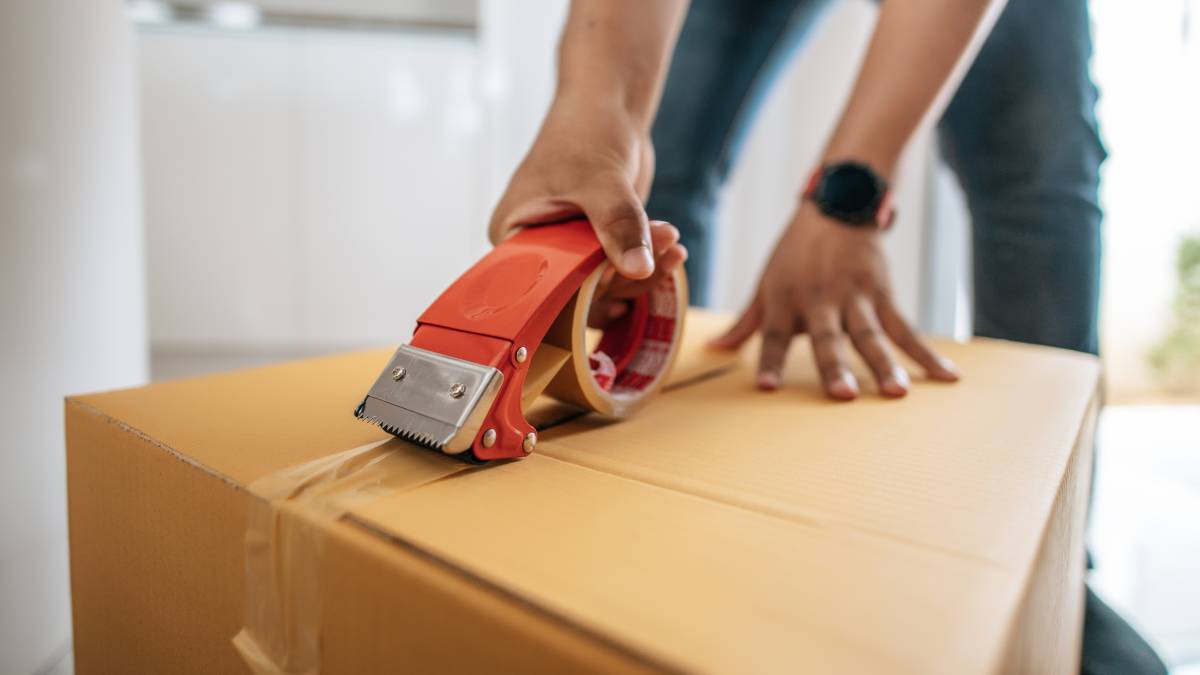
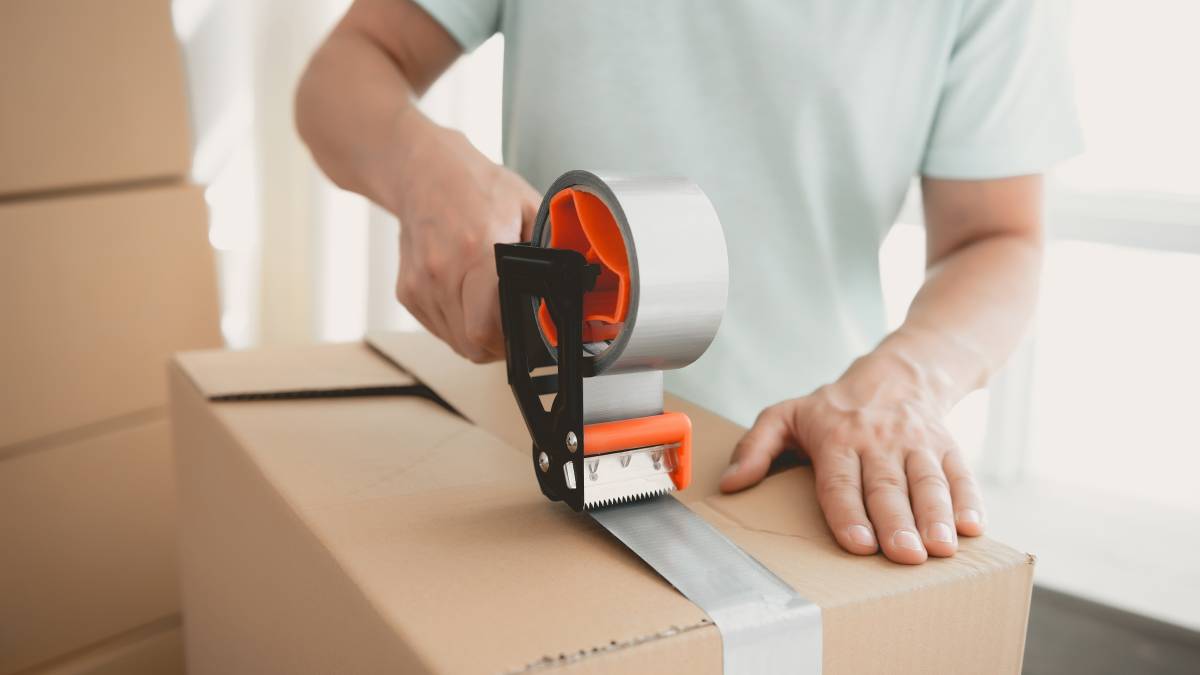
Step 6: Wrap them with blankets
Pack the machines with moving blankets, then wrap each machine in plastic wrap. This is to avoid damage to the washer and dryer on the drive and prevent the doors from opening. Tape the plastic wrap securely to prevent them from shifting and to keep any cords or pipes in place.
Step 7: Use an appliance dolly
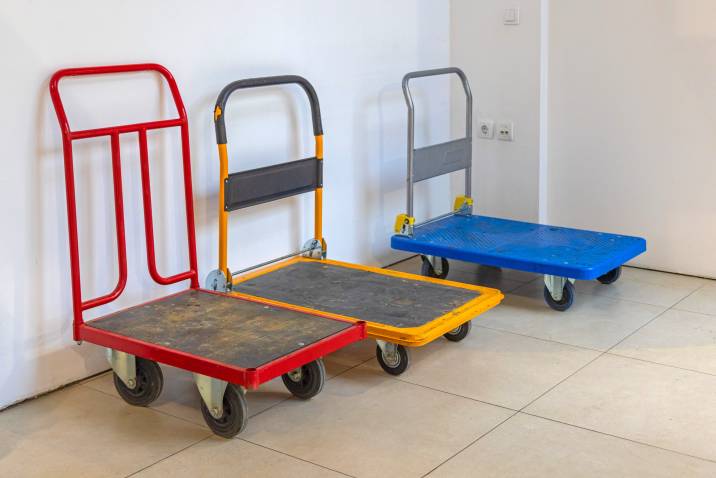
Use an appliance cart or dolly to move your washer and dryer. With the help of at least two people, lift one side of the washer and slide the cart or dolly underneath. Have one person hold the cart and pull the washer while the other person pushes and lifts it onto the cart.
Secure the machine to the cart with furniture or appliance straps, and then move it through the home and out to the truck. Repeat the process with the dryer.
Be cautious when moving the appliance cart out the door. Steer clear of hitting walls or door frames when going through doorways. If you need to move up or down stairs, have one person at the top and one at the bottom to support the machine. Have a third person keep an eye on the appliance cart and ensure it stays in place.
☞ Read also: 6 Moving and lifting safety tips you should know
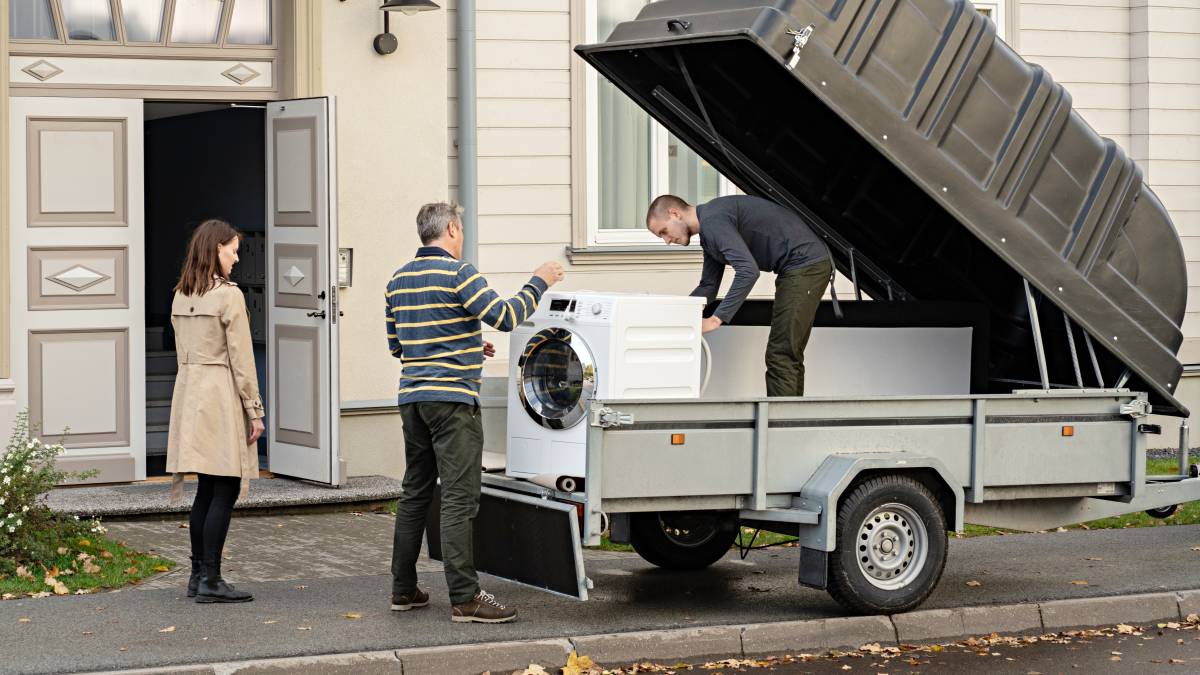
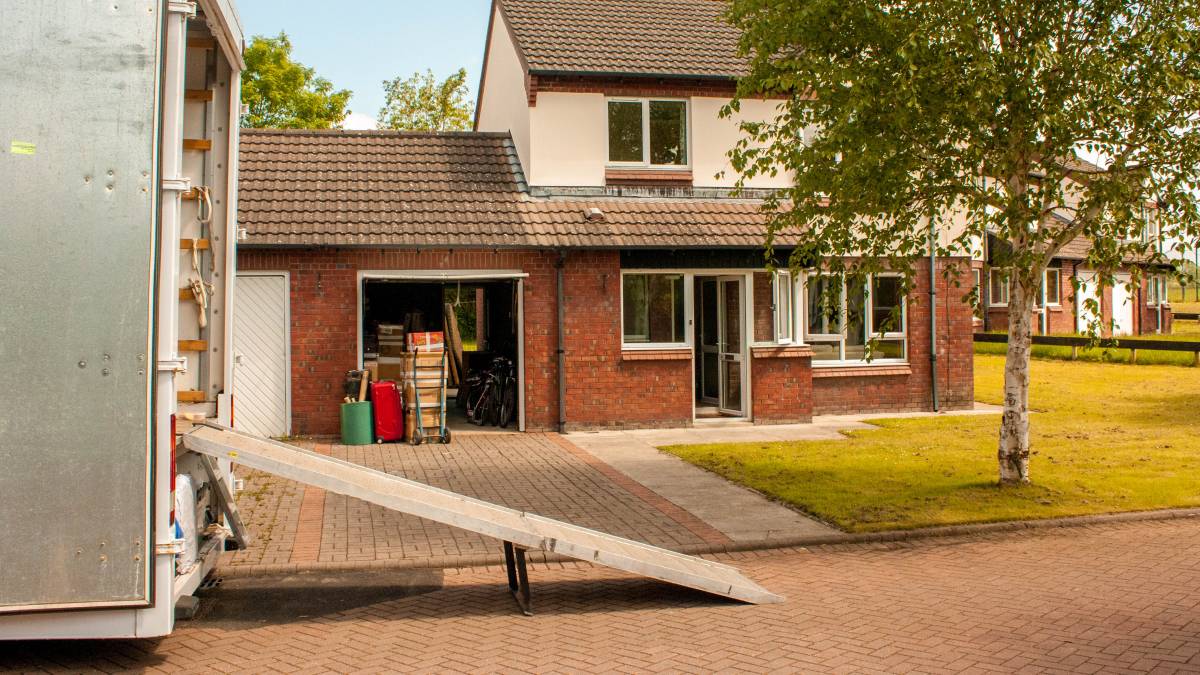
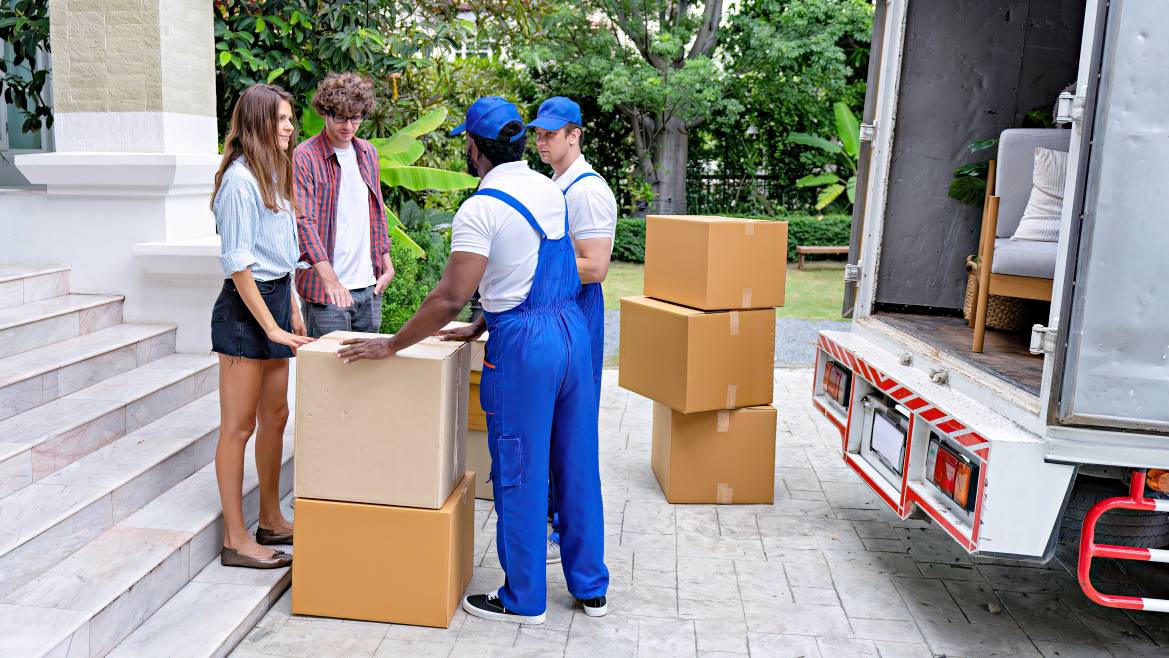
Step 8: Load them in the truck
To load your washer and dryer into the moving truck, you can use a motor-driven loading ramp or a standard ramp if one is not available. In the latter case, have one person pull the dolly up while others push. Place the washer and dryer upright at the back of the truck, closest to the cab, and never on their sides to avoid damage during transit.
Step 9: Unload and set them up
After arriving at your destination, use an appliance cart to move the washer and dryer into the new home with the help of at least two people.
Turn off the water and electricity before installing the appliances, and have a licensed professional connect a gas dryer. If necessary, remove any shipping bolts or wedges in the washer. Attach the drain hose, water lines, and electricity, then turn on the water and electricity.
For the dryer, attach the exhaust hose with clamps and turn on the electricity. Check for leaks at the water vent connections and use the levelling feet to ensure the washer and dryer are levelled in their new positions.
Move with ease
Following the steps outlined above can make handling your laundry room more manageable. But it’s definitely okay as well to feel anxious about doing this yourself. After all, it involves electricity and heavy lifting that is best left to appliance removal professionals.
Airtasker connects you with reliable removalists in your area to help make your moving process easy and safe! Simply post a task, and you can relax knowing your move is in good hands!
Find appliance removal experts, fast
Find an appliance removal expert
Related articles
How to move a washing machine
Read more

How to pack artwork for moving
Read more

Tips for moving house with kids
Read more

How much do removalists make?
Read more


Related price guides
How much do removalists cost?
Read more

How much does it cost to move house?
Read more

How much does piano moving cost?
Read more
How much do packers cost?
Read more

How much does mattress removal cost?
Read more


Let's do this!
It's free and takes only a minute.