- Home/
- Guides/
- Turf Laying/
- How to Lay Artificial Turf
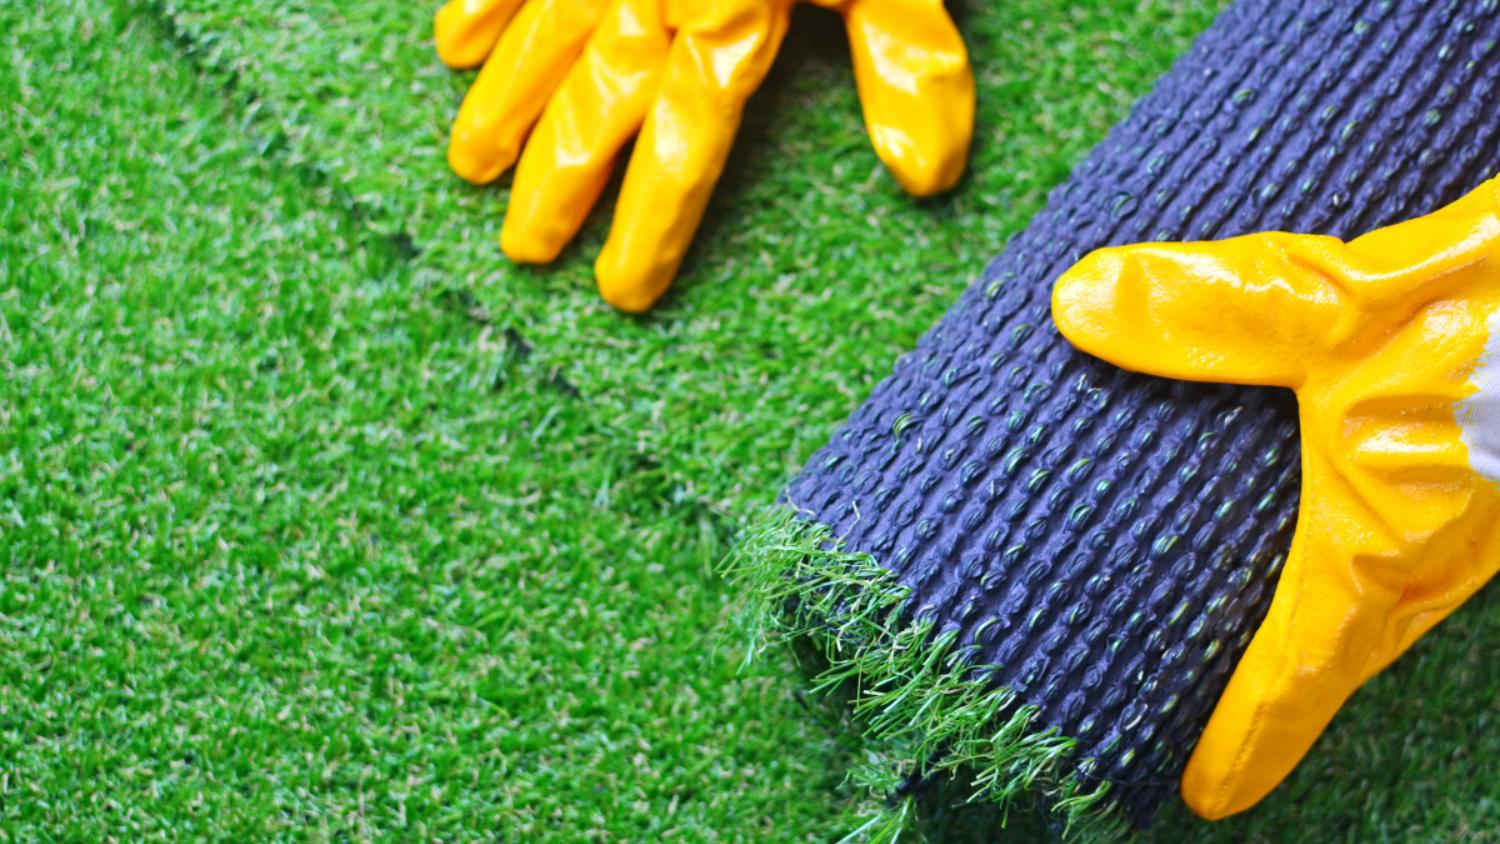
A step-by-step process on how to lay artificial turf
Find a turf layerLast Updated on
It’s no surprise that people look for a lower maintenance alternative to real grass. Learning how to lay artificial turf avoids you needing to deal with a lawn that can be tough to grow and keep healthy with regular mowing, weeding and watering. A green garden with no hassle seems like a pretty attractive prospect when you take all of that into account.
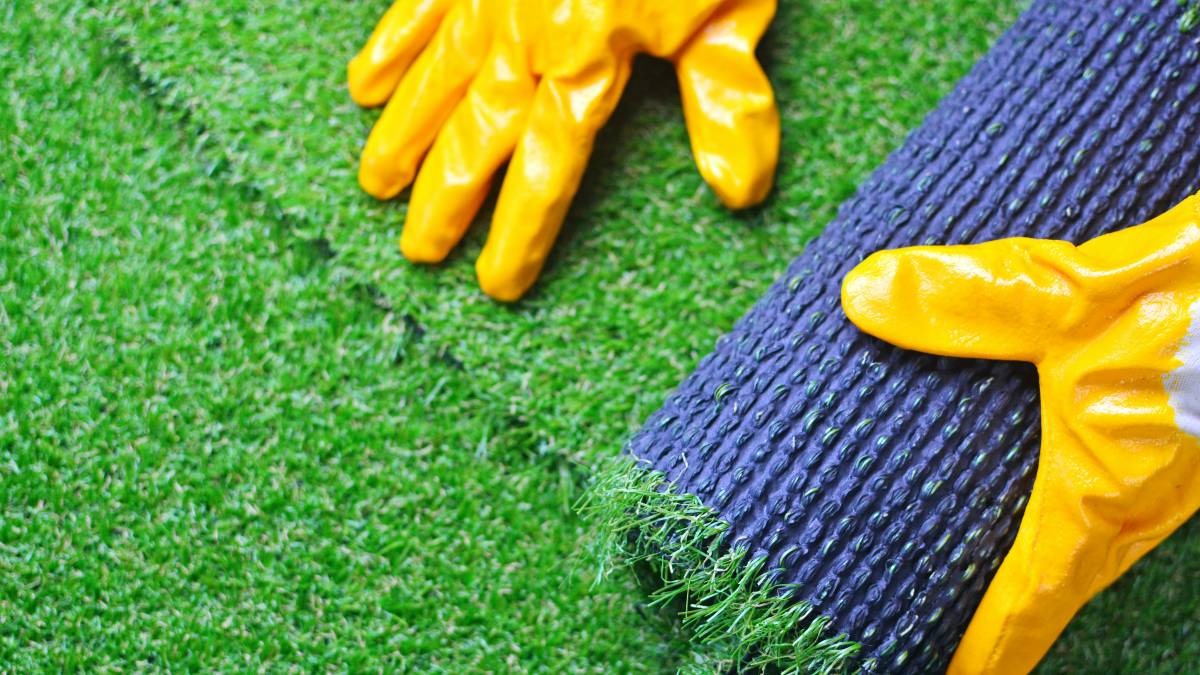
Luckily, synthetic grass has improved significantly, not only just in look but also ease-of-installation. Available in tiles and rolls, it offers a range of applications to provide you with a no-mow lawn that looks like the real thing.
Read on for everything you need to know about how to lay synthetic turf with this handy step-by-step process, and you’ll have a garden that looks great all year round, with little effort required in no time.
How to lay astroturf on soil
Step 1: Excavation
First, you need to excavate the area you are planning on laying your synthetic grass on. Clear all of the weeds, rocks and debris and set out a perimeter of string lines to the desired height. Excavate the soil until you reach a depth of 75mm, which is about as high as a standard house brick if you need a handy gauge.
Step 2: Compact
You’ll need to compact your base which can be done by laying a weed mat. Ensure you have an overlap of around 50mm to ensure its efficiency. Spray the area with water then firm down the base using a plate compactor.
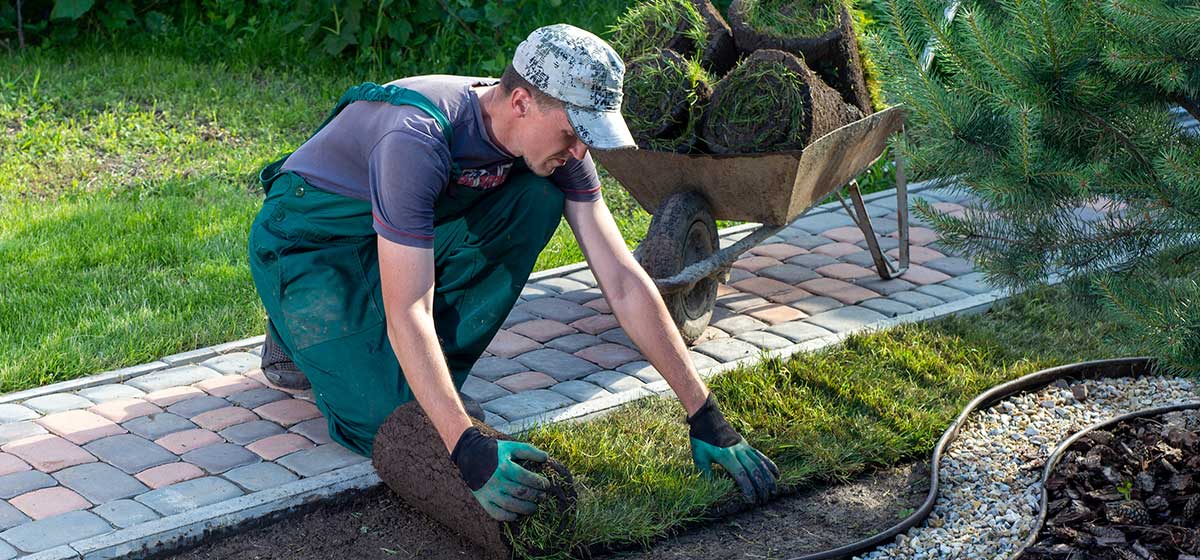
Step 3: Laying the turf
Before you lay the actual turf, spread a thin layer of fine sand and level it with a rake. Measure and cut your first piece of turf but be sure to leave an extra 50mm. Lay it in position and repeat these steps for the remaining pieces.
Step 4: Joining the pieces
Peel off half of the protective backing and attach a roll of turf tape. Only peel about 600mm of the backing at a time and join the two edges, pressing down firmly to ensure it is all secure.
Step 5: Trimming the edges
With a sharpened utility knife, carefully cut around the borders in small sections. It is always best to cut from the underside of the turf.
Step 6: Securing the grass
Use turf pins around the perimeter and across the joints at 300mm spacings with 600mm across the centre. This will make sure your new turf is secure. Finally, brush some fine, dry sand against the grain.
How to lay artificial turf on concrete
The beauty of synthetic grass is that it can be installed on most surfaces, including concrete. If you are looking at giving some colour to your outdoor concrete areas, follow these steps.
Step 1: Inspect the area for drainage
First, you want to ensure there are no drainage issues in the concrete area you are adding synthetic turf to. Clean the surface, so there are no rocks or debris and make sure the surface is level.
If you need to, you can apply drainage cell squares to increase the drainage capabilities of your space. To do this, place the drainage cell plastic squares sporadically around the area to encourage air and moisture to flow underneath the grass. This is a particularly good idea if you have pets.
Step 2: Measure
Before you purchase synthetic grass, measure the length and width of your surface area to determine how much you need. When you get your synthetic grass, cut it into the lengths you require.
Step 3: Secure to the concrete surface
Position the synthetic grass over your concreted area, and apply by peeling back the double-sided adhesive tape or using glue (depending on which option comes with your type of grass).
Double-sided adhesive tape is the cleanest and most efficient option as you only need to peel away the tape’s top plastic layer, then stick down the synthetic grass edges to secure. If using adhesive glue, which may be better if you are securing to exposed aggregate, glue with a 4mm notch trowel around the perimeter. Stick the edges and add some glue down the middle for extra hold.
Step 4: Brush and apply sand infills
Brush the grass to help it stand, then apply sand over the top and brush it in thoroughly.
How to lay artificial grass on sand
It is actually recommended that you lay your synthetic grass on a 35mm layer of compacted sharp sand. While this is not crucial if you already have a sanded area that you wish to cover with synthetic grass, you can for a great result!
Step 1: Compact the ground
Make sure the ground is even and compacted by using the back of a shovel for small areas or a vibrating plate compactor for bigger ones. Lay a weed membrane to stop seeds from germinating in the sand. Overlap the membrane by around 50mm and go right to the edge of your area.
Step 2: Lay the artificial grass
Allow approximately 50mm of extra artificial grass so you can trim to make the perfect edge. Butt the grass edges together, peel back the adhesive and secure the sheets in place. Push down on the sheets to ensure the adhesive takes, you should not need to do this for more than a minute.
Step 3: Trimming
Cut and trim your sheets using a sharp knife, and ensure there are no gaps, especially between any walls and your grass. Never rip the grass and always use sharp blades when cutting. If your synthetic grass has a material trim on one of its edges, make sure you remove it before laying.
Step 4: Fixing
Use some ground pins and nail them into the ground at an angle roughly every 200mm to secure the perimeter of your newly grassed area. This will add some extra security and ensure your slabs don’t move or shift as people walk on them.
If you want even more security, you can add extra ground pins through the centre. Just ensure they are flush to prevent a trip hazard. While you can never have too many, there is no need to go overboard.
You’re now ready to have an immaculate garden all year round!
Now you know how to lay your artificial grass on a range of surfaces; the perfect low-maintenance garden is all yours! If you want the garden but have decided you may not have the time, or patience to lay the grass yourself, have a look at the many taskers who offer artificial turf installation, turf laying, and turf repair. You can also find many skilled people who can help with other garden requirements like lawn mowing as well!
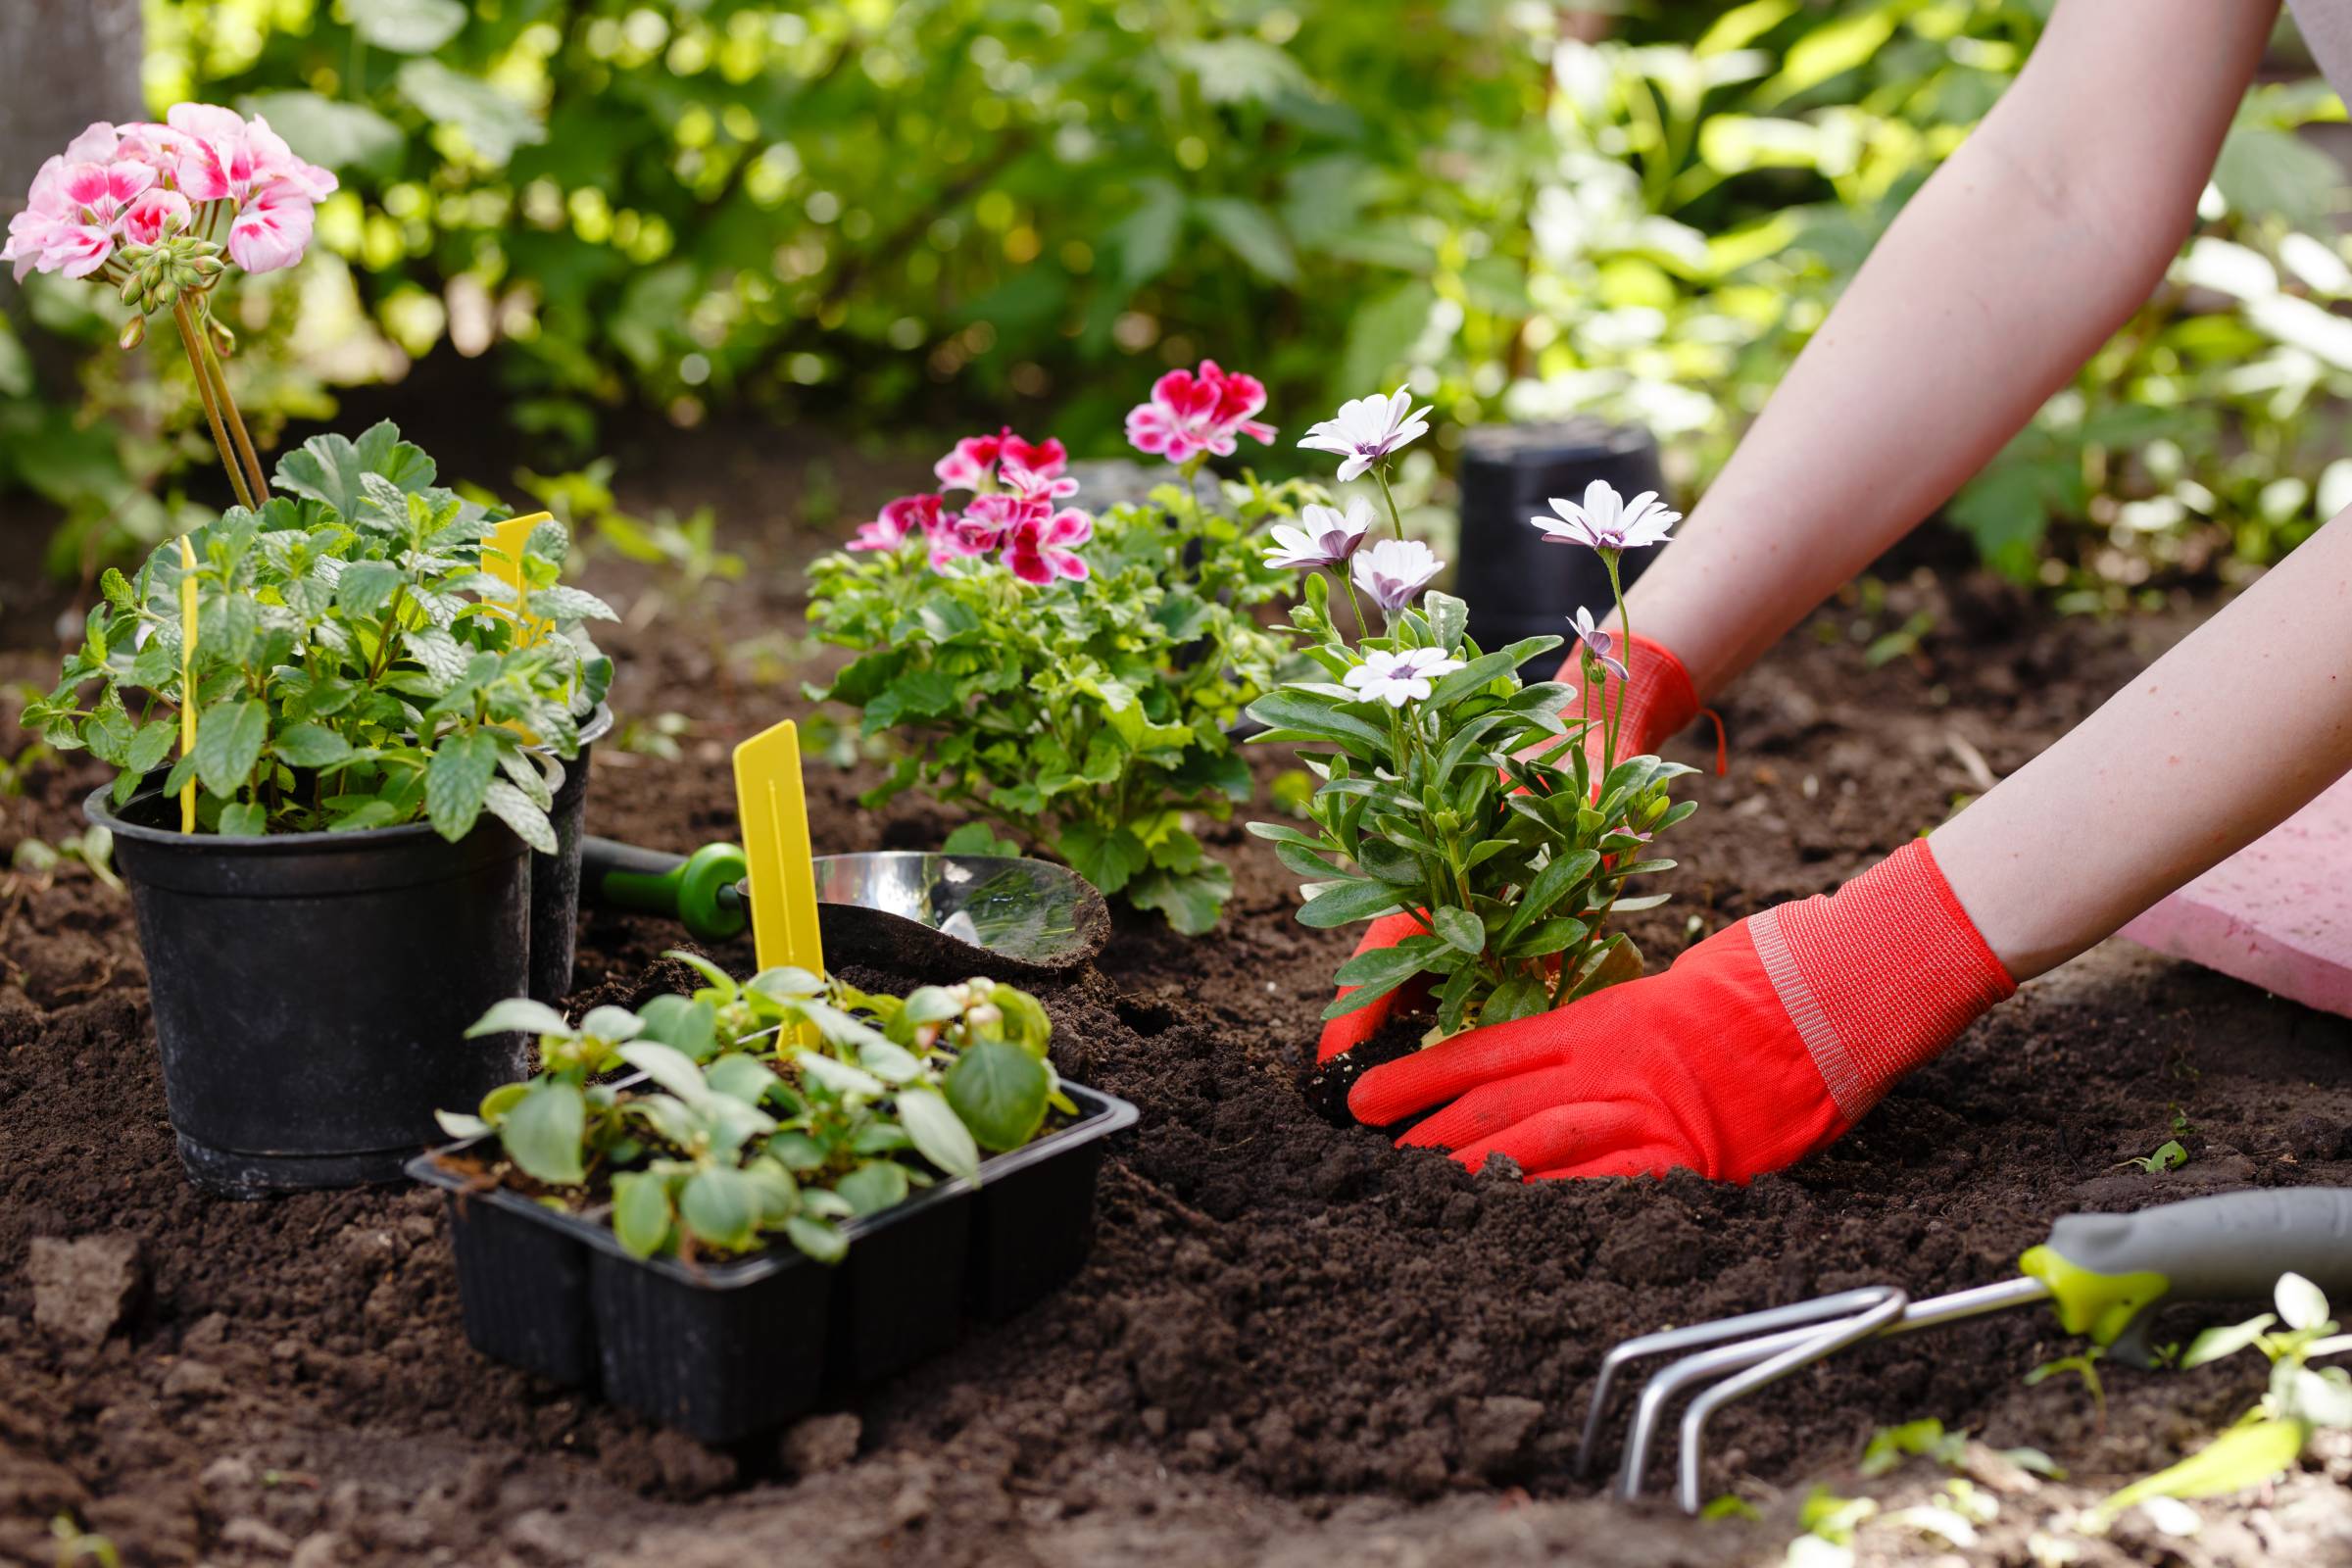
If, on the other hand, your thumbs are green and you love spending weekends in the garden, consider DIY improvement ideas for your courtyard, backyard, or front garden. A little light reading can give you the necessary skills to take your outdoor areas from good to great!
Find turf layers, fast
Find a turf layer
Lay Artificial Turf FAQs
This really depends on the surface that you are laying your artificial grass on. If, for example, you are laying it over dirt or sane, you should compact and level the ground then lay a weed mat under your grass. This not only gives you a surface that you can secure your mats to but lowers the amount of maintenance you will need to do by preventing weeds from popping up to the surface. If you are laying your grass on a concreted area, simply ensure it is clean and capable of drainage, and you are good to go!
It is important that any surface you look to lay artificial grass on is free of weeds, rocks and debris, as well as being as compact and level as possible. In cases where you are laying your grass on soil or sand, a weed mat will be required. This will protect both the ground below your mat from seedlings that can germinate in the sand, as well as the surface of your grass by preventing weeds from pushing through. It is also a good idea to keep your base as level as possible and ensure there are no lumps in your grass after you have laid it. This not only looks much more professional but also means no one will trip on your new flooring.
Yes and no, you will need to prepare the area and lay a weed mat in between the soil and grass. This not only gives you something to secure your grass slabs to but protects the surface and undersoil of your grass, while also lowering your maintenance time. It is not recommended that you attempt to attach your grass slabs directly to the soil as it will not be as secure. If you do this, you will likely find yourself needing to re-set your synthetic grass sooner than you would like.
Related articles
How to lay turf in your garden
Read more
Your garden maintenance checklist
Read more
How to clean garden rocks
Read more

Gardening tips for beginners
Read more


Related price guides

How much does weeding cost?
Read more
How much does a gardener cost?
Read more
How much does mulch cost?
Read more

How much does garden clearance cost?
Read more


Let's do this!
It's free and takes only a minute.